#KKWBEAUTY Crème Contour And Highlight Kit Review
It seems like contouring these days has evolved as part of our everyday makeup regimen. It's a step in the beauty process that we can use to not so much transform, but enhance our features. Before I write my review, I want to mention that my personal concept of contouring is that it should be seen as a beauty booster and not a way to hide who we are. Our features should not be a source of shame.
Let's be honest, contouring can be sorcery and trickery to the naked eye. Oftentimes, women contour to look more european. I've seen countless videos of contouring, from the early makeup vloggers on youtube, where they completely change their bone structure. I don't stand by that method because I believe that we should celebrate our uniqueness.
As our idea of beauty has shifted in the last 10 years, I believe that contouring should be about creating more natural lines to enhance or bring out our best features. My hope, as a blogger and content creator, is that I inspire and bring diversity to this community. It's about exposing others to your own definition of beauty.
For a long time I didn't feel that my look fit into the typical beauty standard because I didn't have the cindy crawford or giselle bundchen look. But now, I embrace myself and take comfort that I'm different and don't fit into that box. I'm thankful. And my goal in creating my signature look is about defining my own features and showing women (and men) what makes me feel confident and polished. I hope that you find what works for you!
Xoxo - jasmine
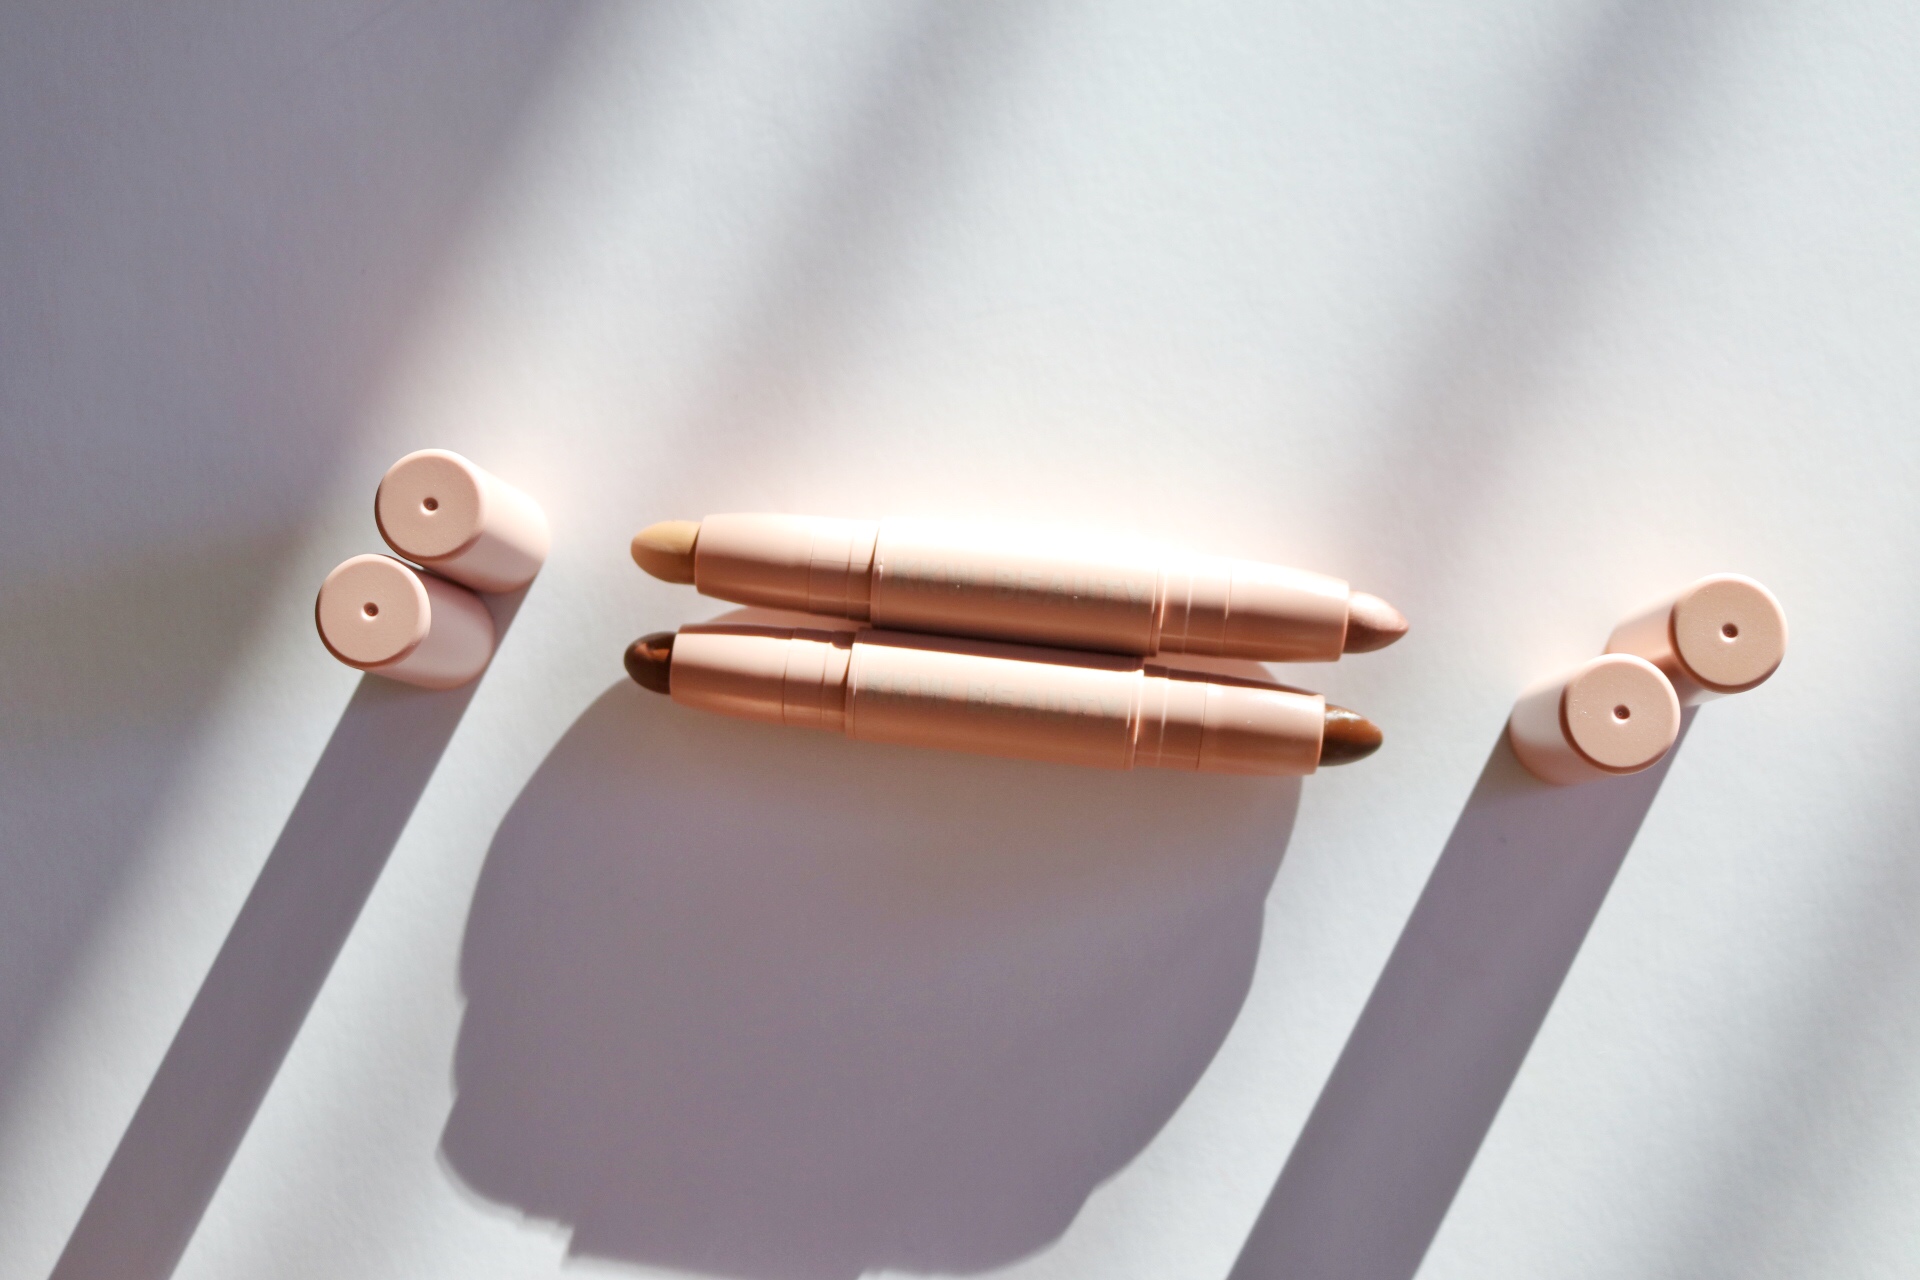
#kkwbeauty packaging
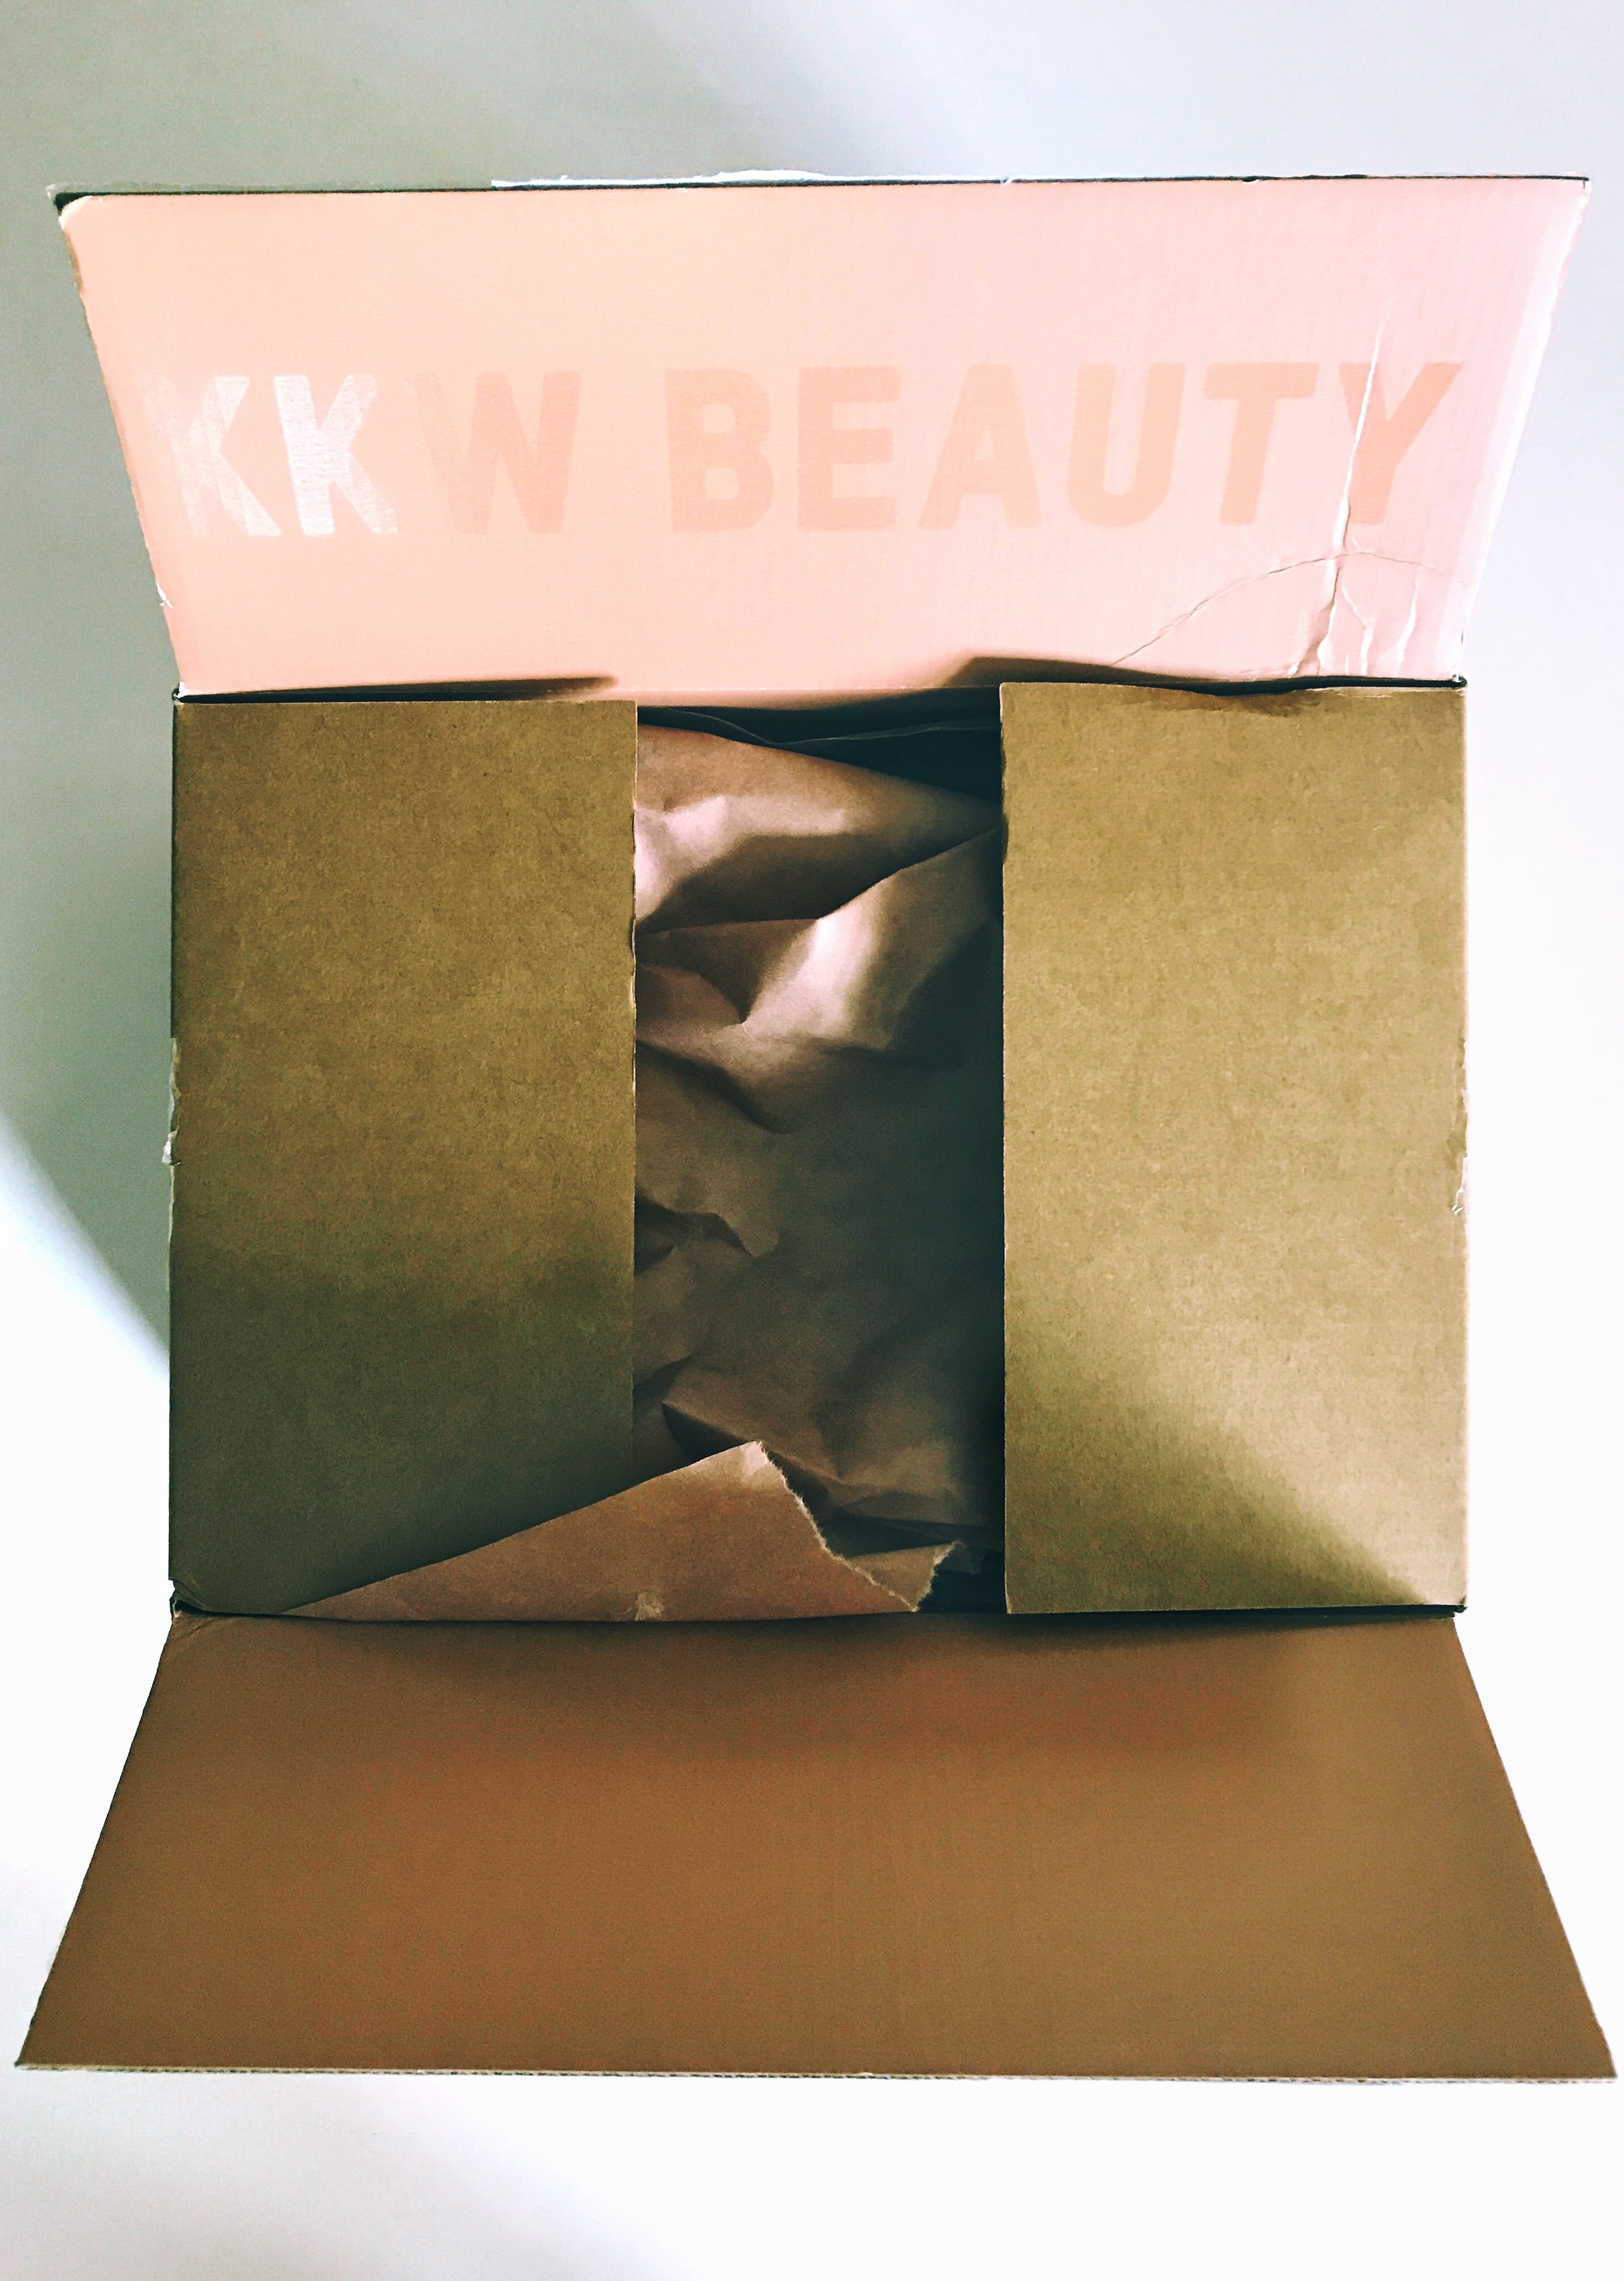
The packaging was tan and nude, it came with a set of instructions on how to use the kit. The package seemed very clean and simple, it reminded me of a fresh pack of granola or trail mix. My first impression was that it didn't seem extravagant or over the top, very minimal.


CRÈME CONTOUR AND HIGHLIGHT KIT MEDIUM
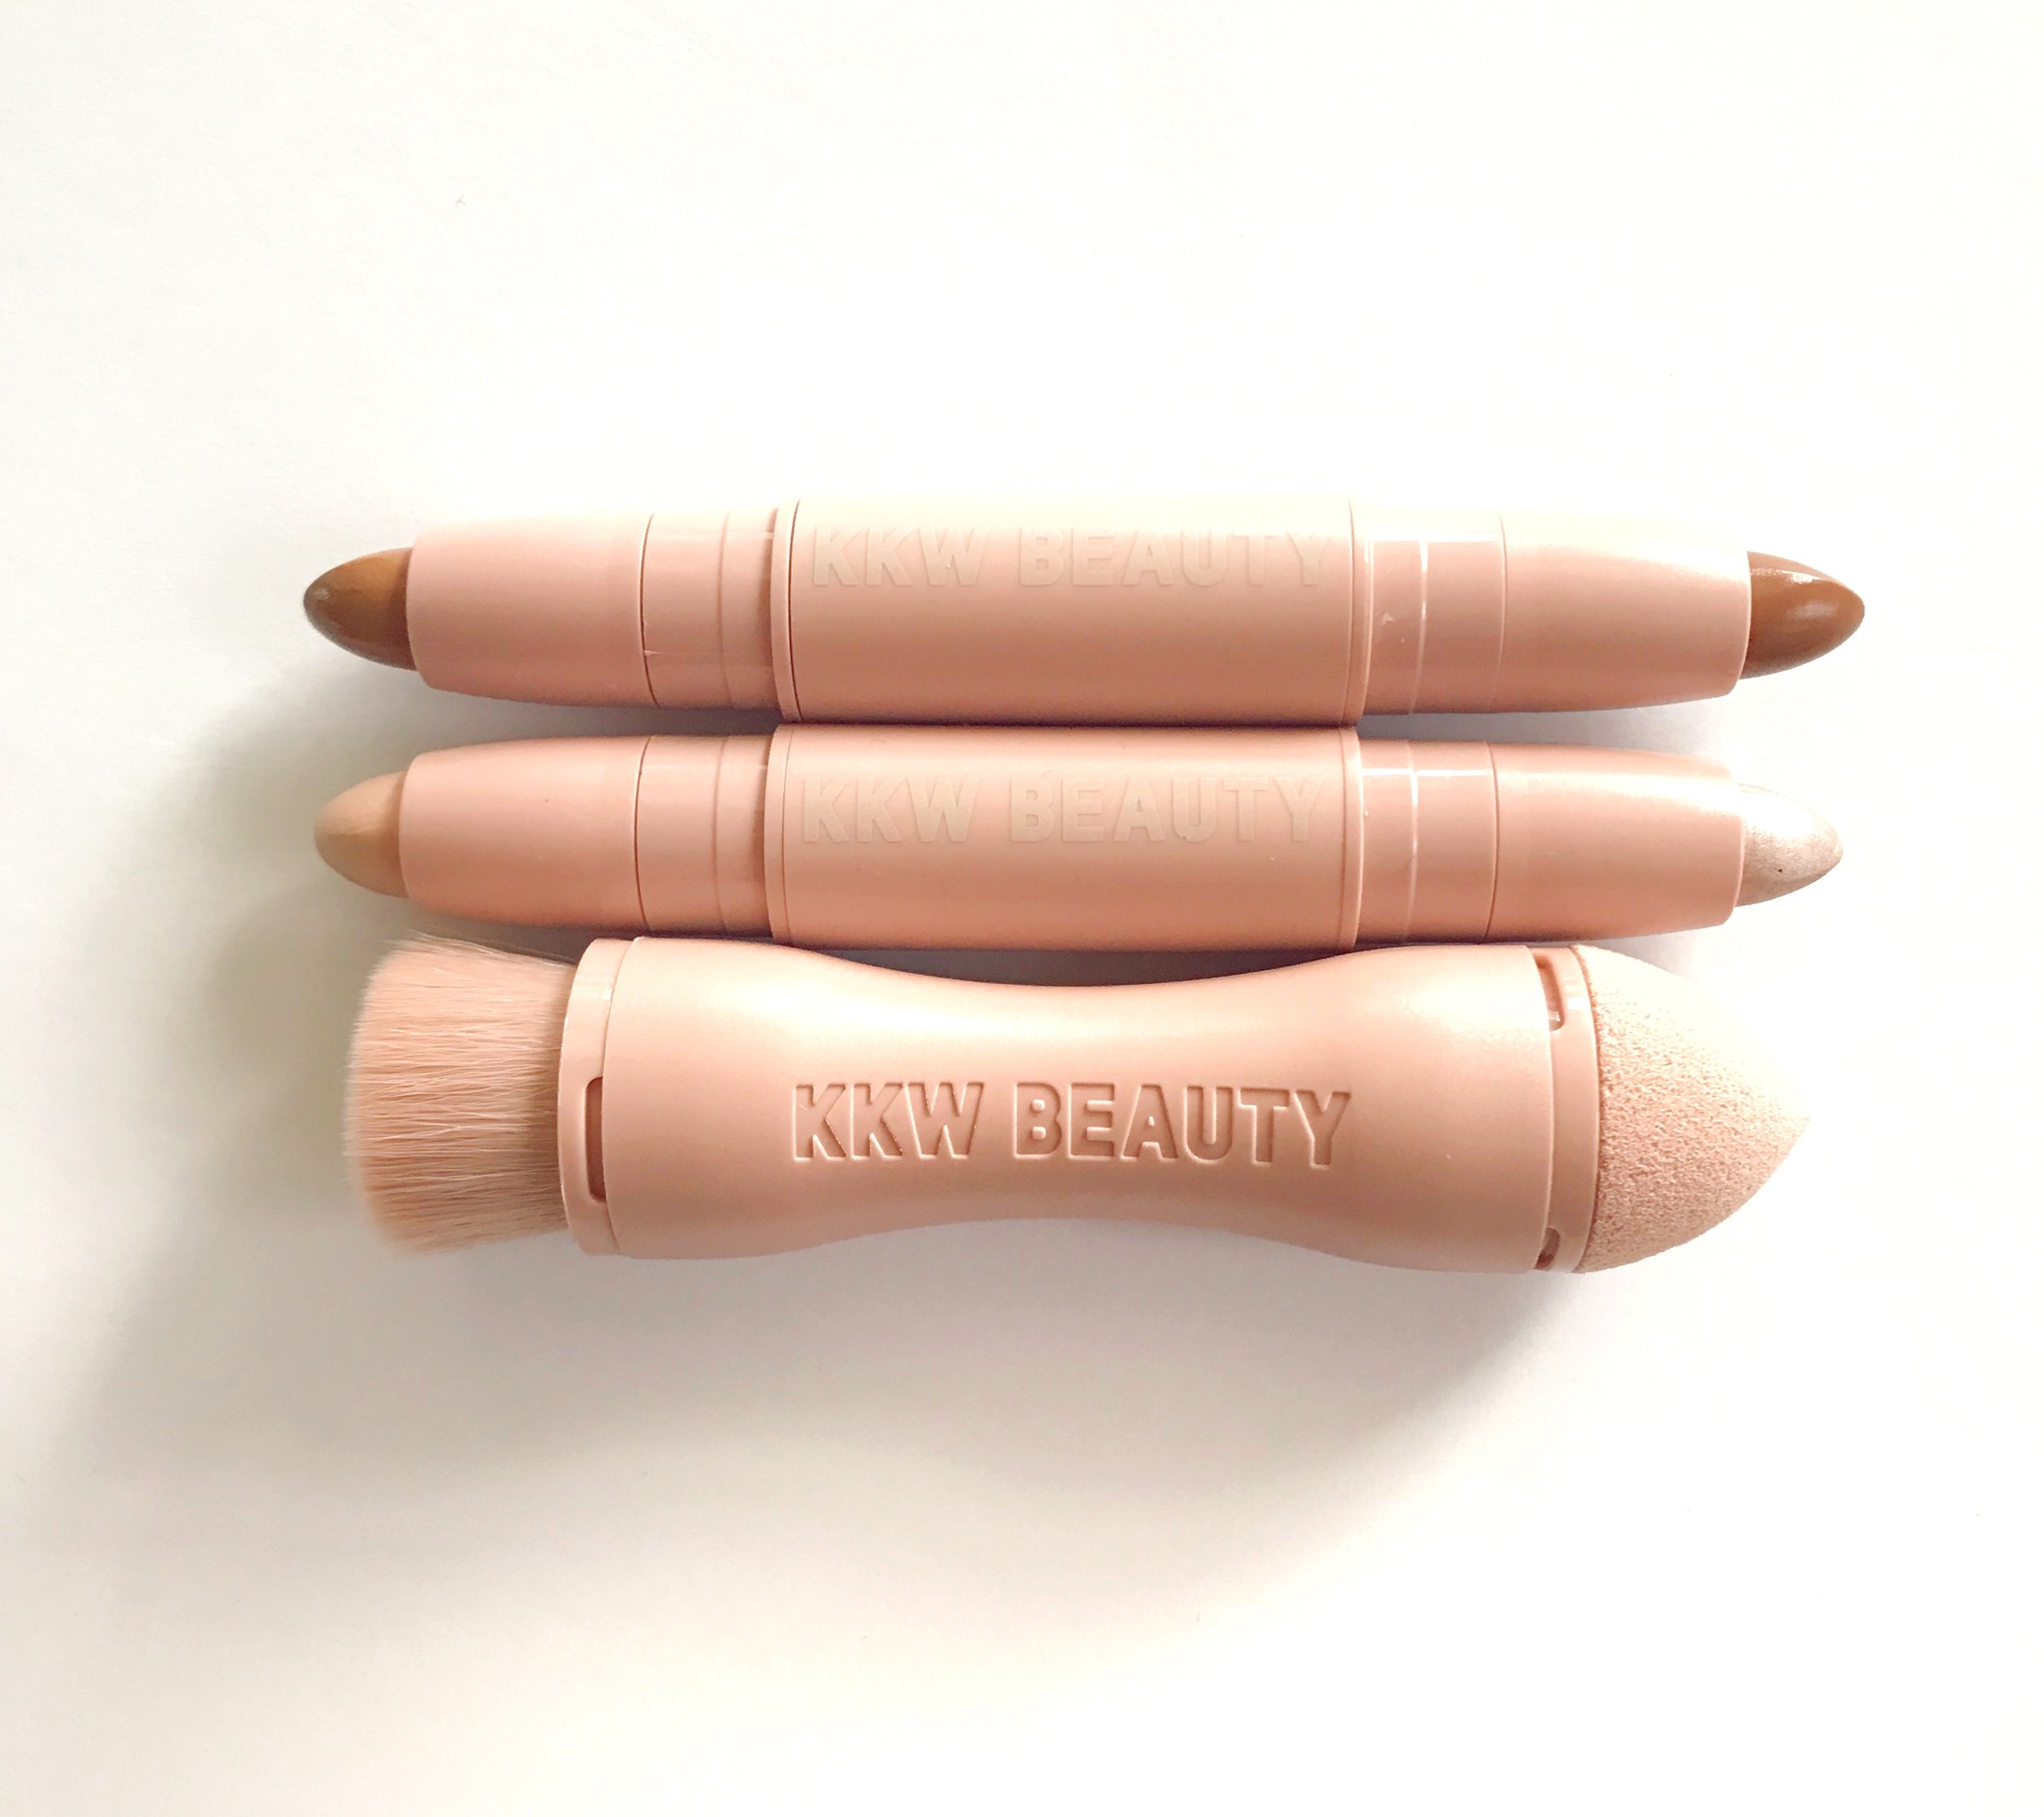
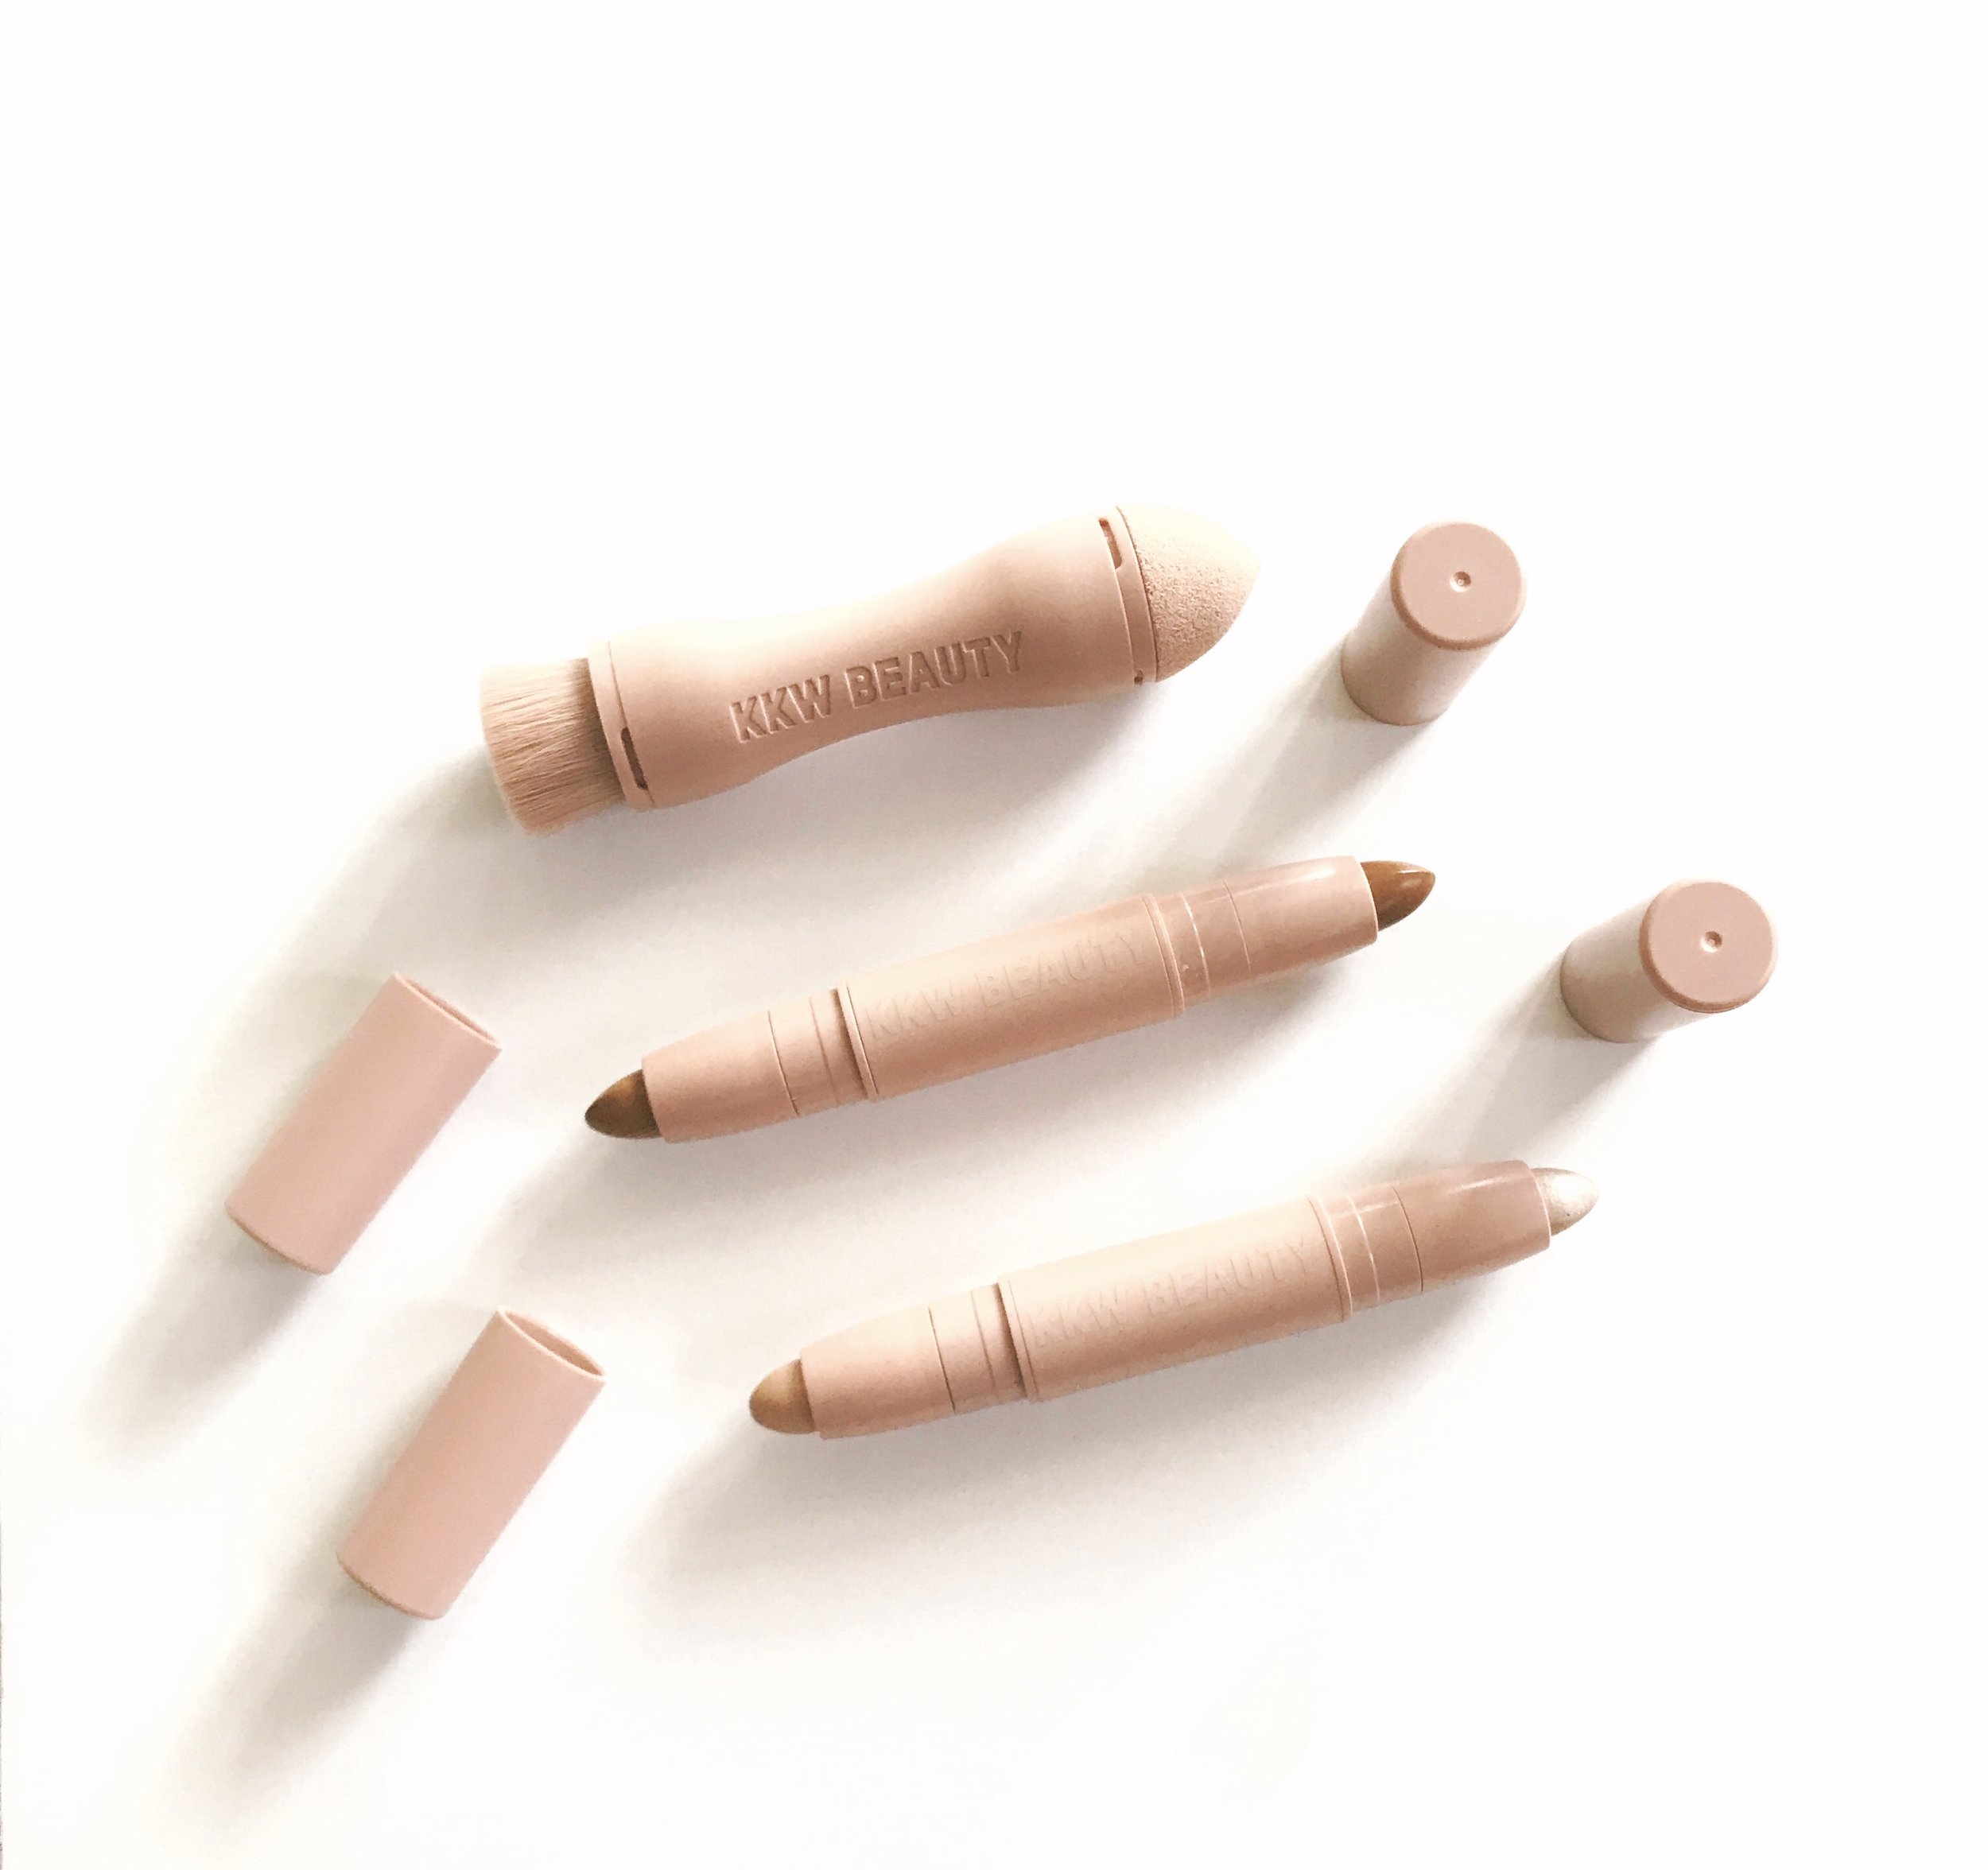
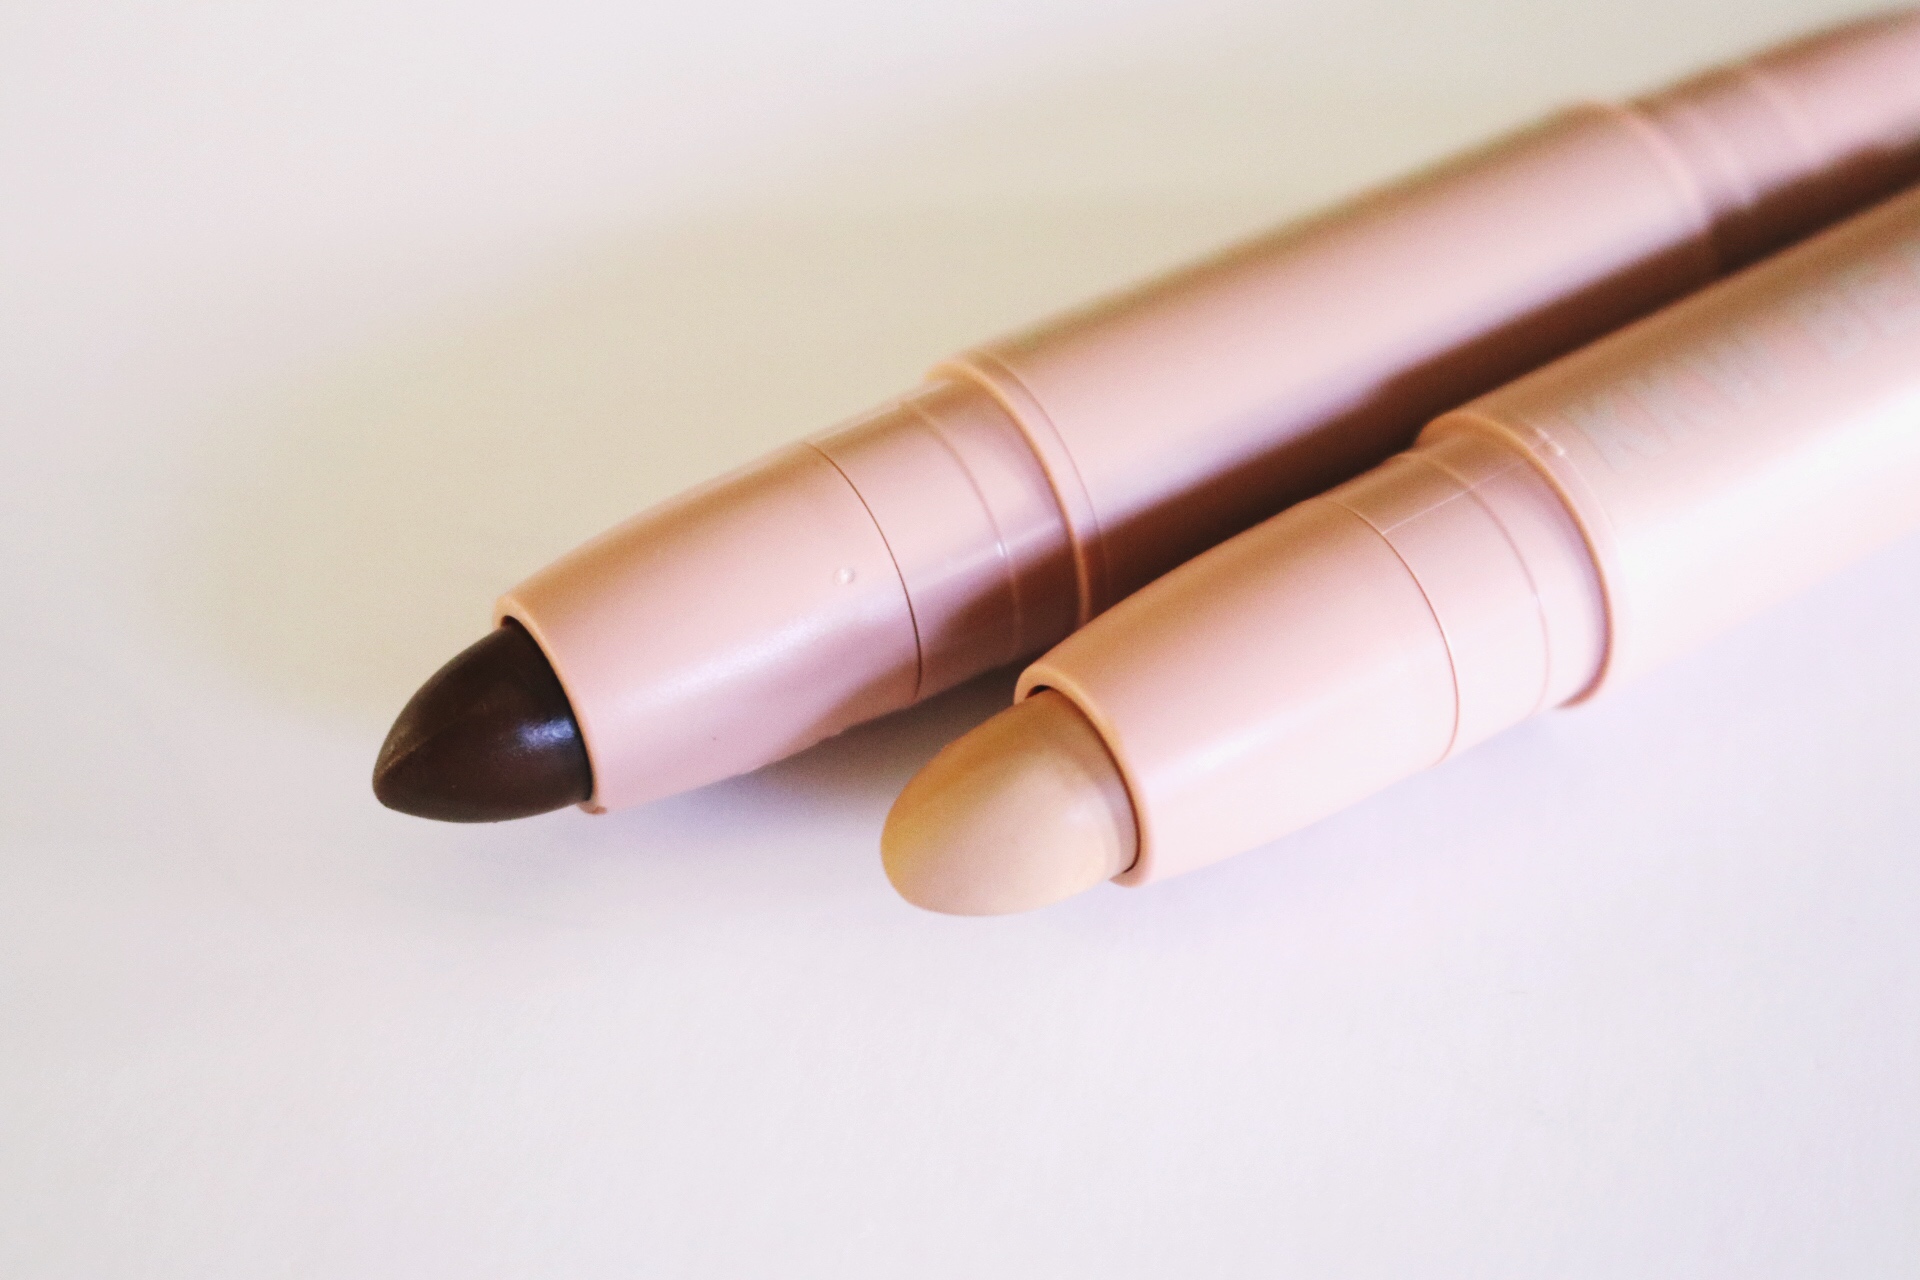
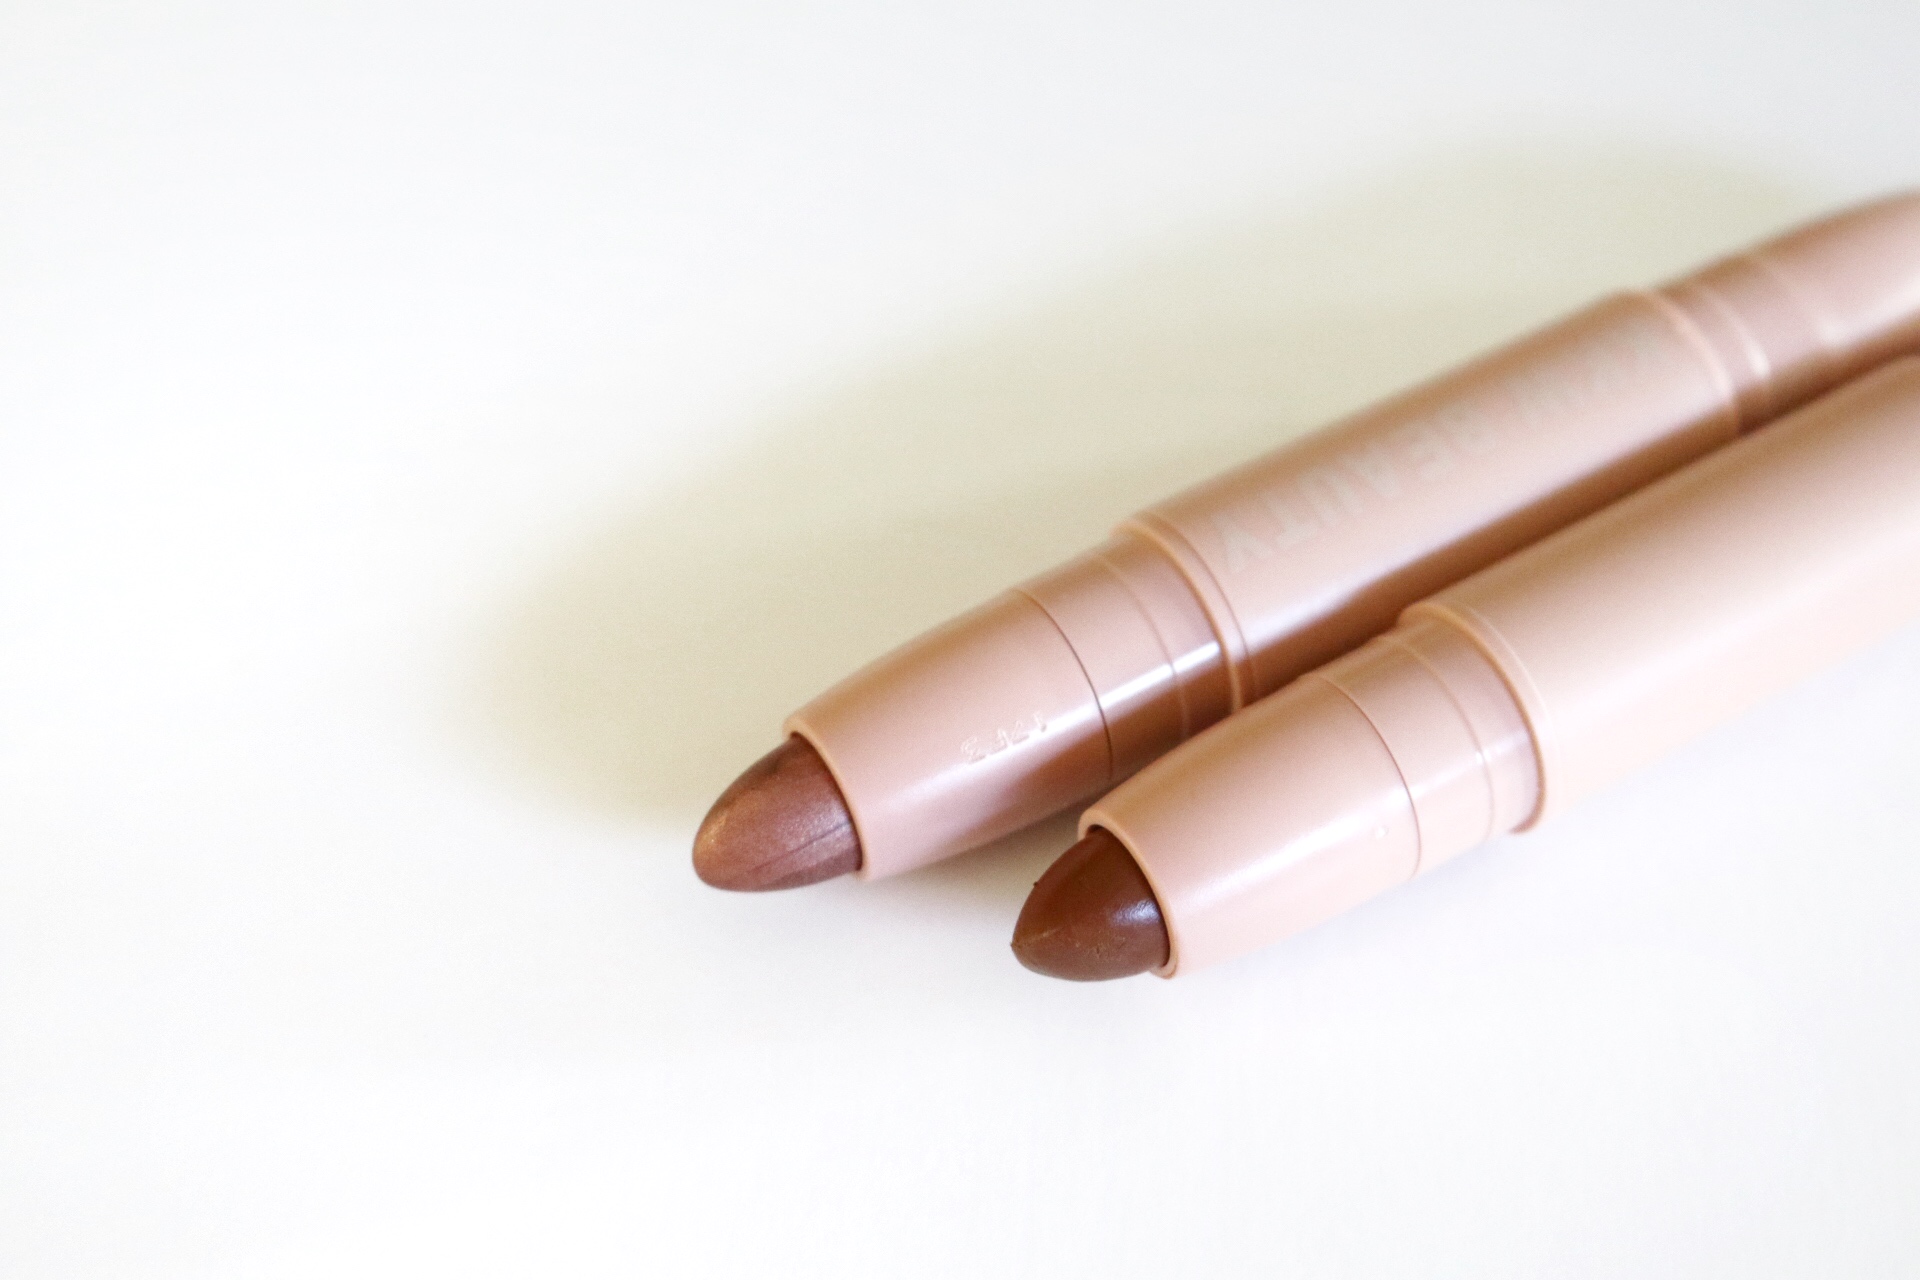
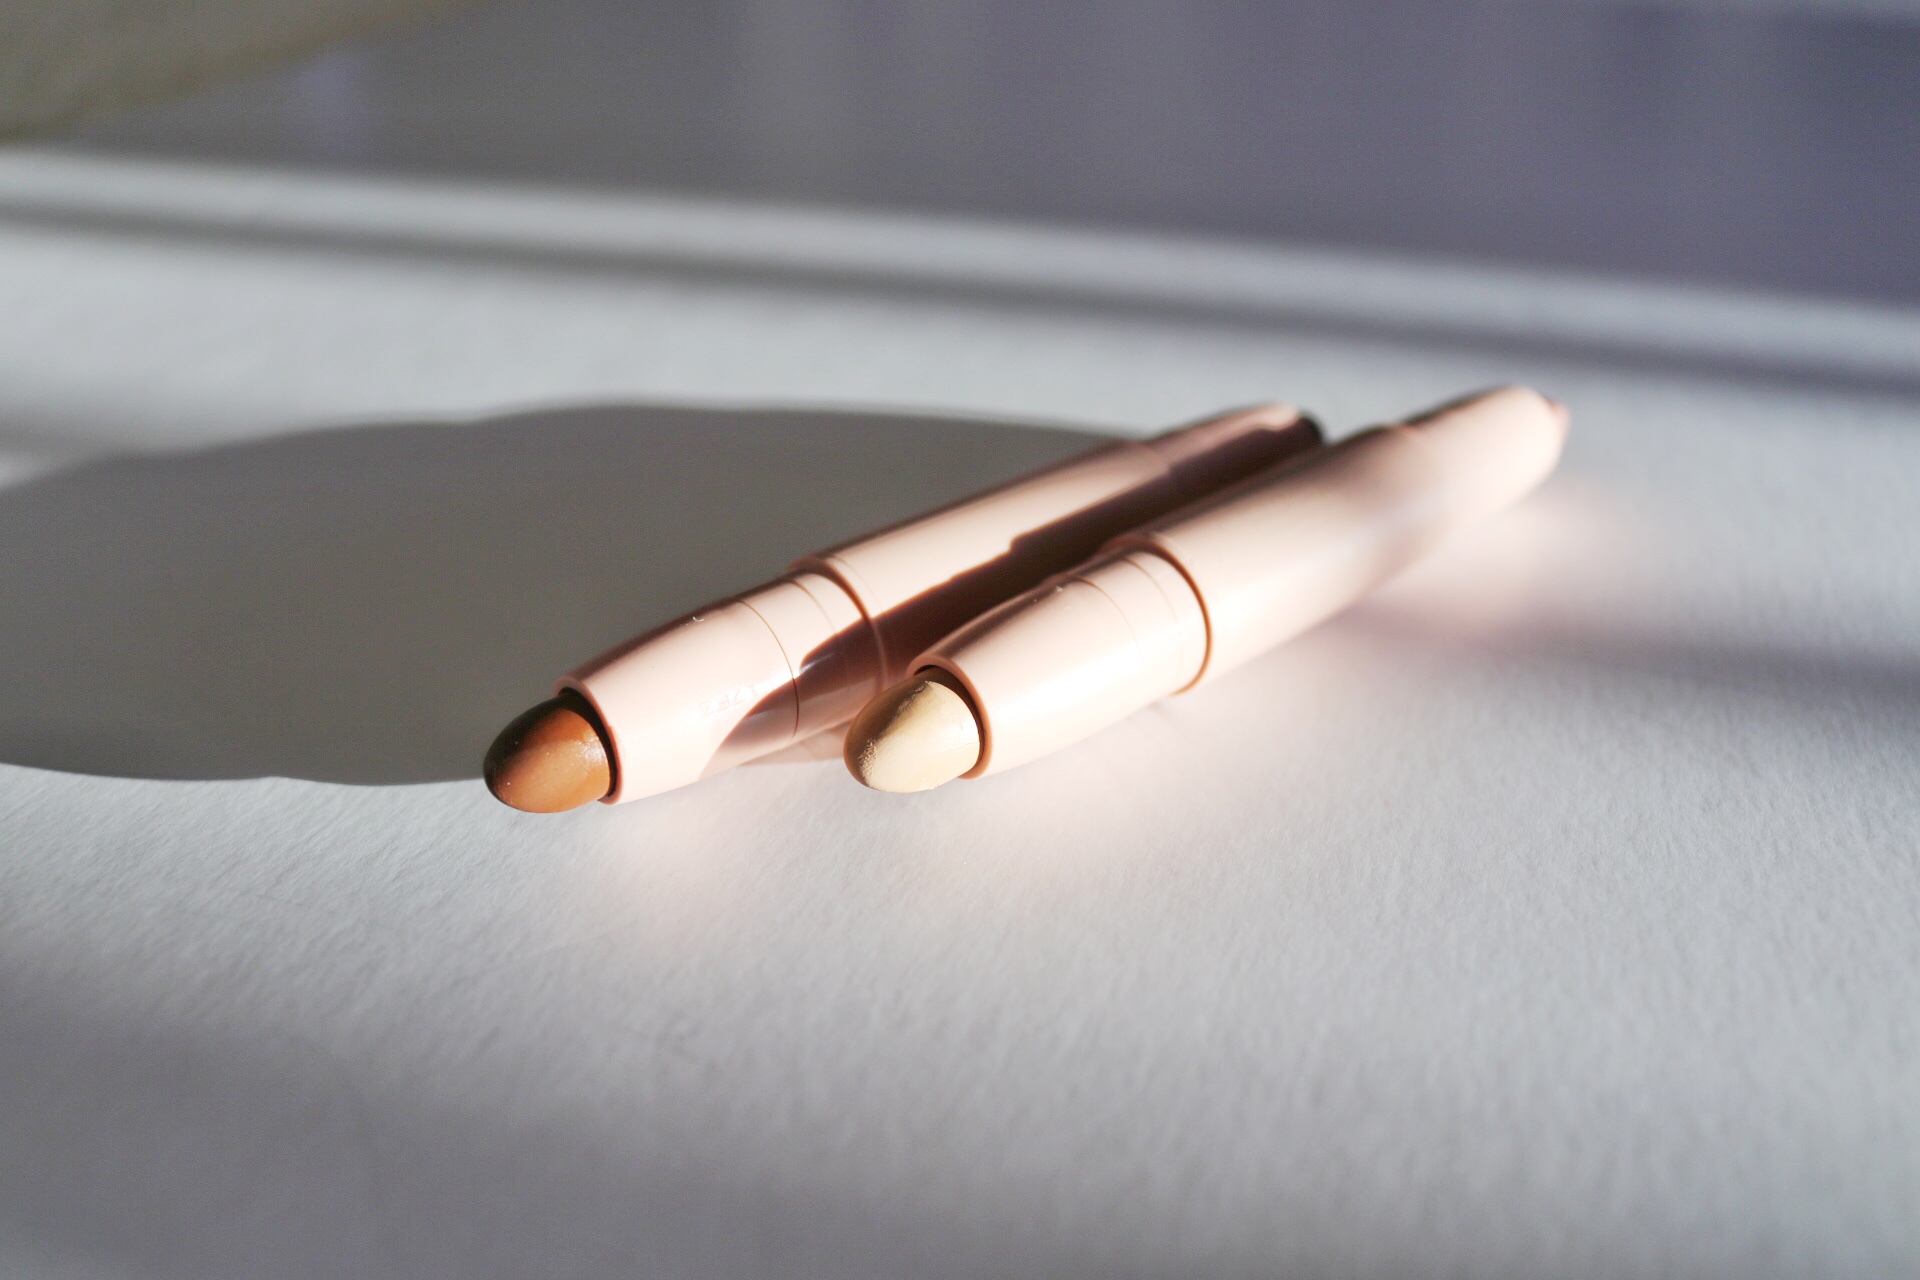
The medium kit was the first one I tested. It comes with a dual-ended contour stick has two shades to choose from, a dual-ended highlight stick that includes a lighter contour shade and a shimmer, plus a dual-ended applicator brush and sponge.

CRÈME CONTOUR AND HIGHLIGHT KIT MEDIUM
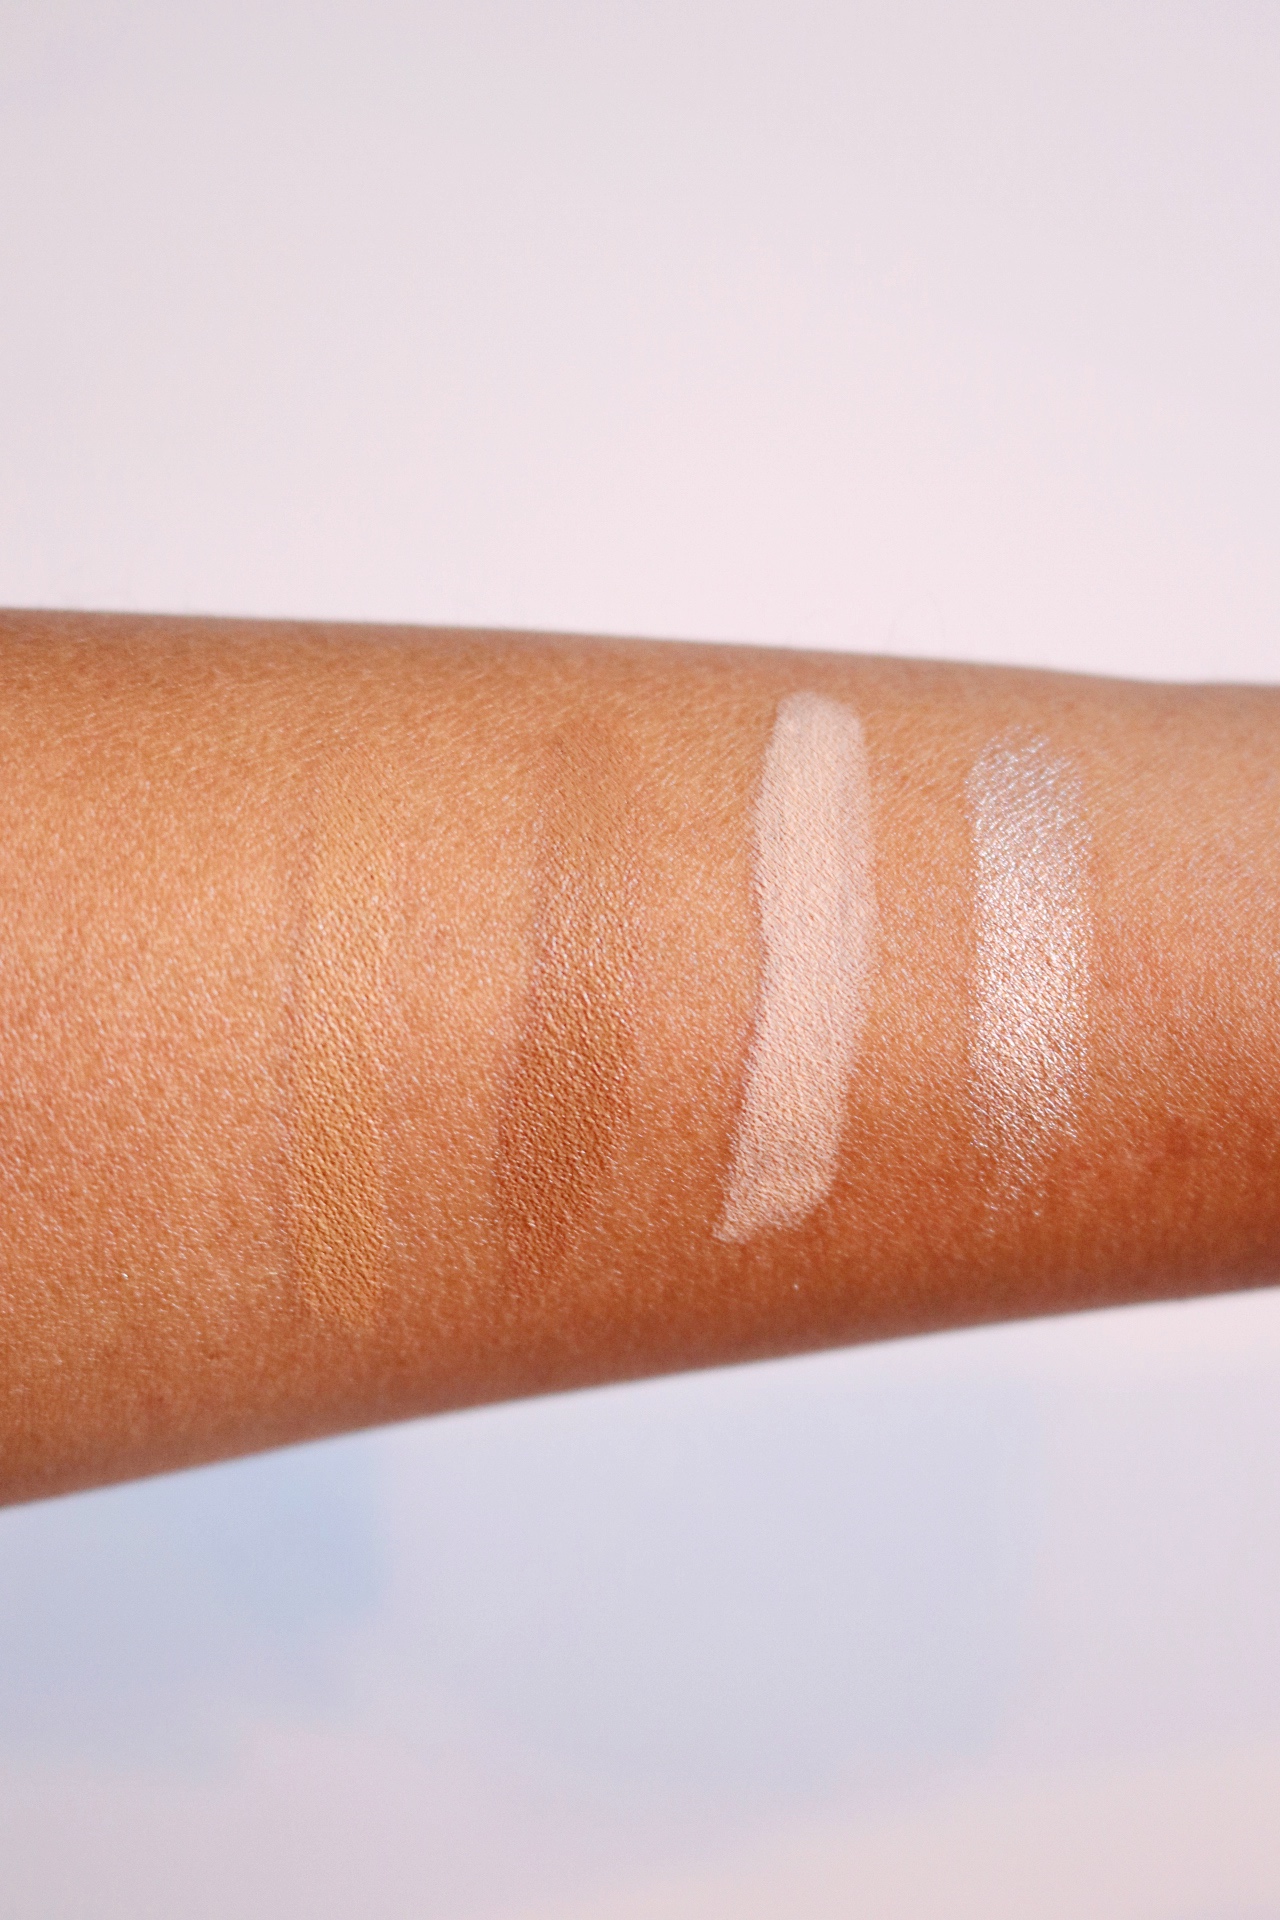
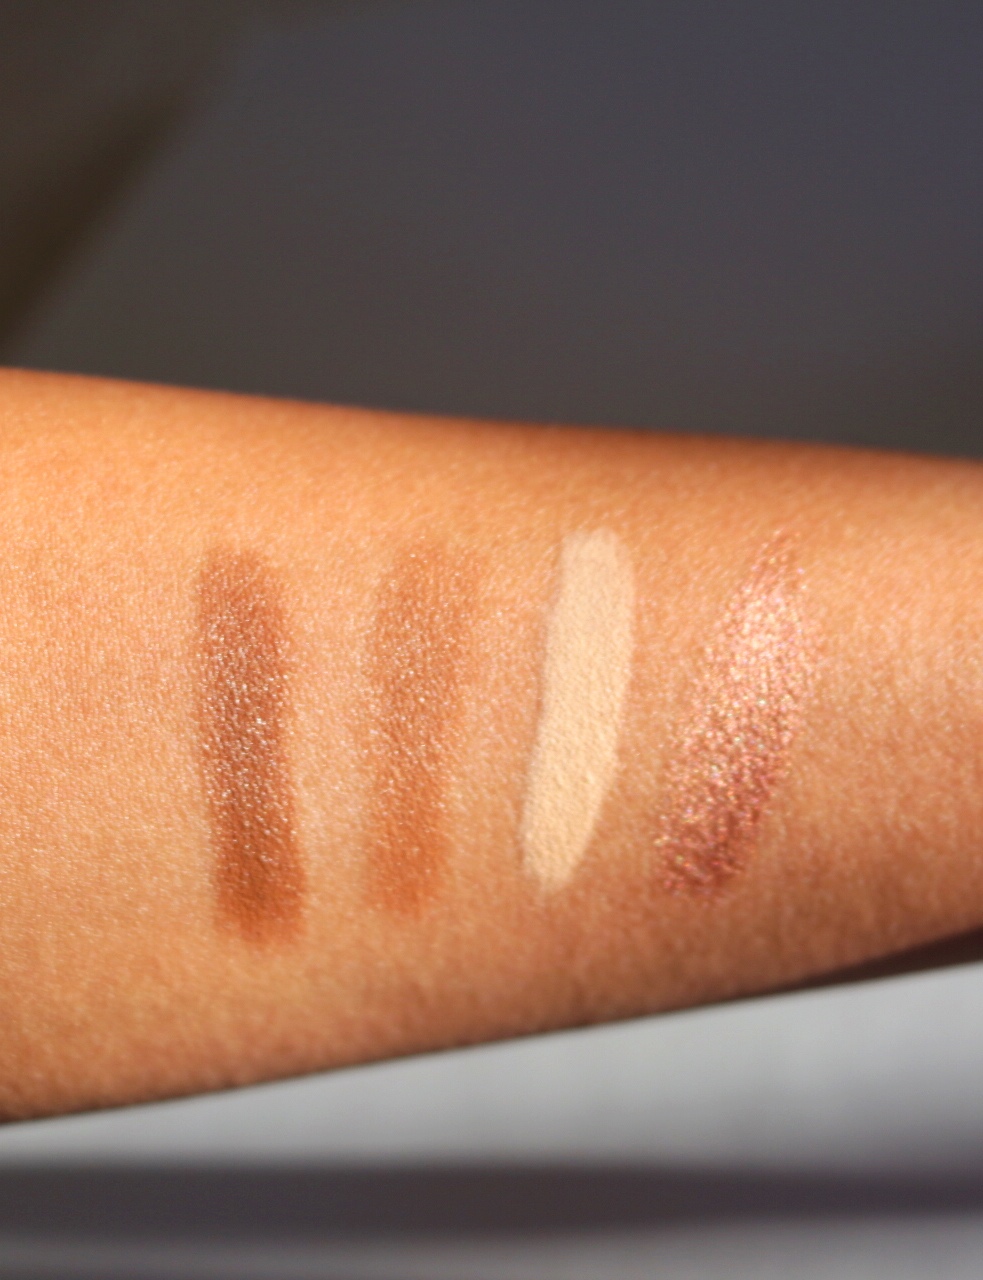
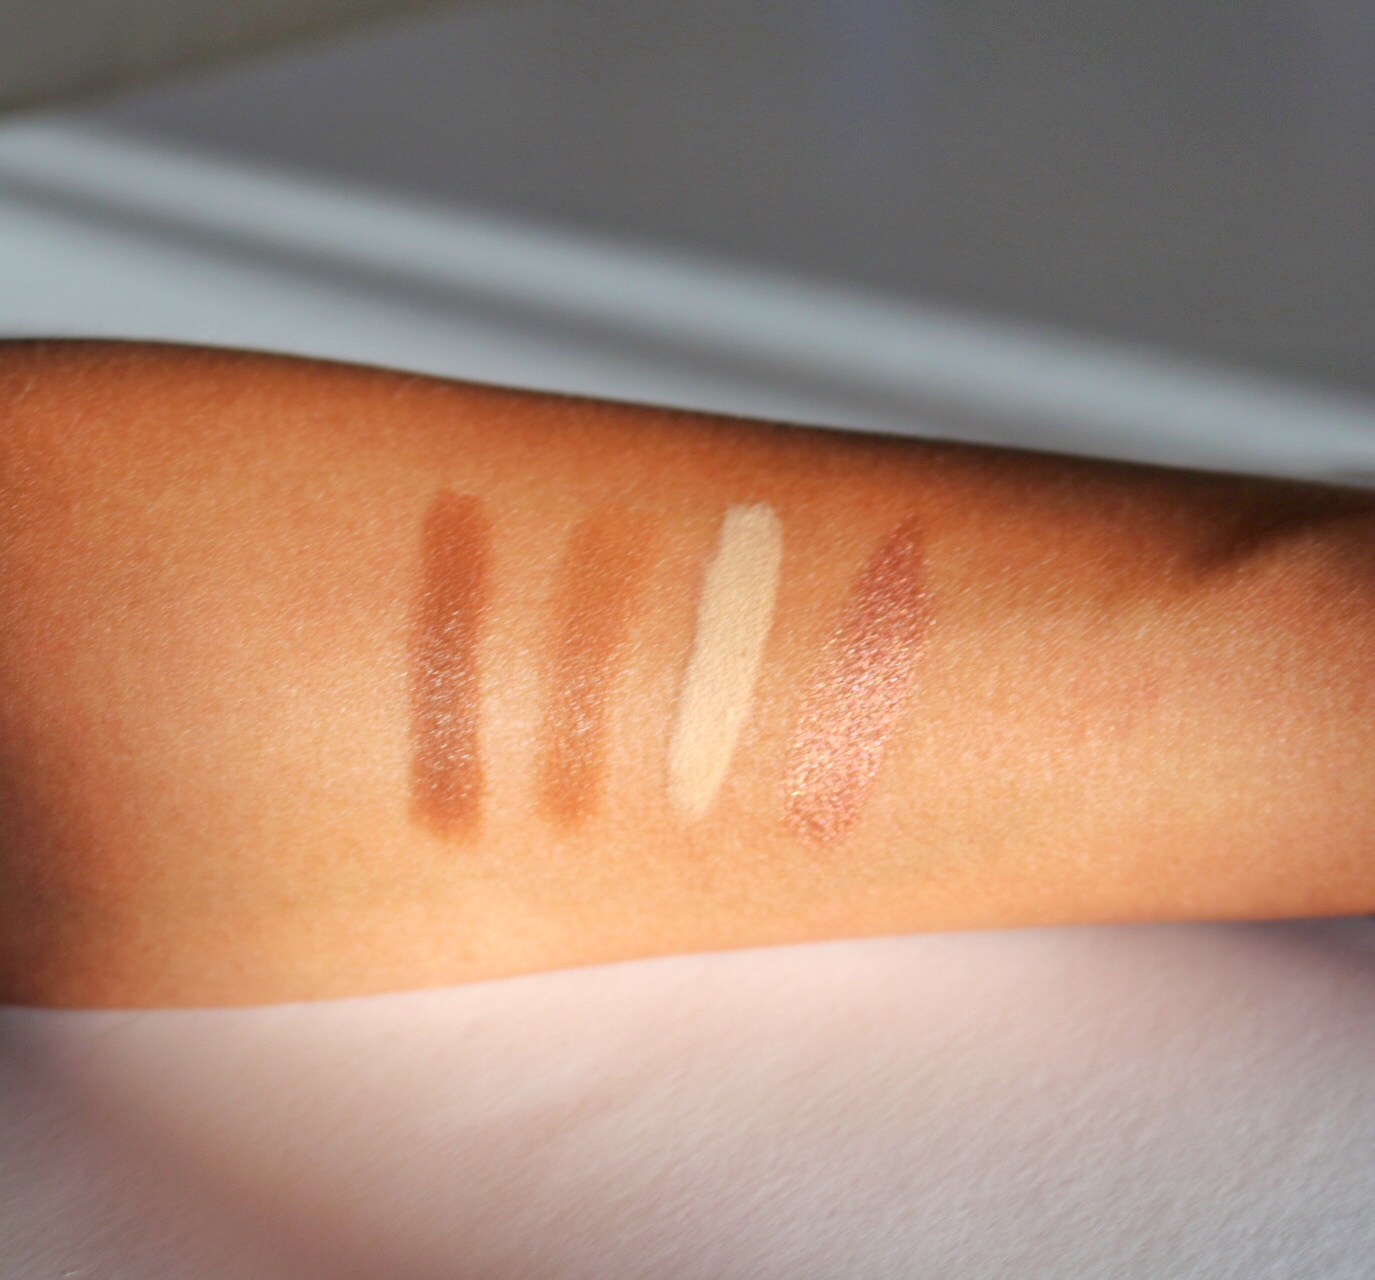
The medium kit was too light for me, I'd definitely continue using the shimmer for the inner corner of my eyes and cupid's bow but I won't be needing the contour shades as often. Instead, I'd keep it as an eye shadow base for more natural looks. As you can see from my swatches, it blends into my skin so it does me no good to use as a contour. I was glad to purchase the dark kit.
CRÈME CONTOUR AND HIGHLIGHT KIT DARK
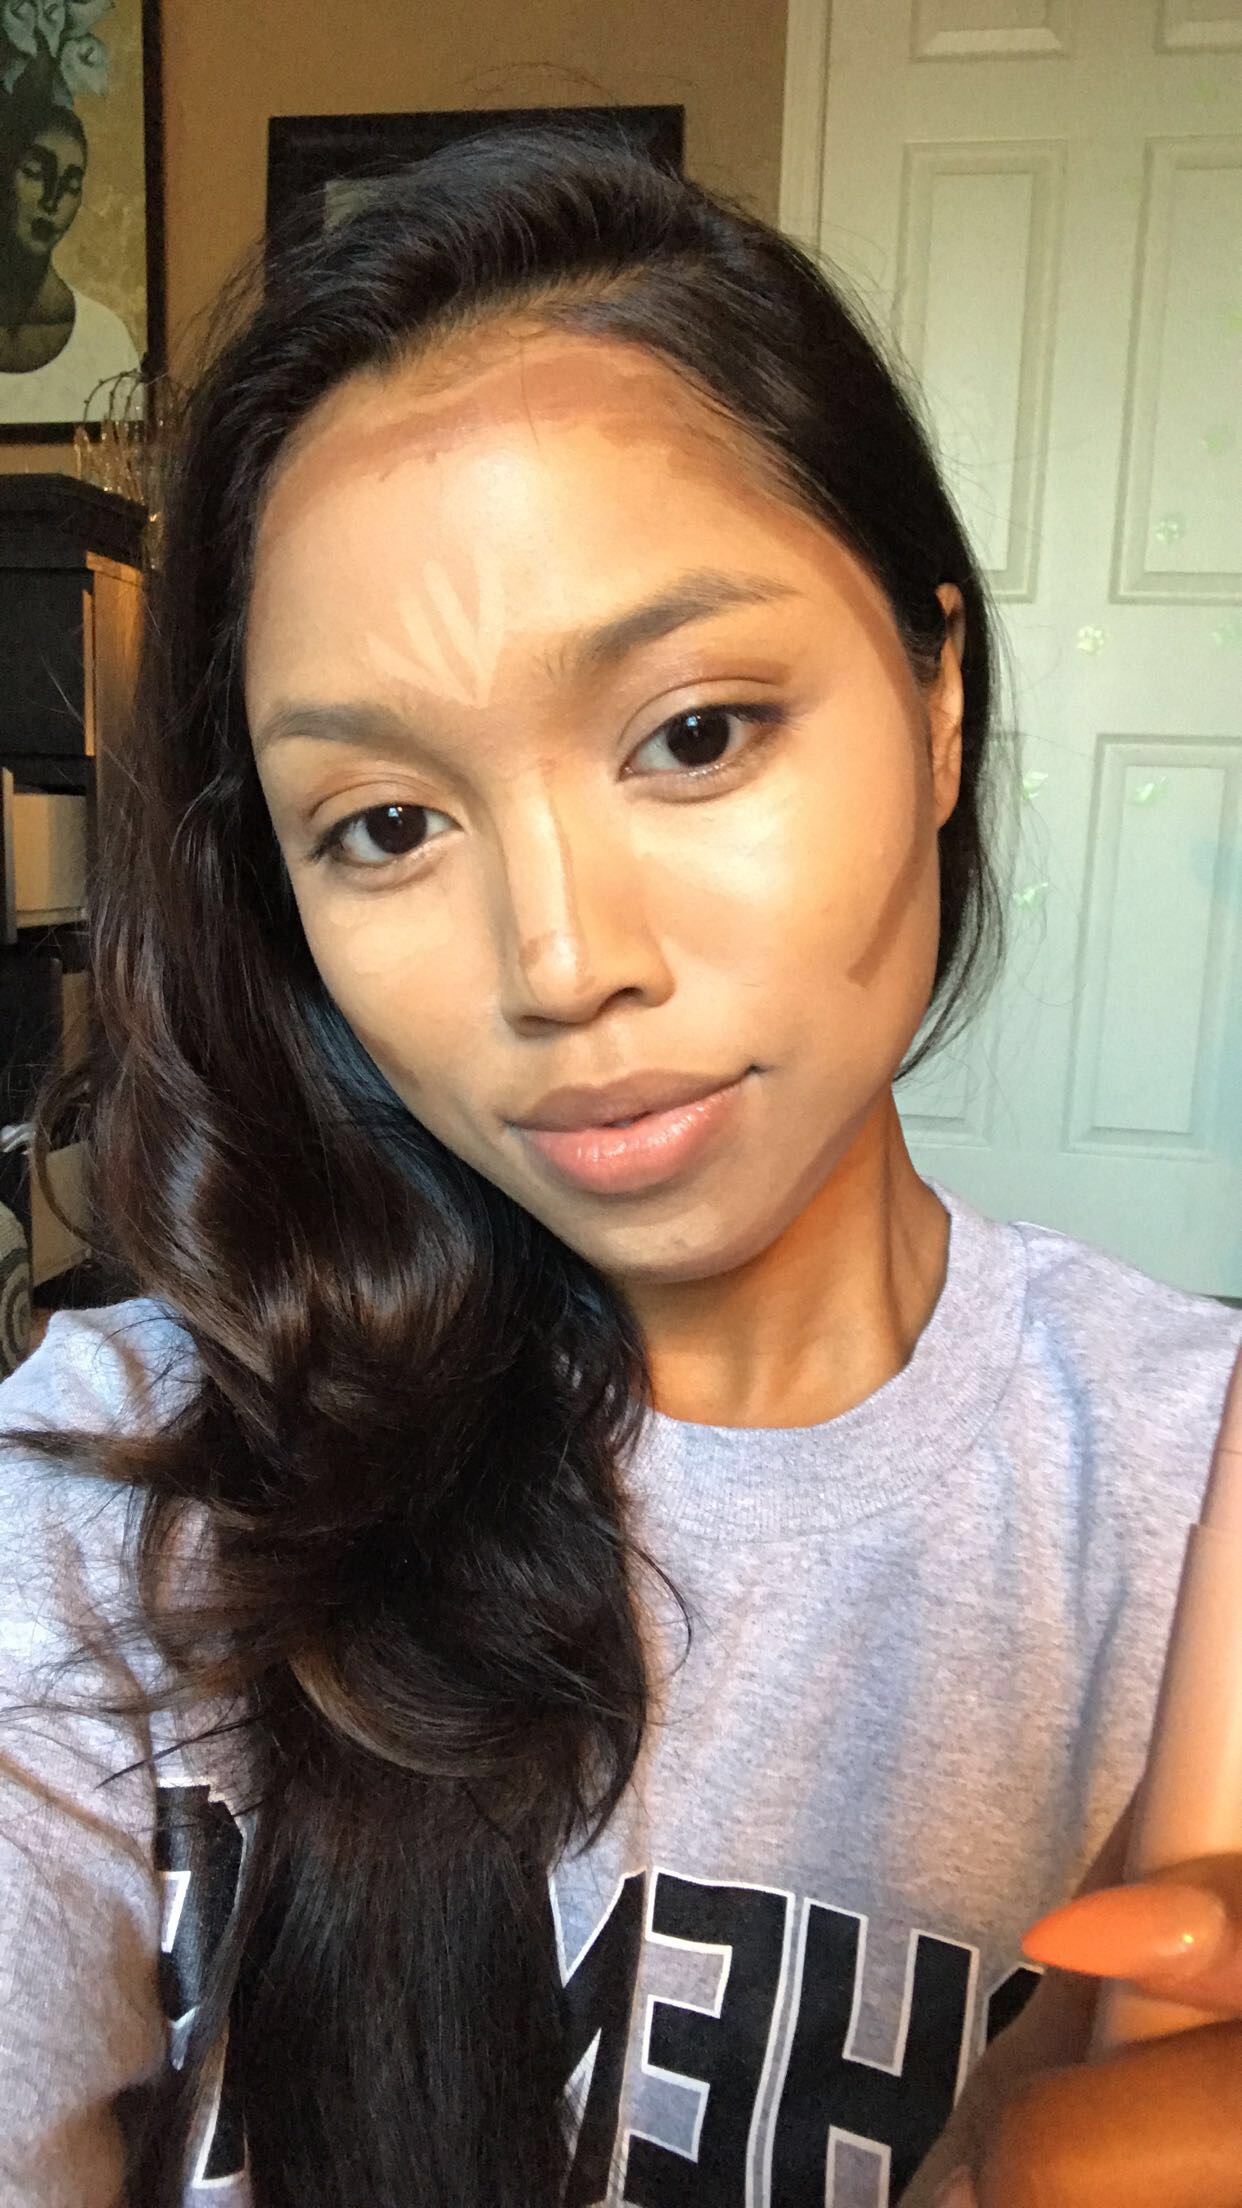
The dark kit was much more in tune with my skin tone. I needed more color that I could blend into the skin without getting too much intensity, that's where that "Transformation look" would come from and I didn't want that. I was going for a more natural contour.
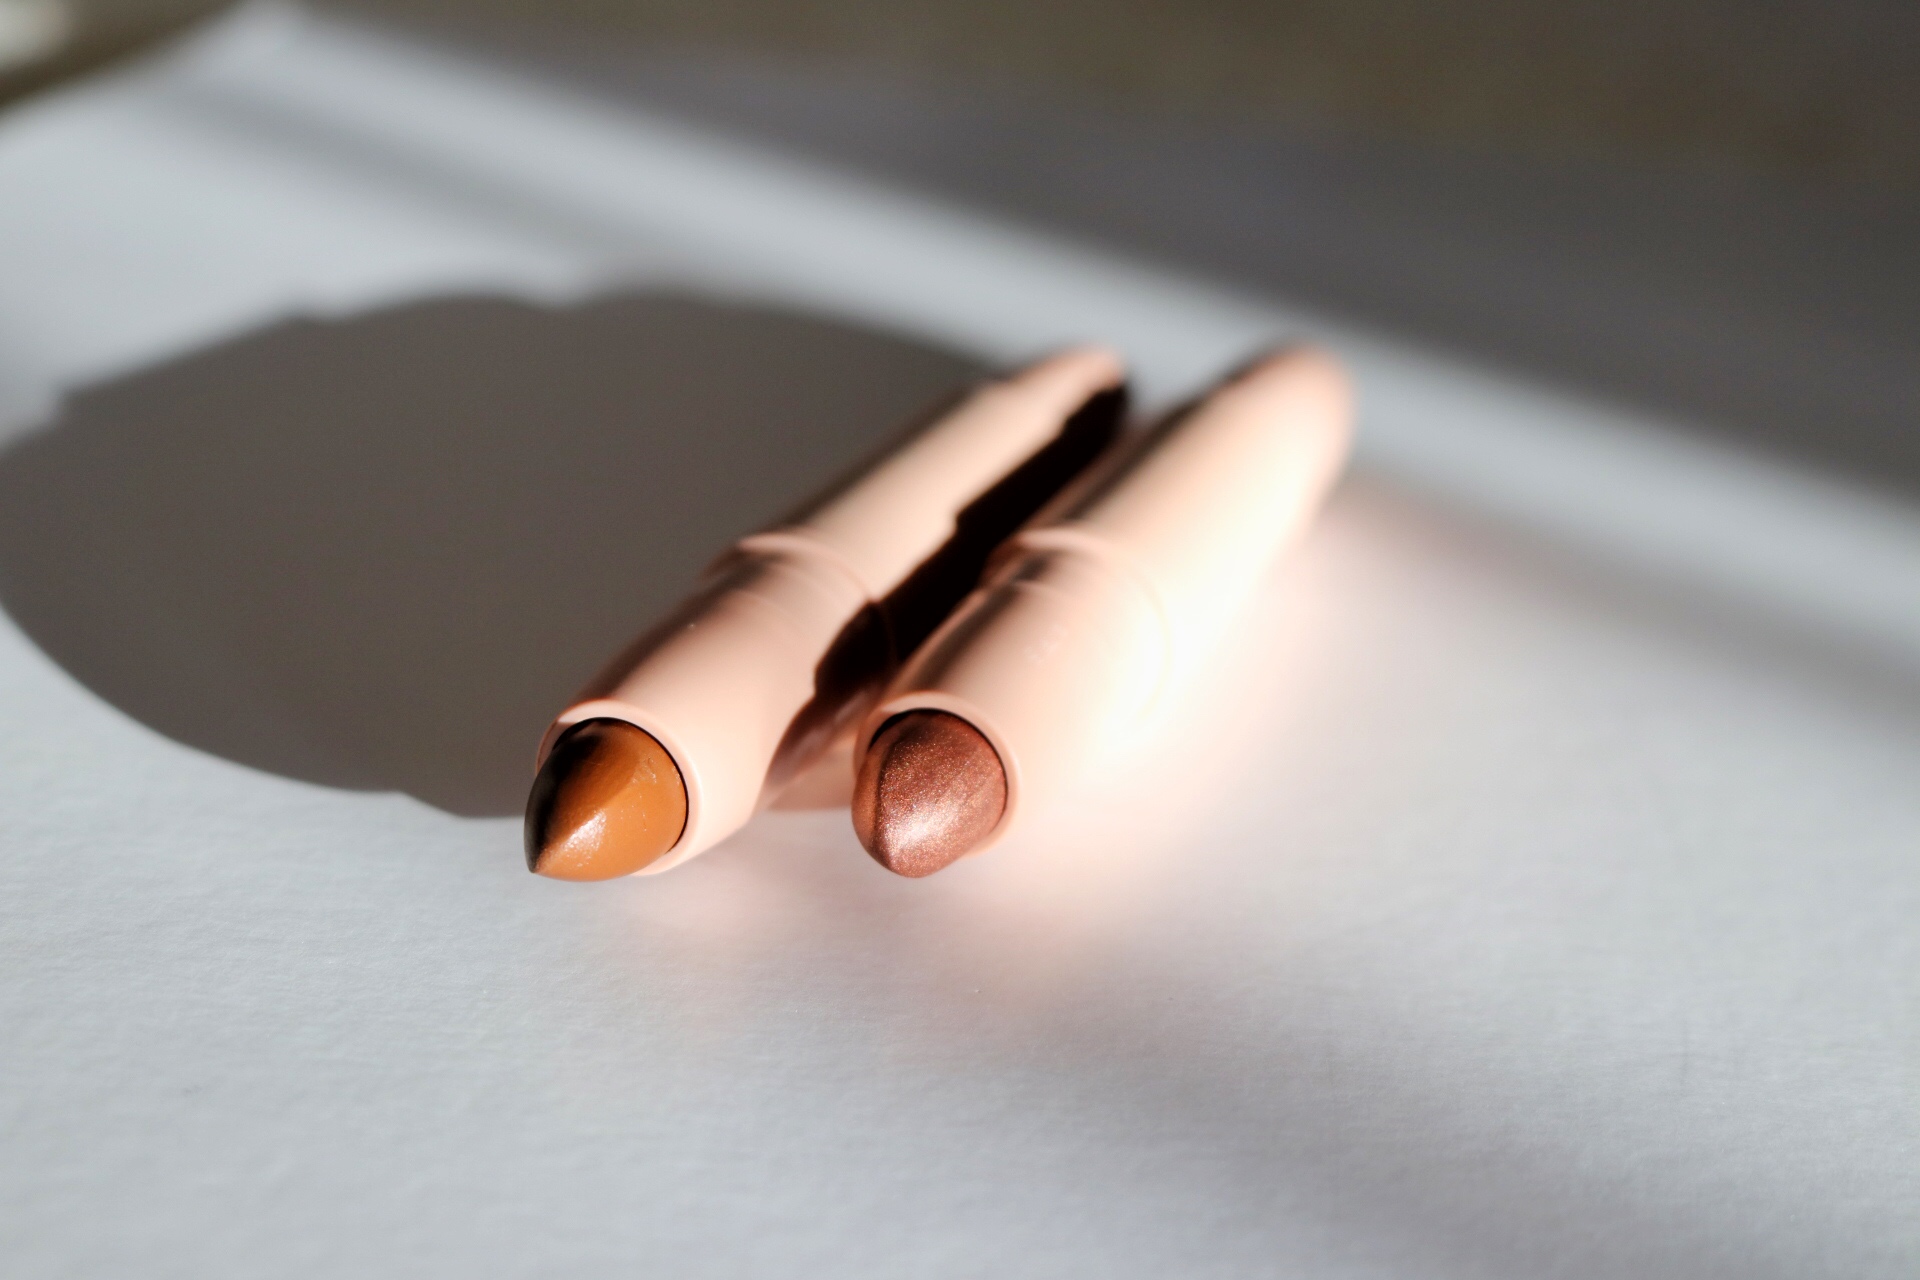
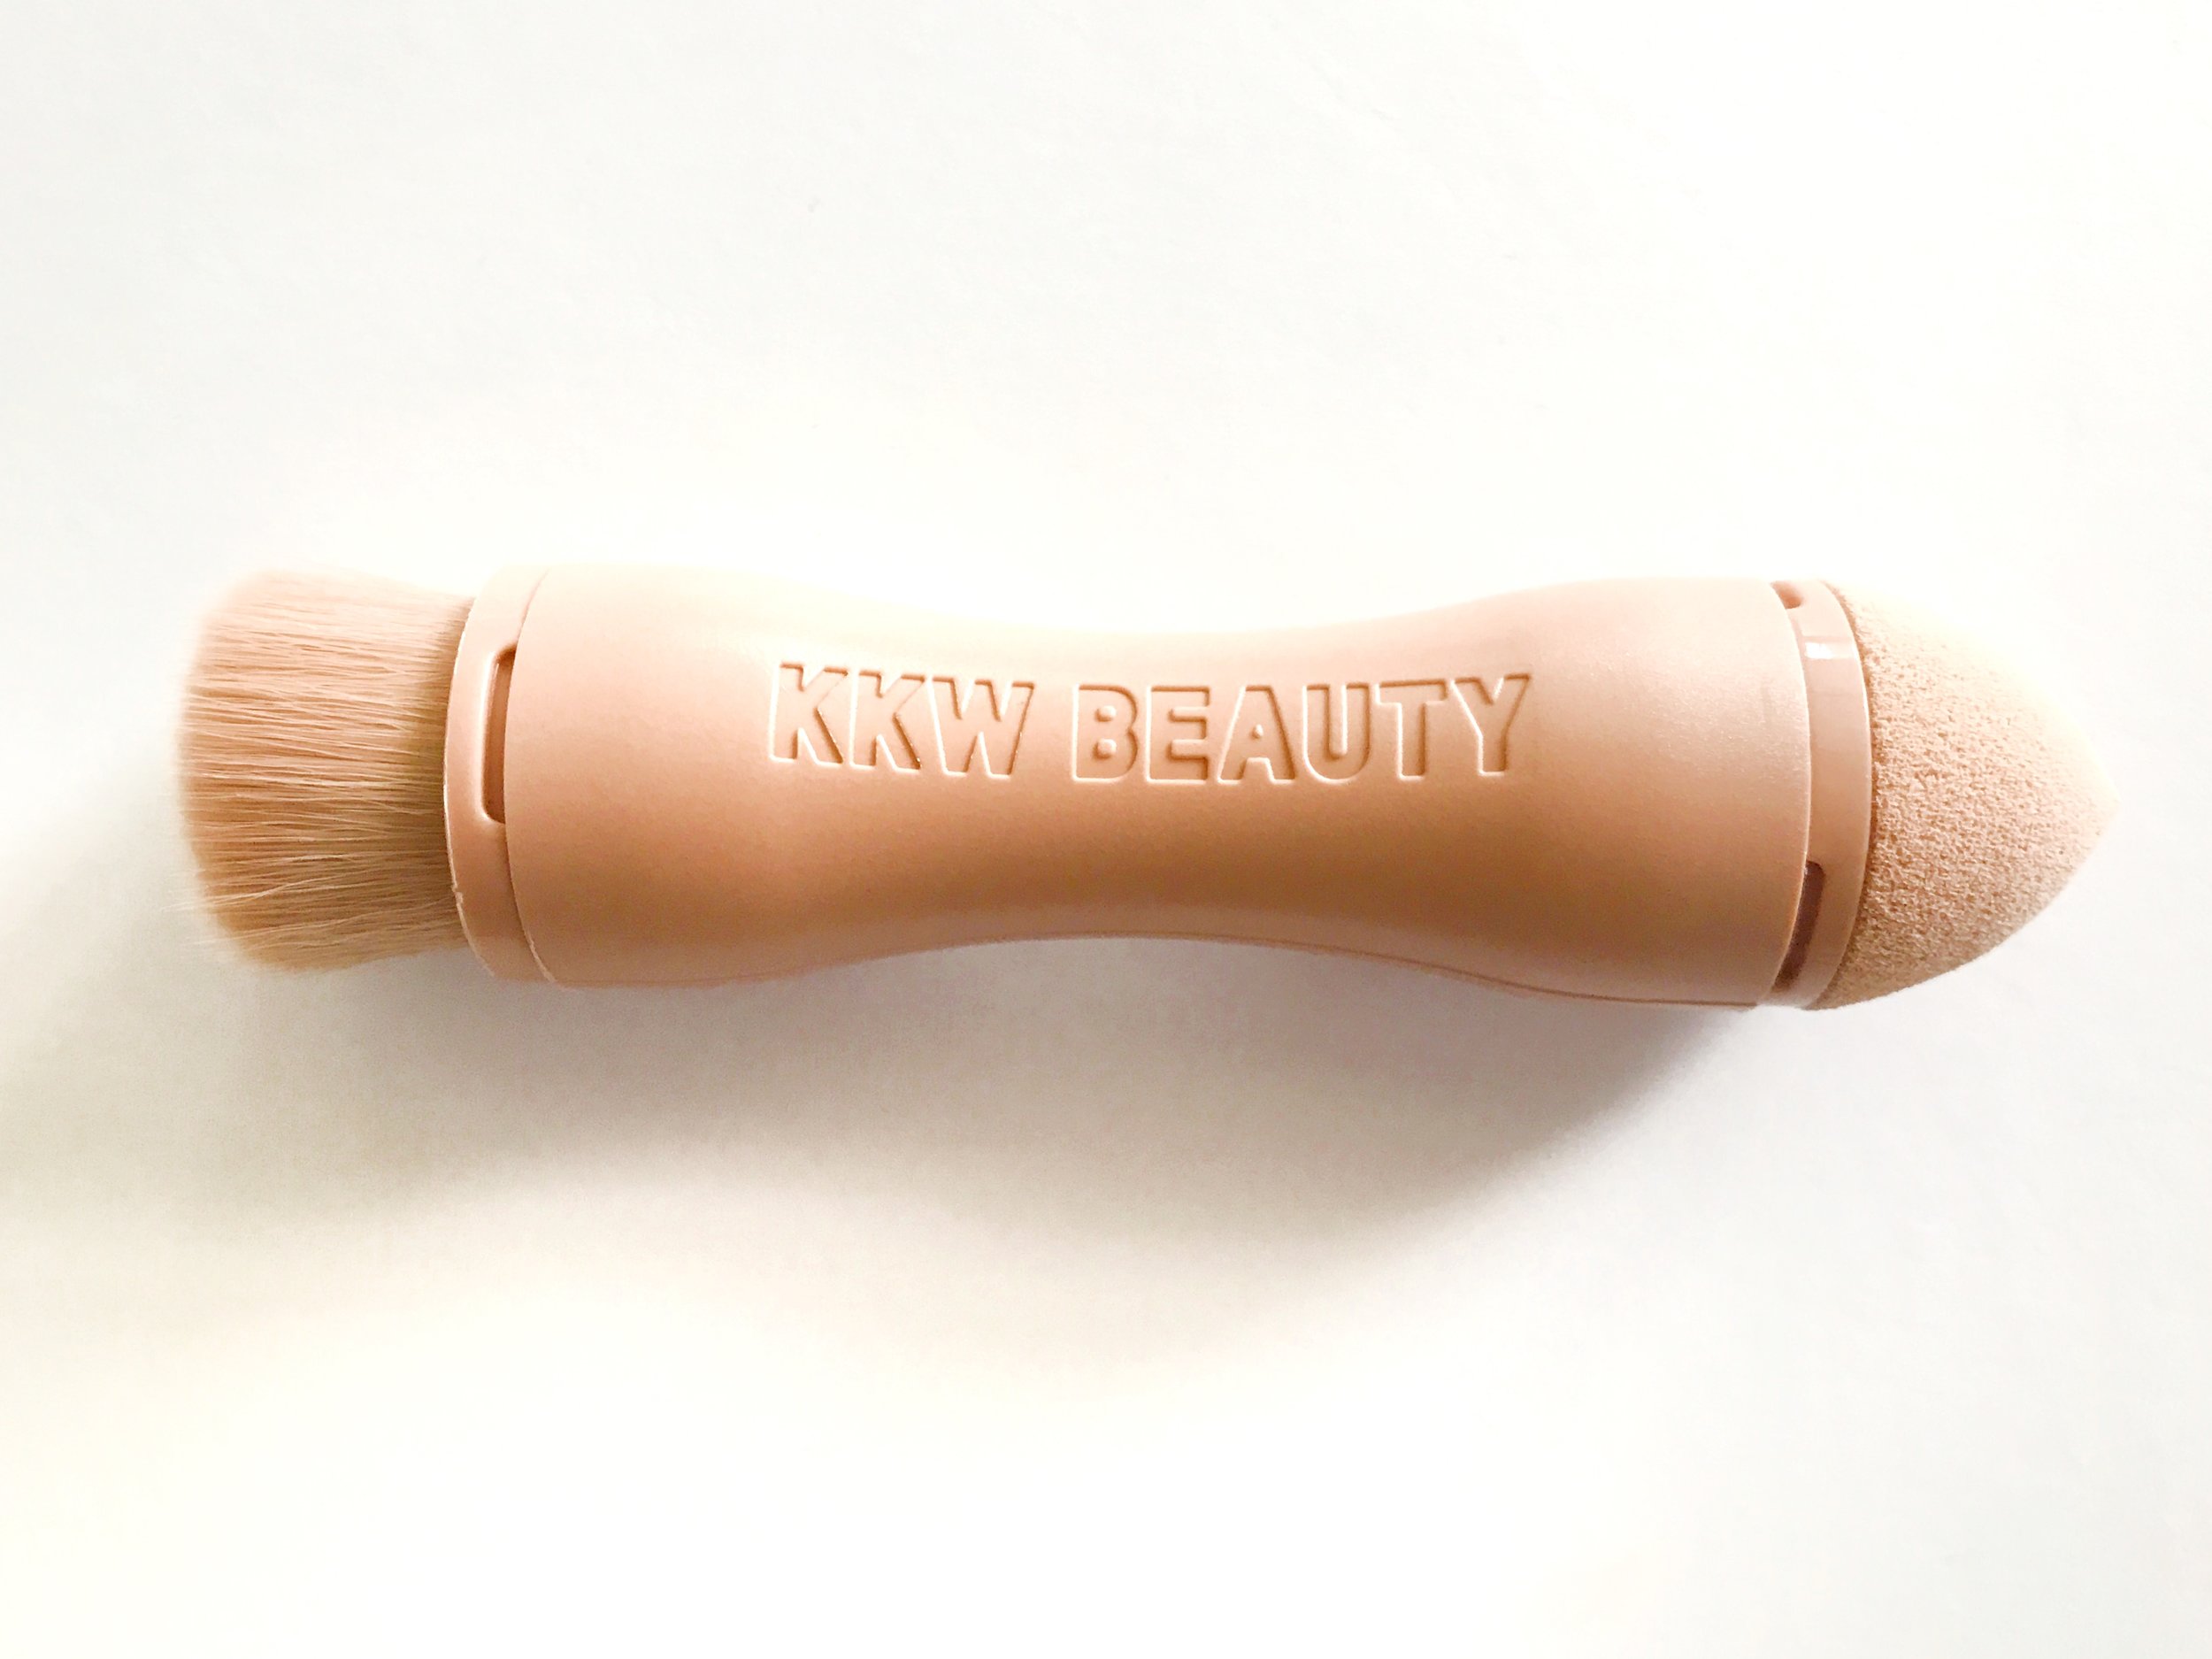
I absolutely loved the consistency of the crème contour because you could easily blend it. I admit, I didn't use the applicator brush or sponge because I preferred to use my own beauty blender and stipling brush. The small tip on the applicator just didn't do it for me, it felt too stiff and the brush wasn't kabuki enough in my opinion. I think she should make the applicator much thicker.
CRÈME CONTOUR AND HIGHLIGHT KIT DARK
The dark kit was gorgeous on my skin tone, and I appreciate that the highlighter is darker with copper and rose undertones. I wont go near a white or pink highlighter, no ma'am.
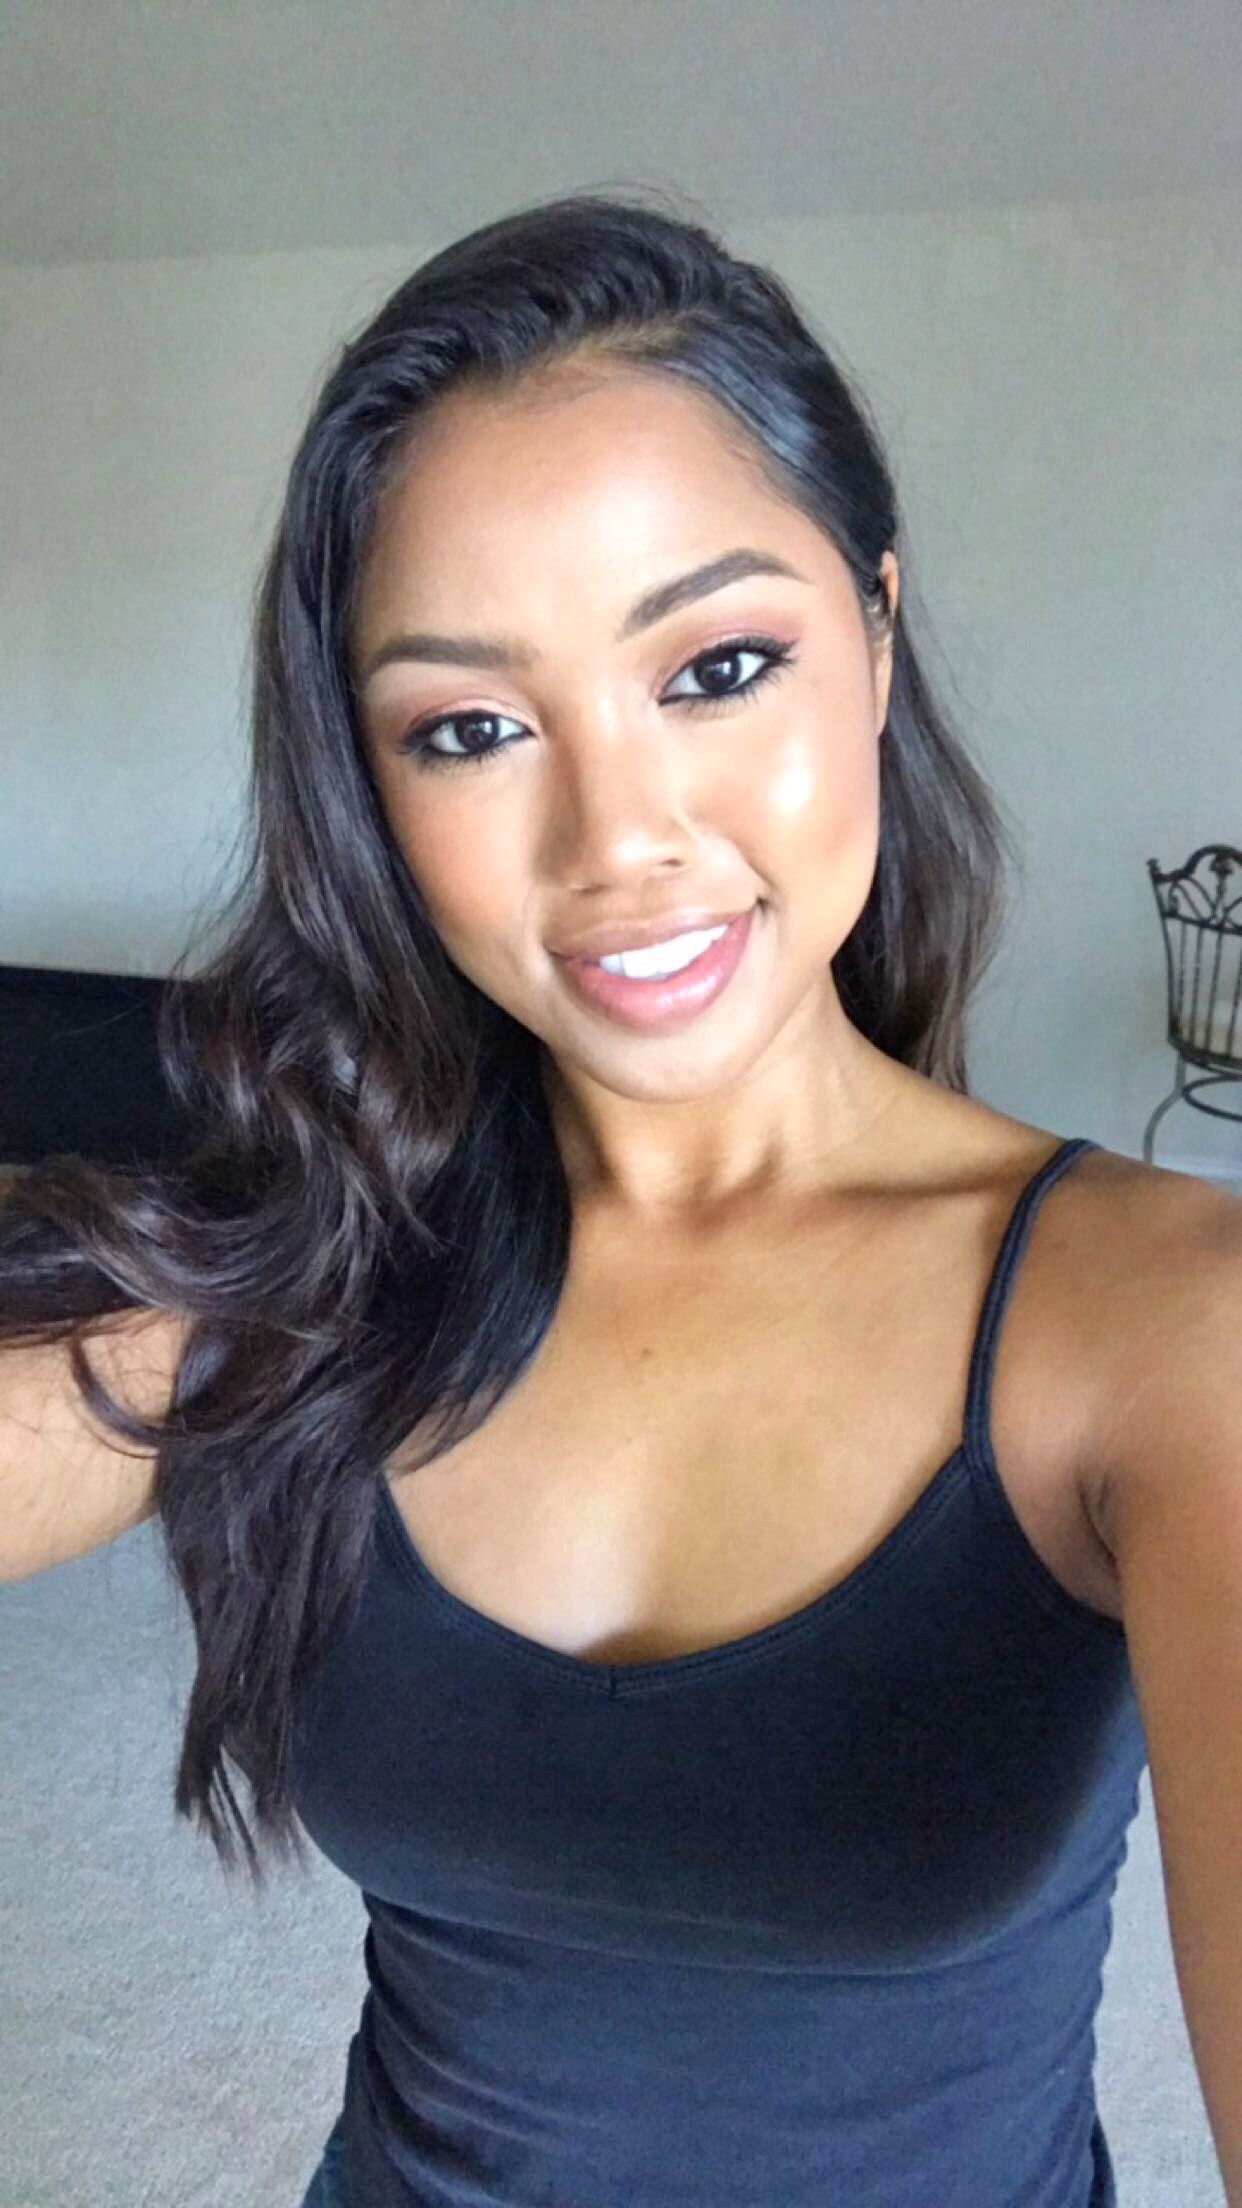
USING THE CRÈME CONTOUR AND HIGHLIGHT KIT DARK: NIGHT TIME
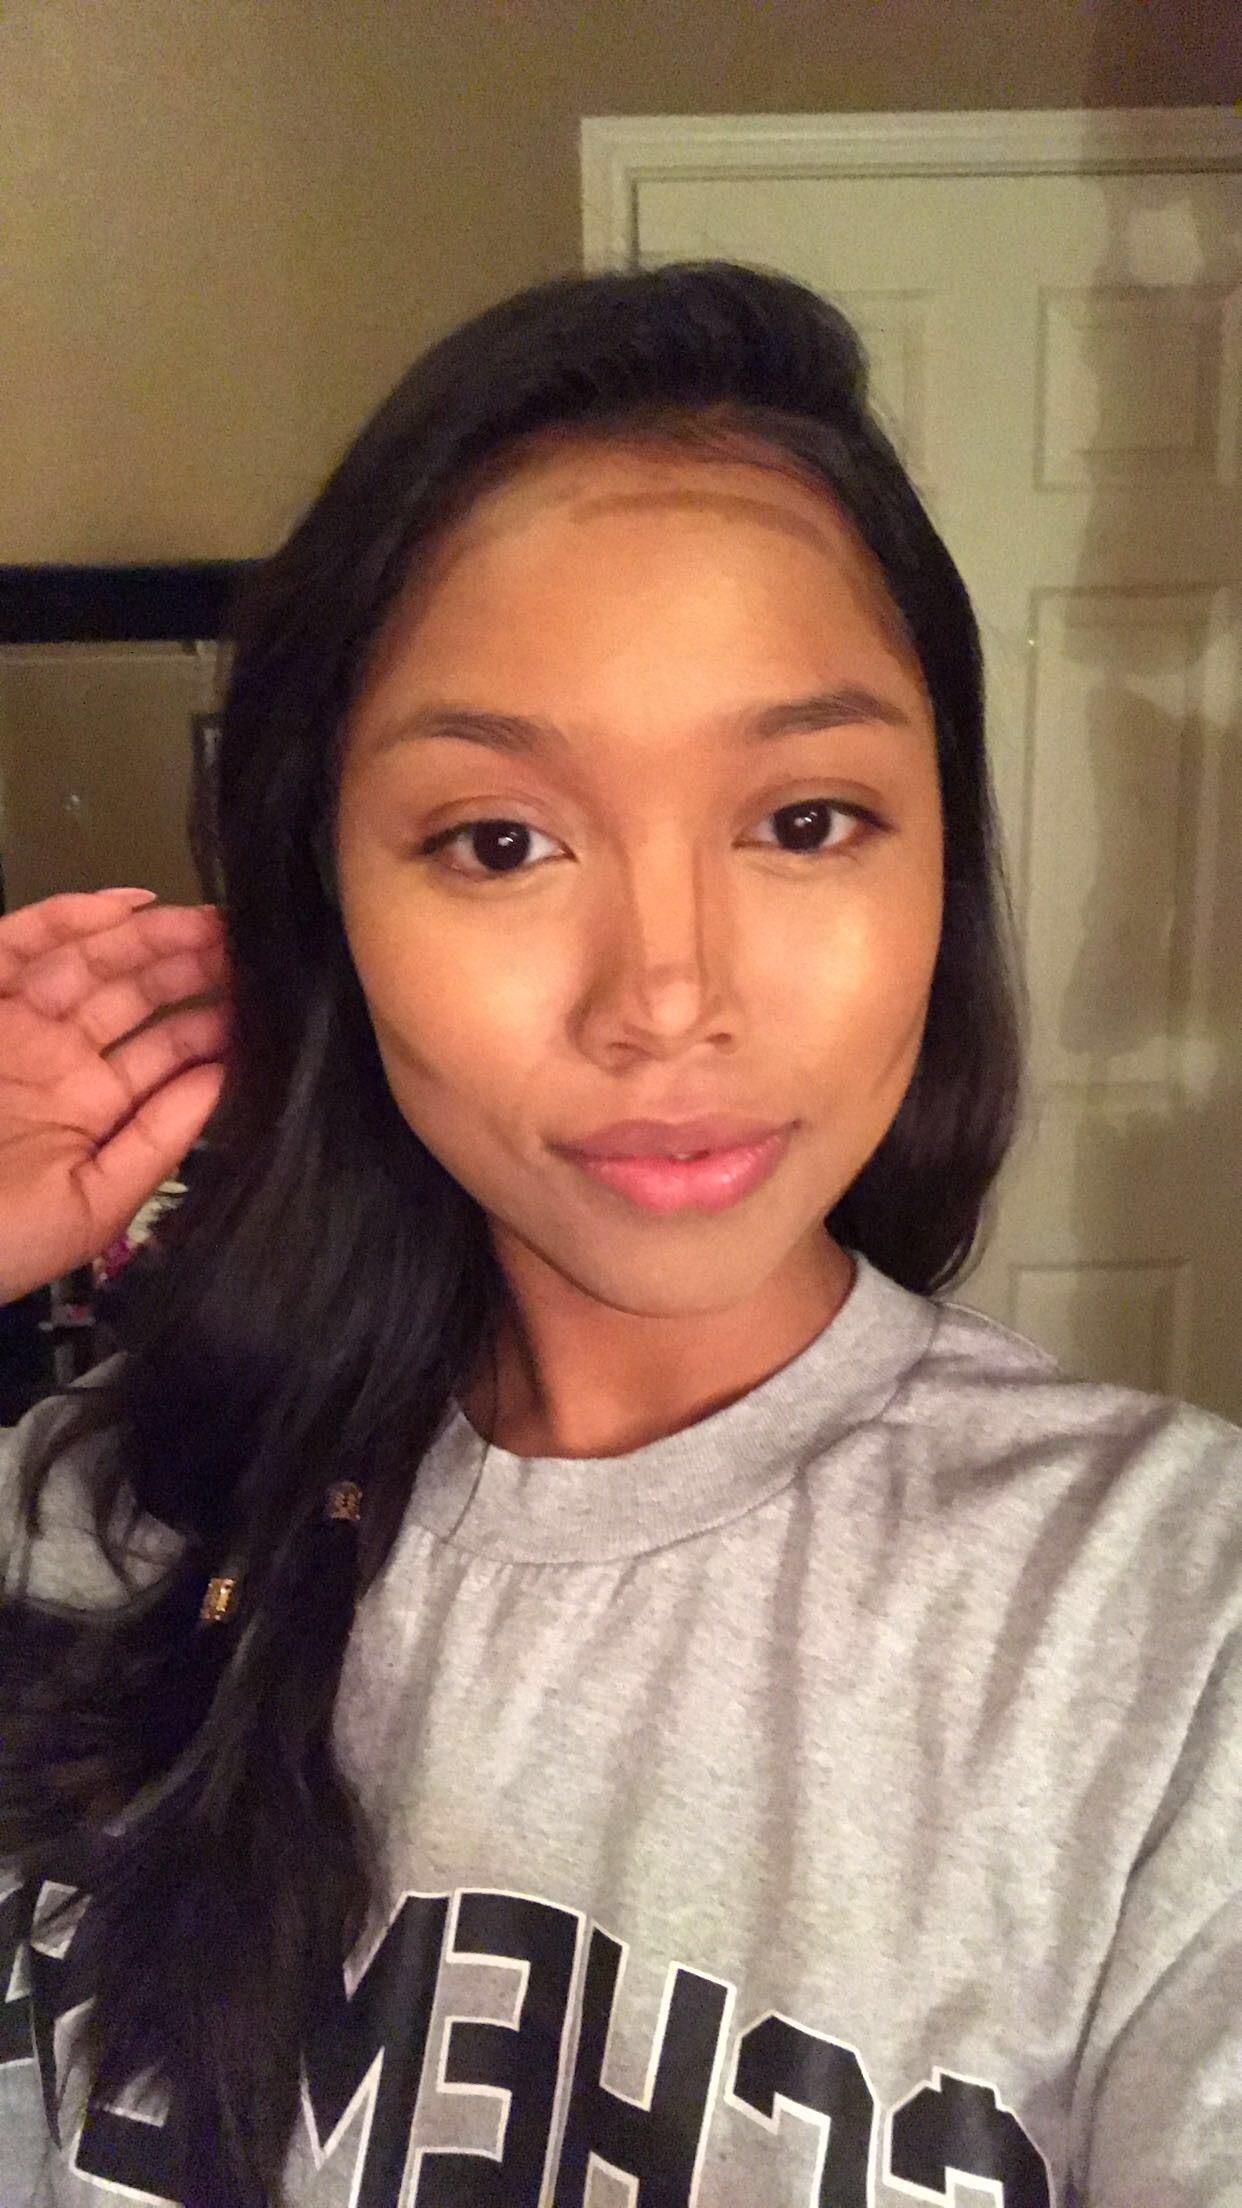
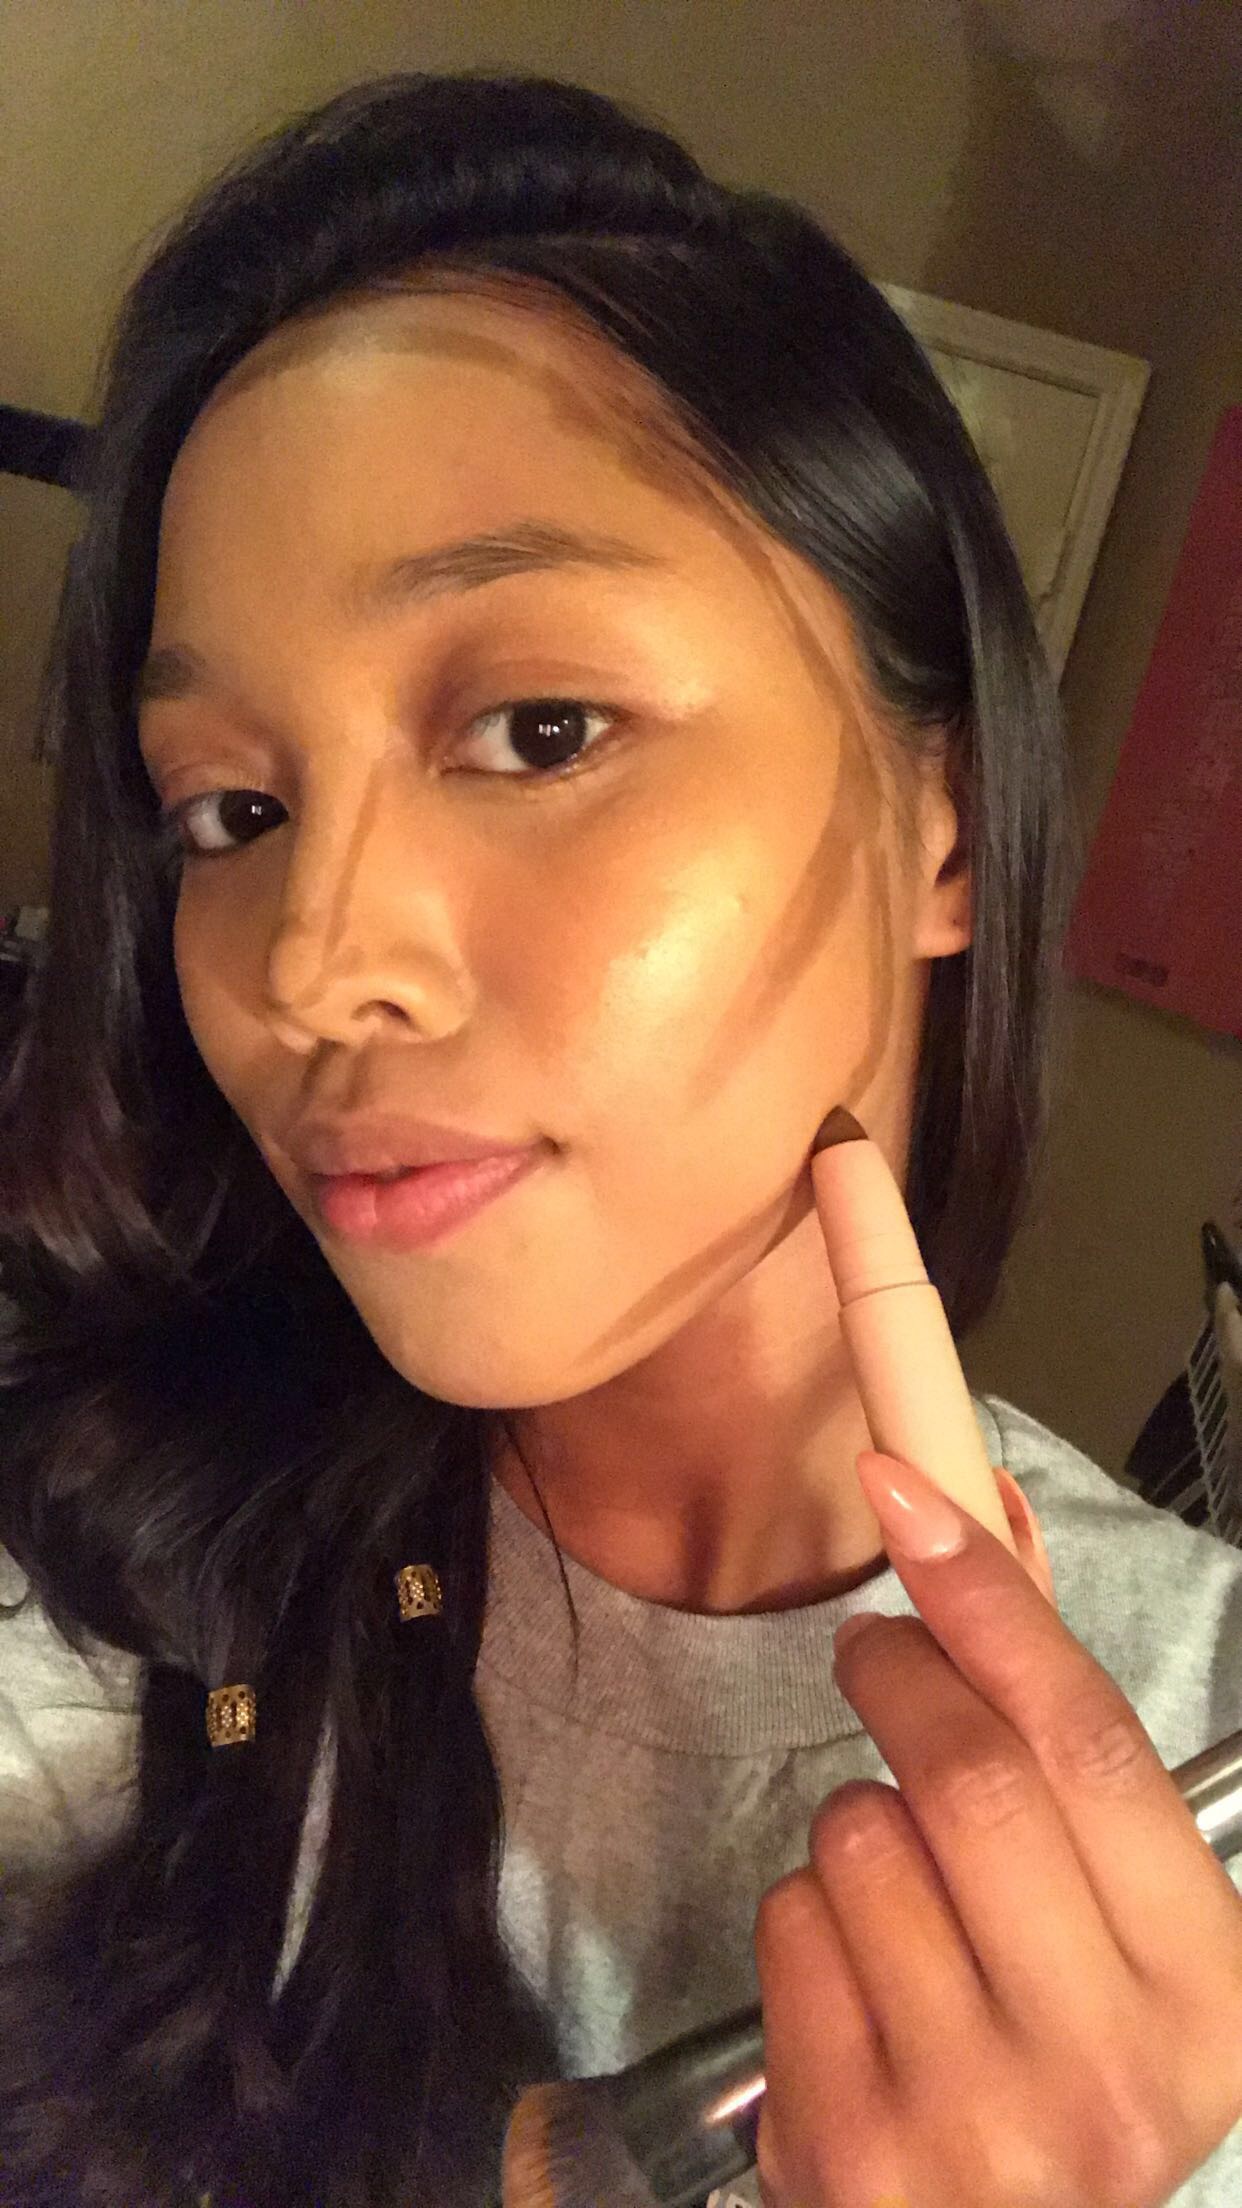
STEP 1: AFTER APPLYING FOUNDATION, USE THE CONTOUR STICK TO DEFINE AREAS THAT YOU WANT TO ENHANCE.
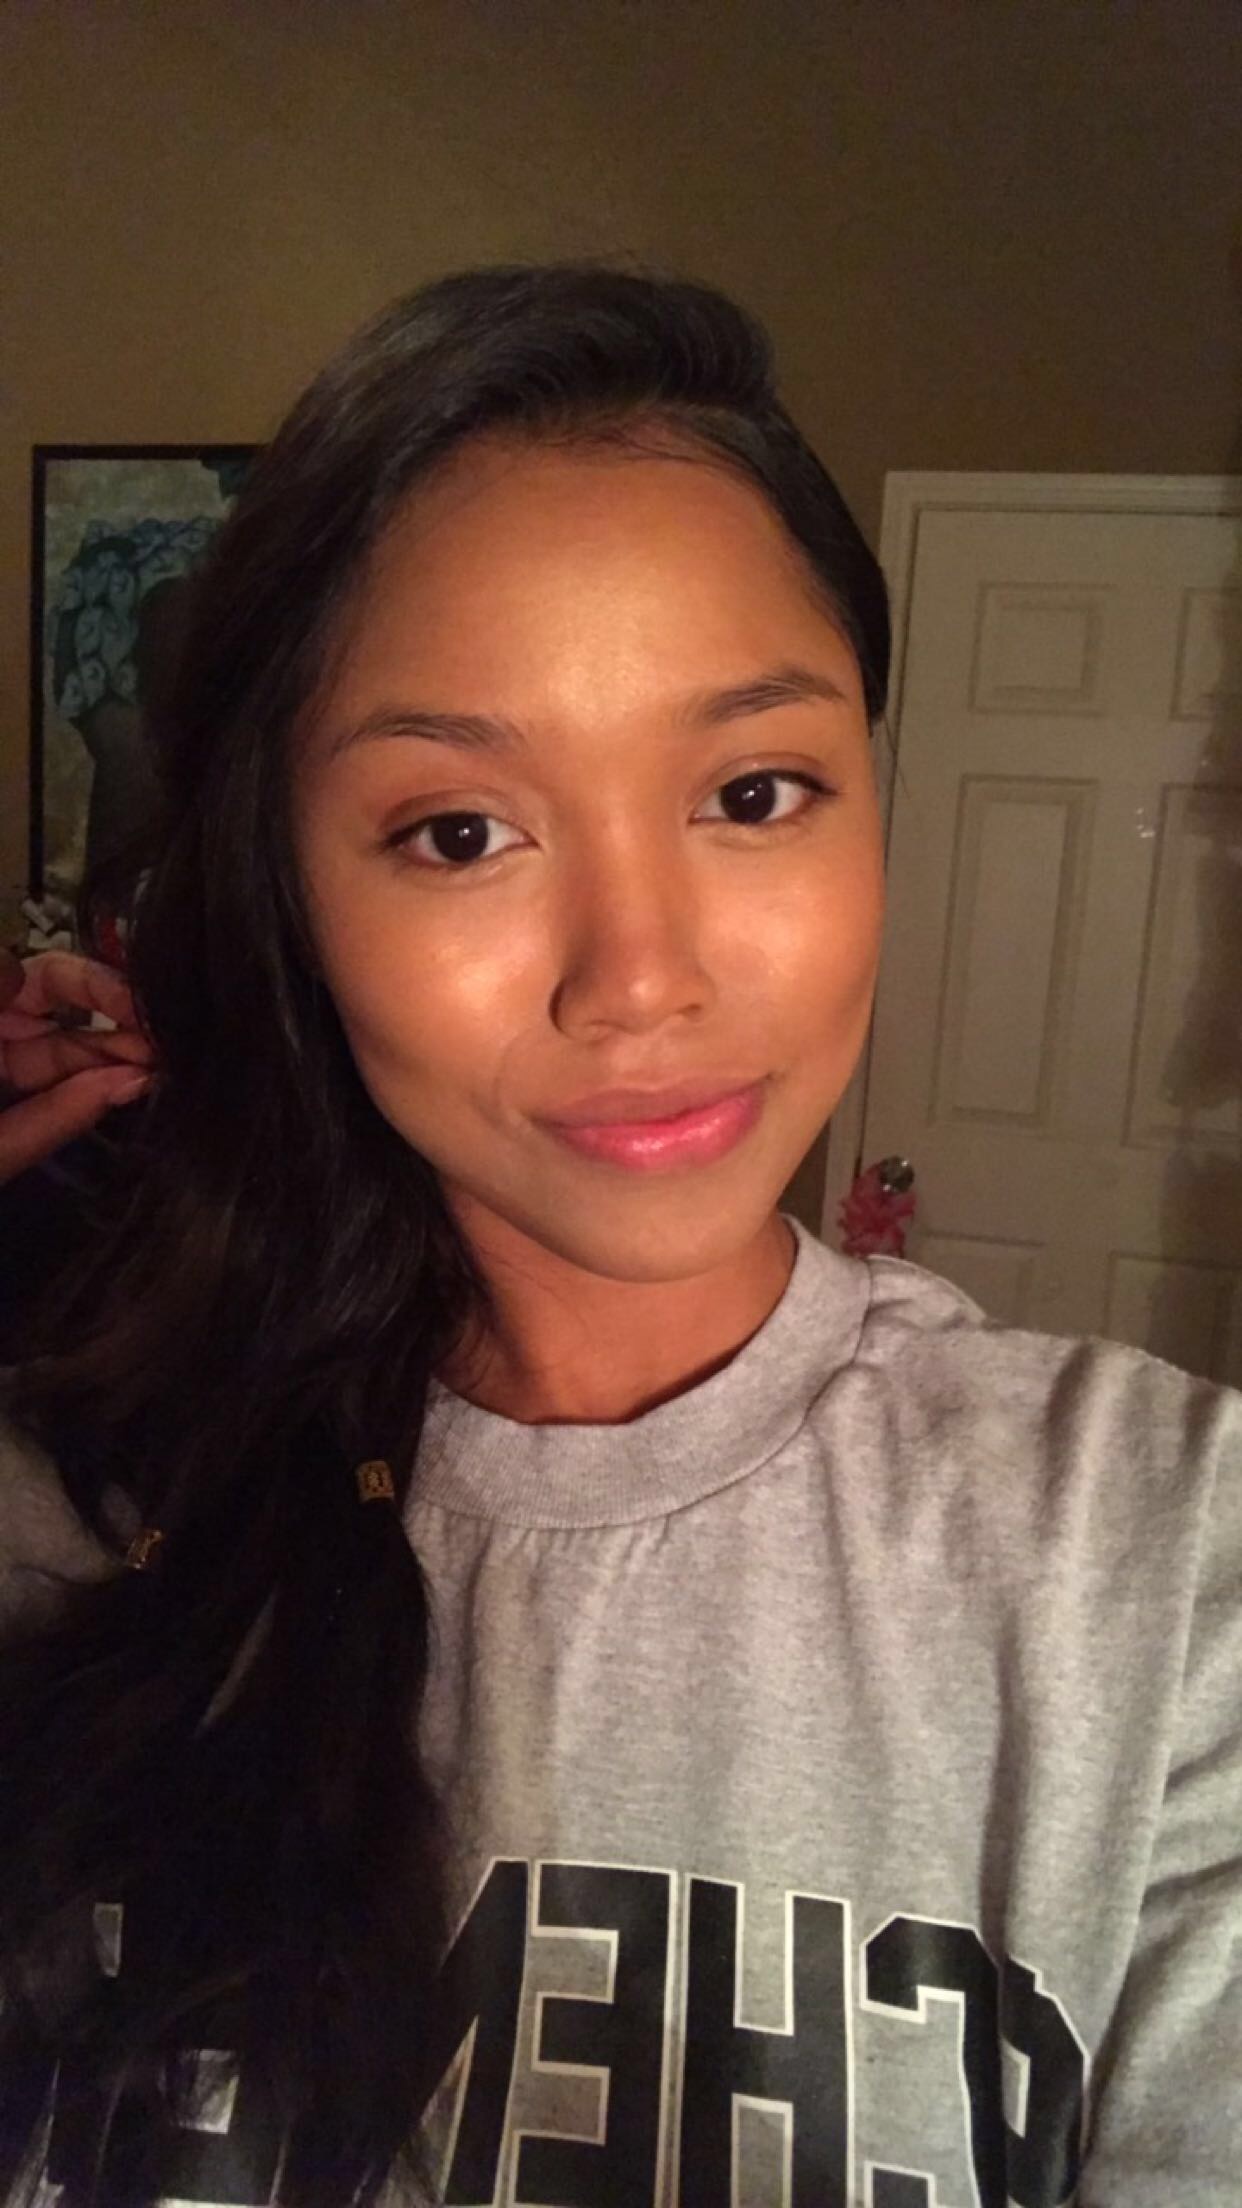
STEP 2: BLEND, BLEND, AND BLEND SOME MORE.
STEP 3: BAKE WITH YOUR CHOICE OF SETTING POWDER.
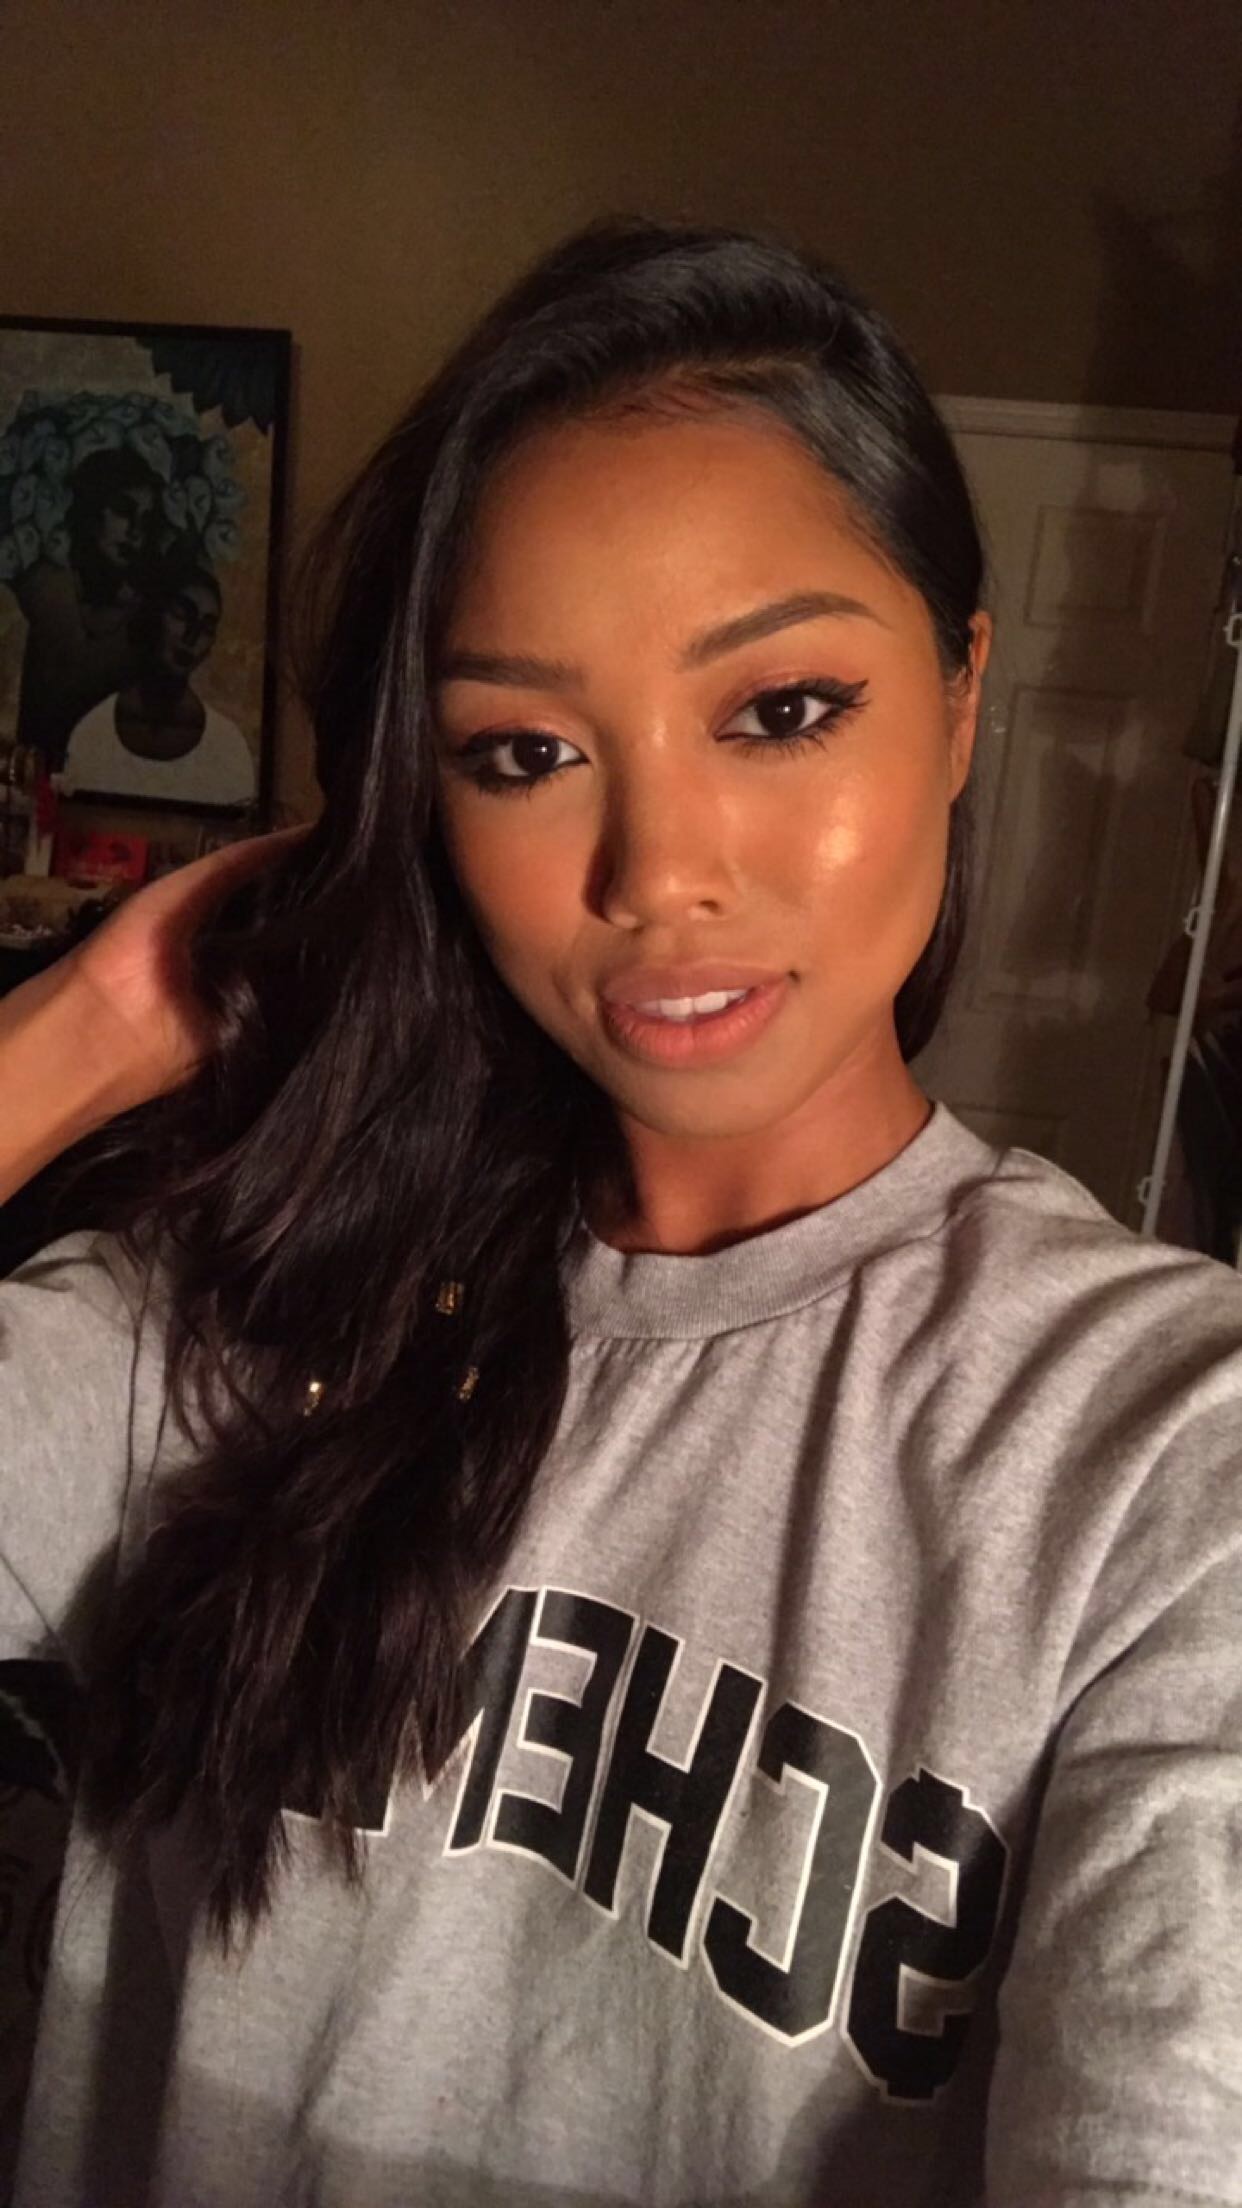
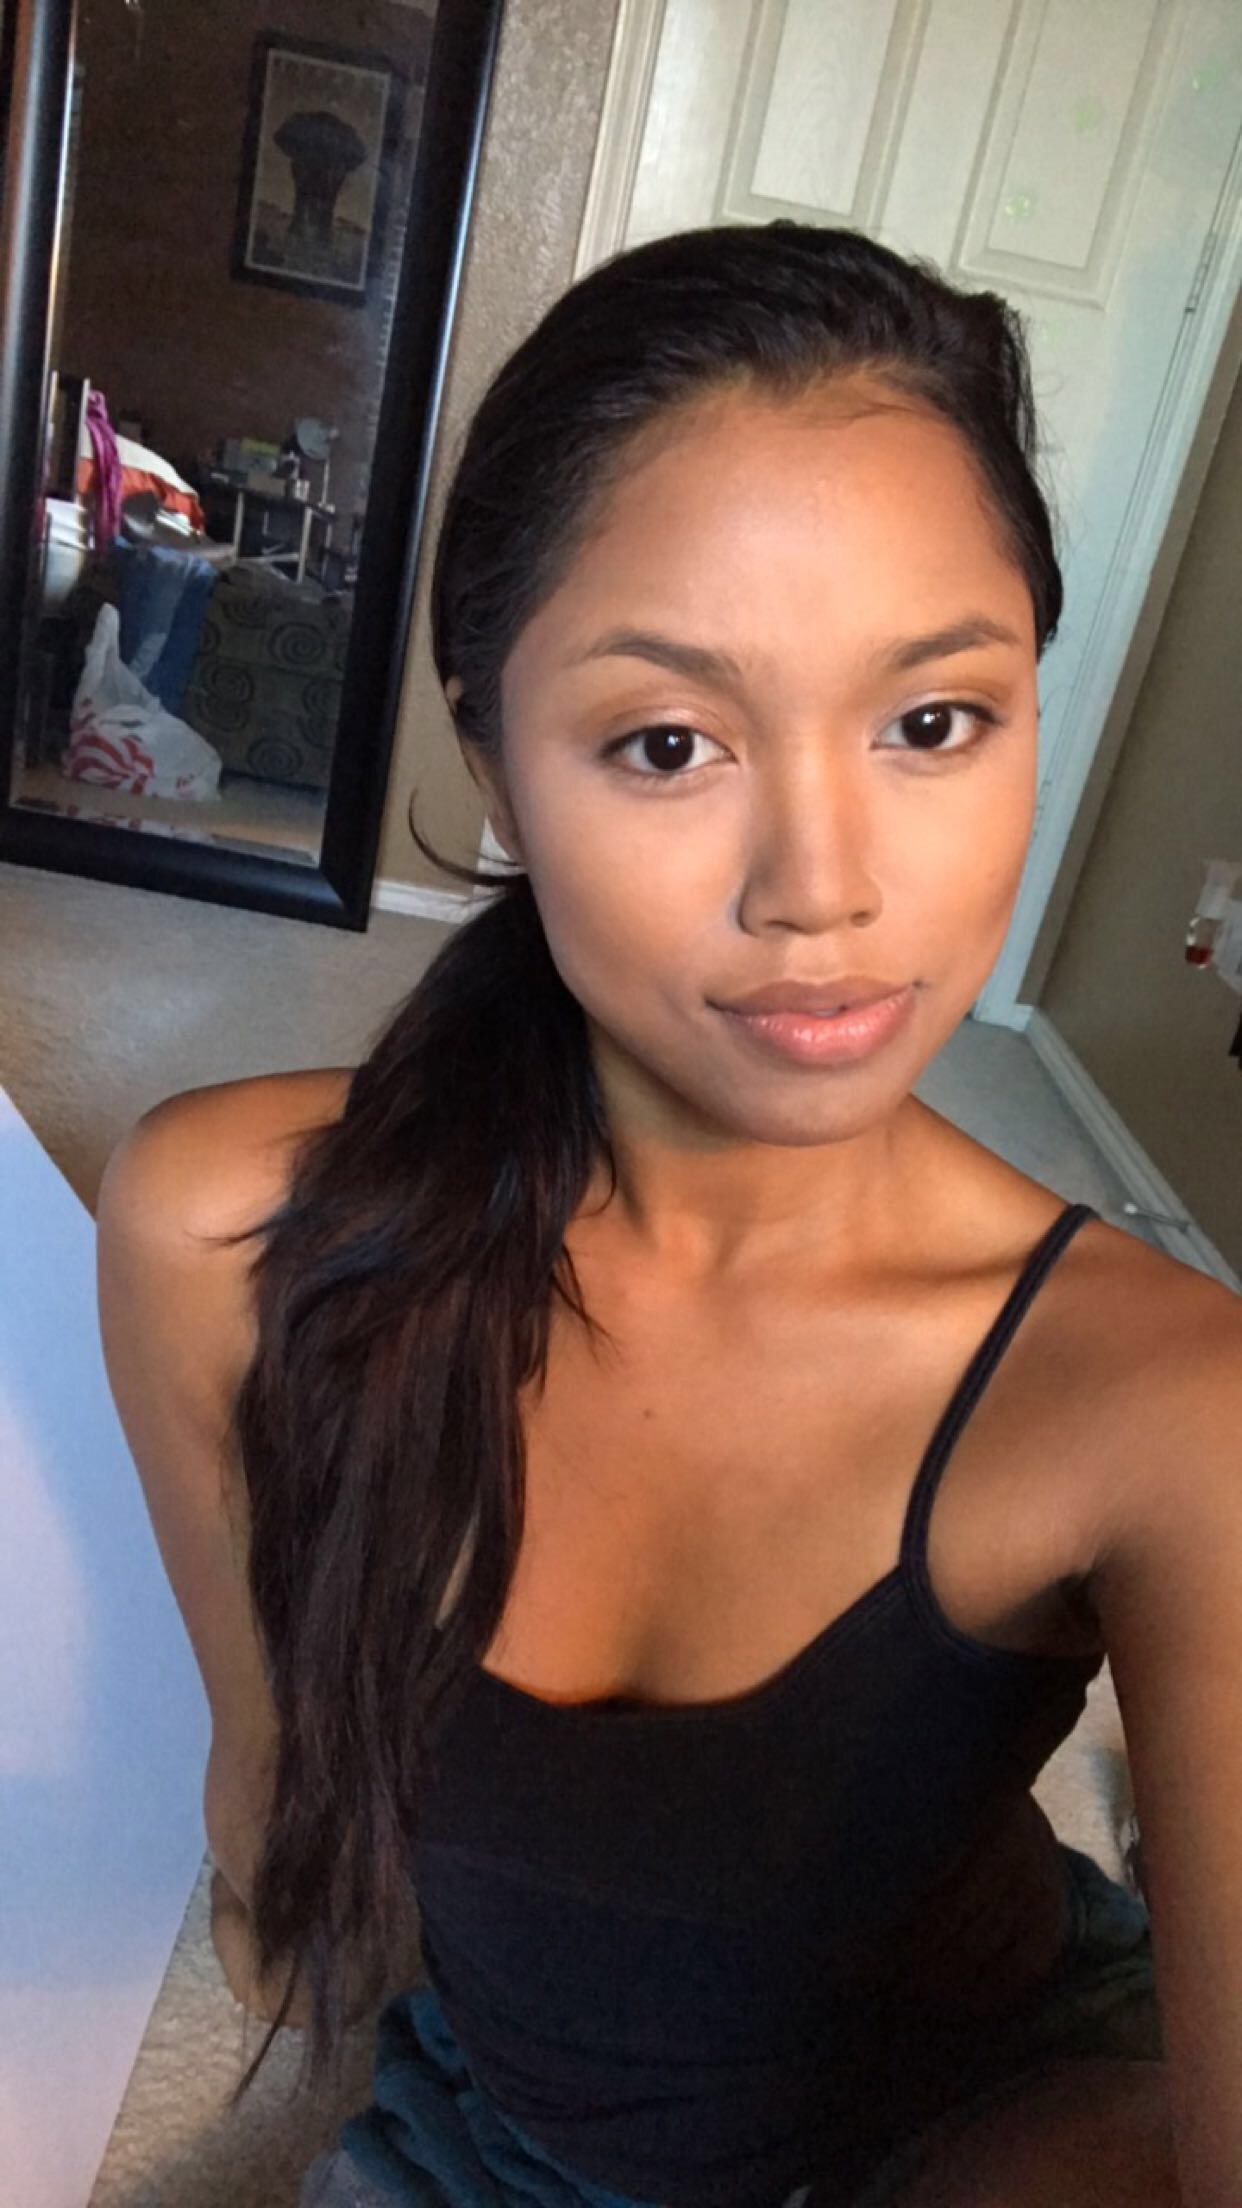
The look was very natural and complimented the peachy night time glow I was going for. Overall I was happy with how easily the contour went onto the skin and how well it blended. The texture is just right, it's creamy and soft. But I wouldn't buy the medium kit again. The dark kit worked in my favor as I have a darker complexion.
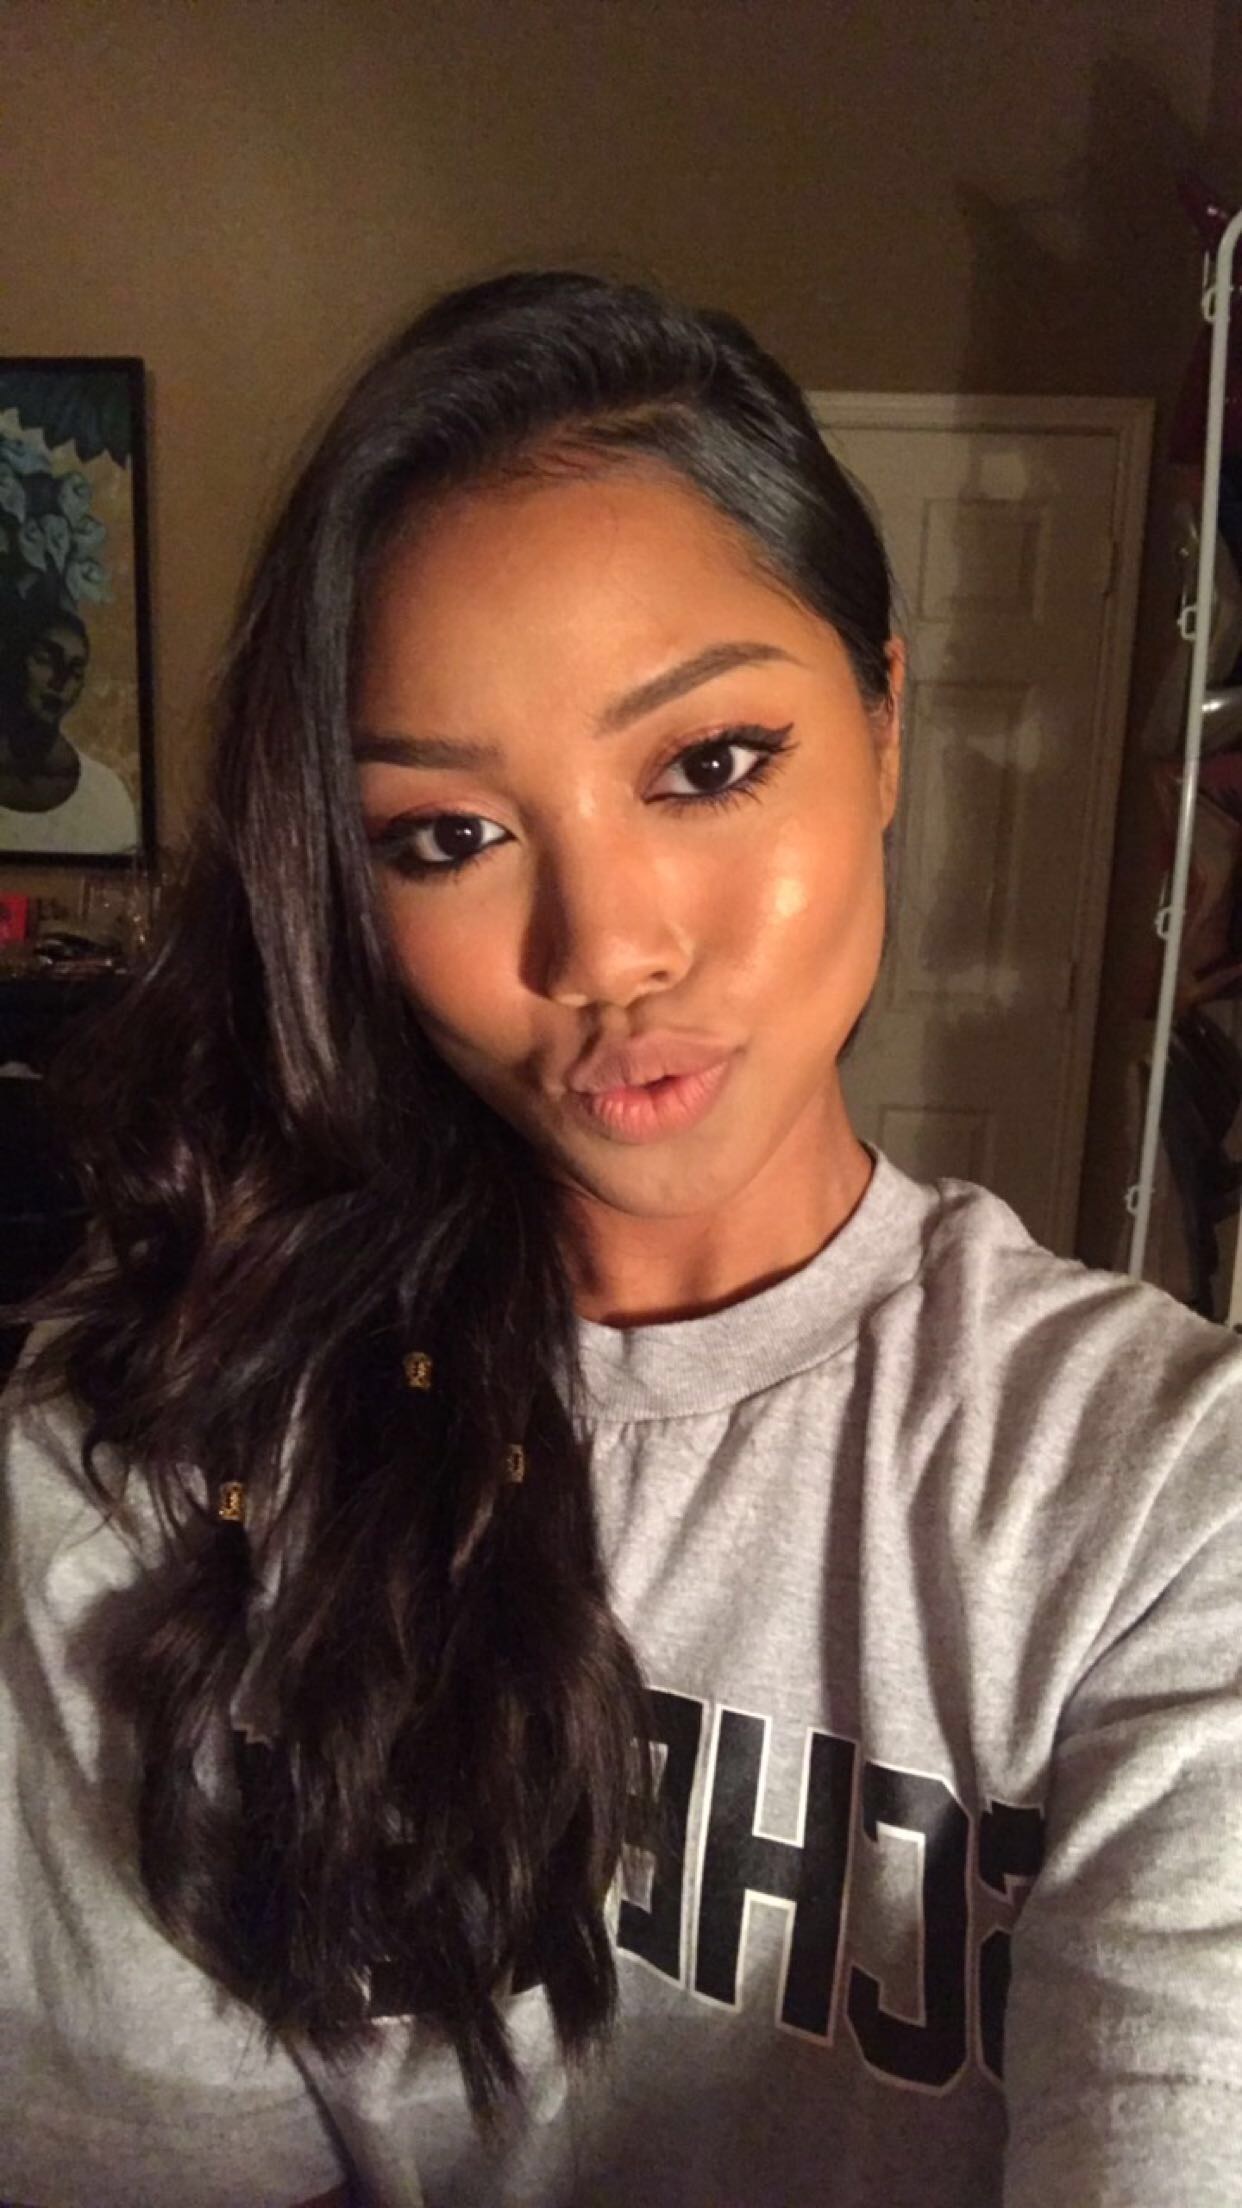
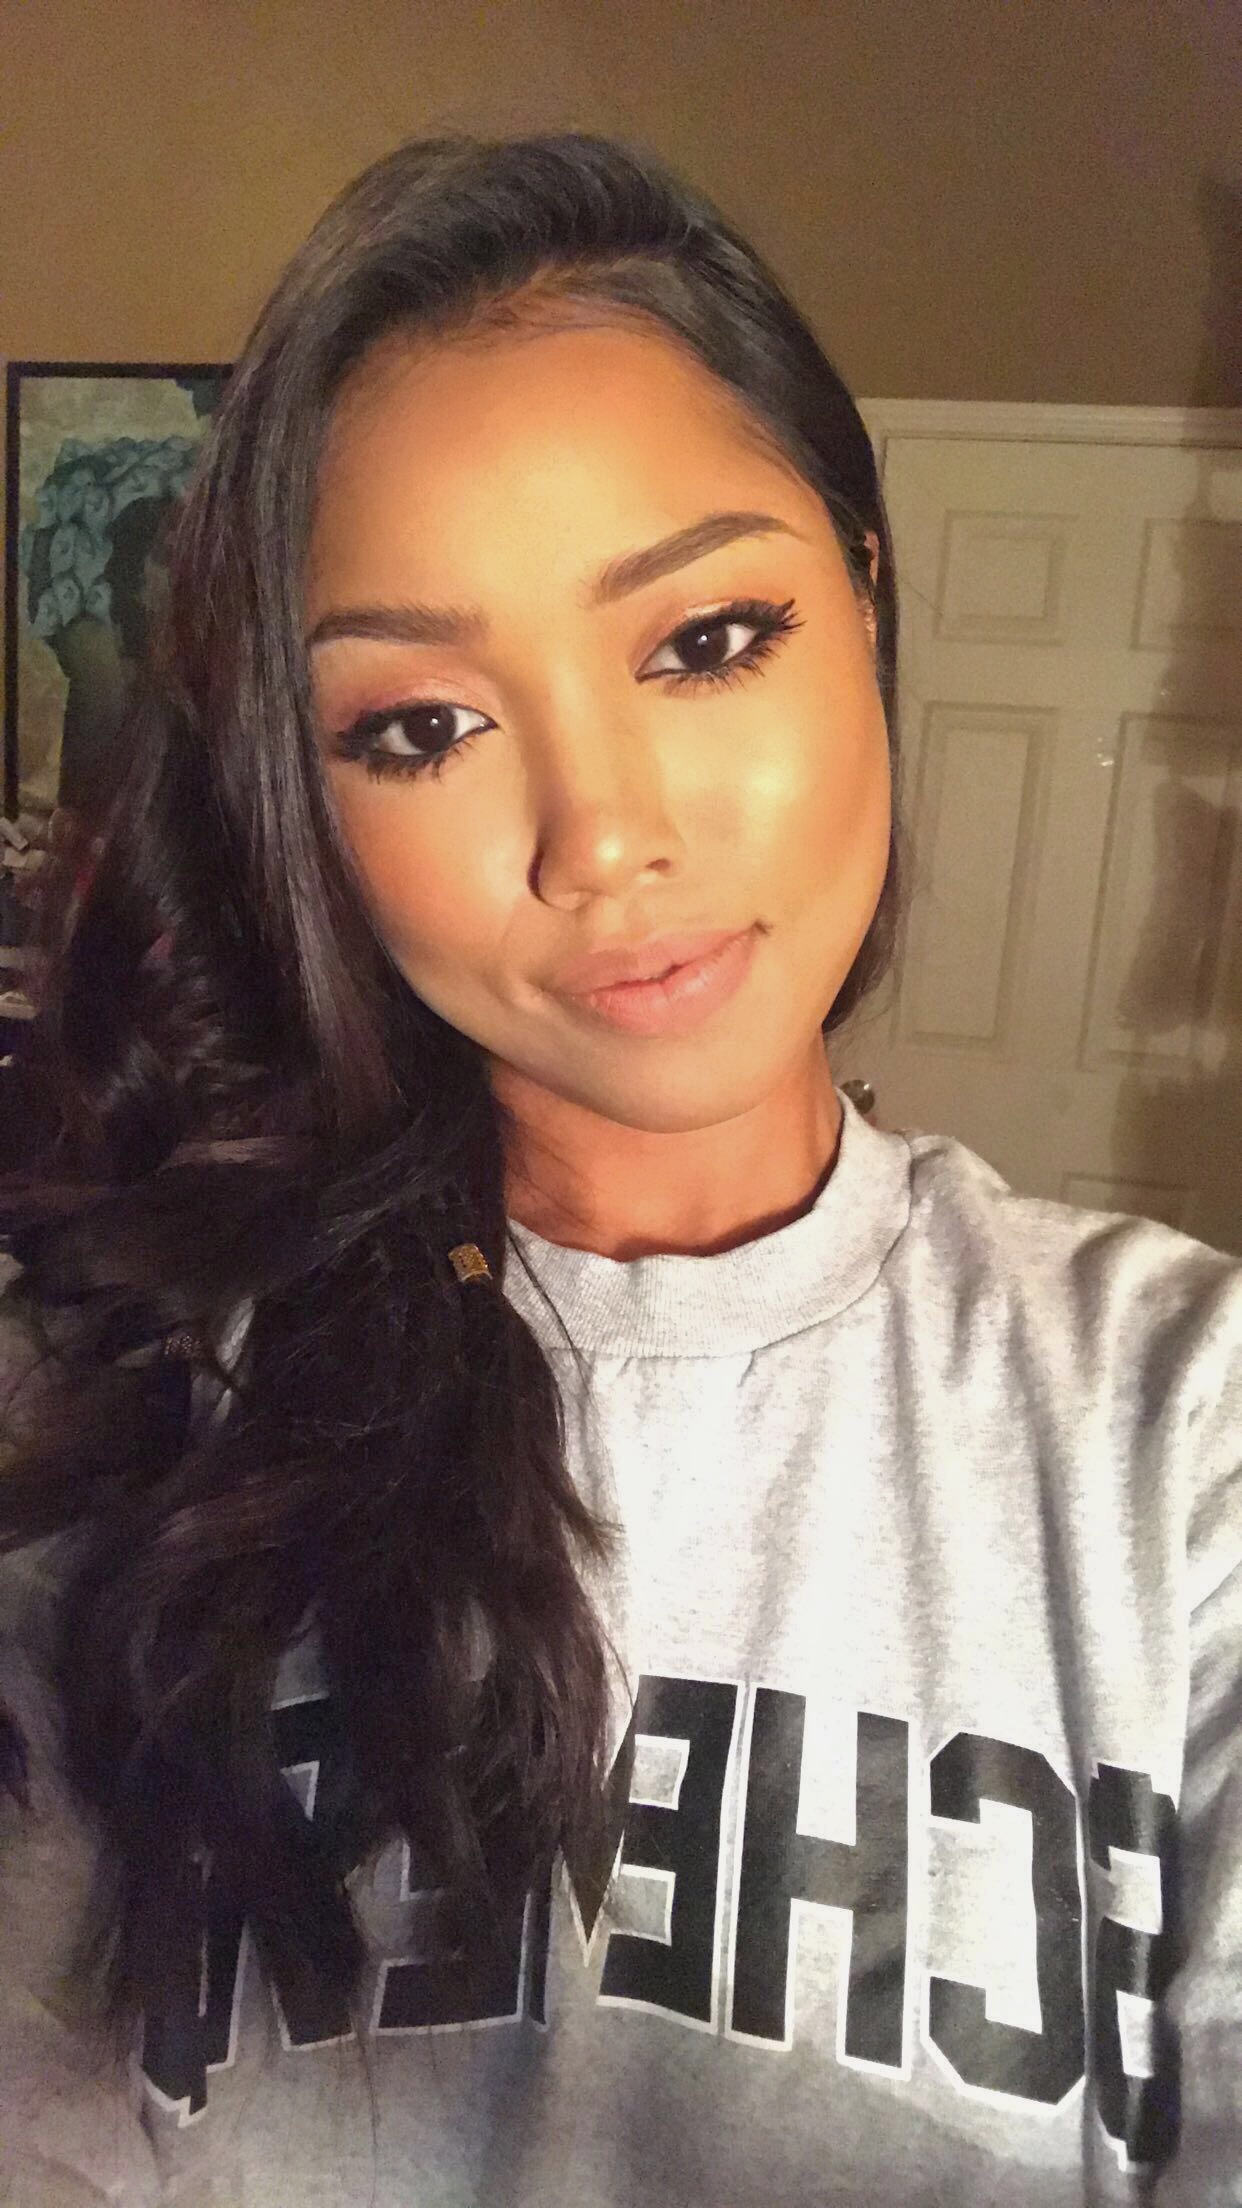
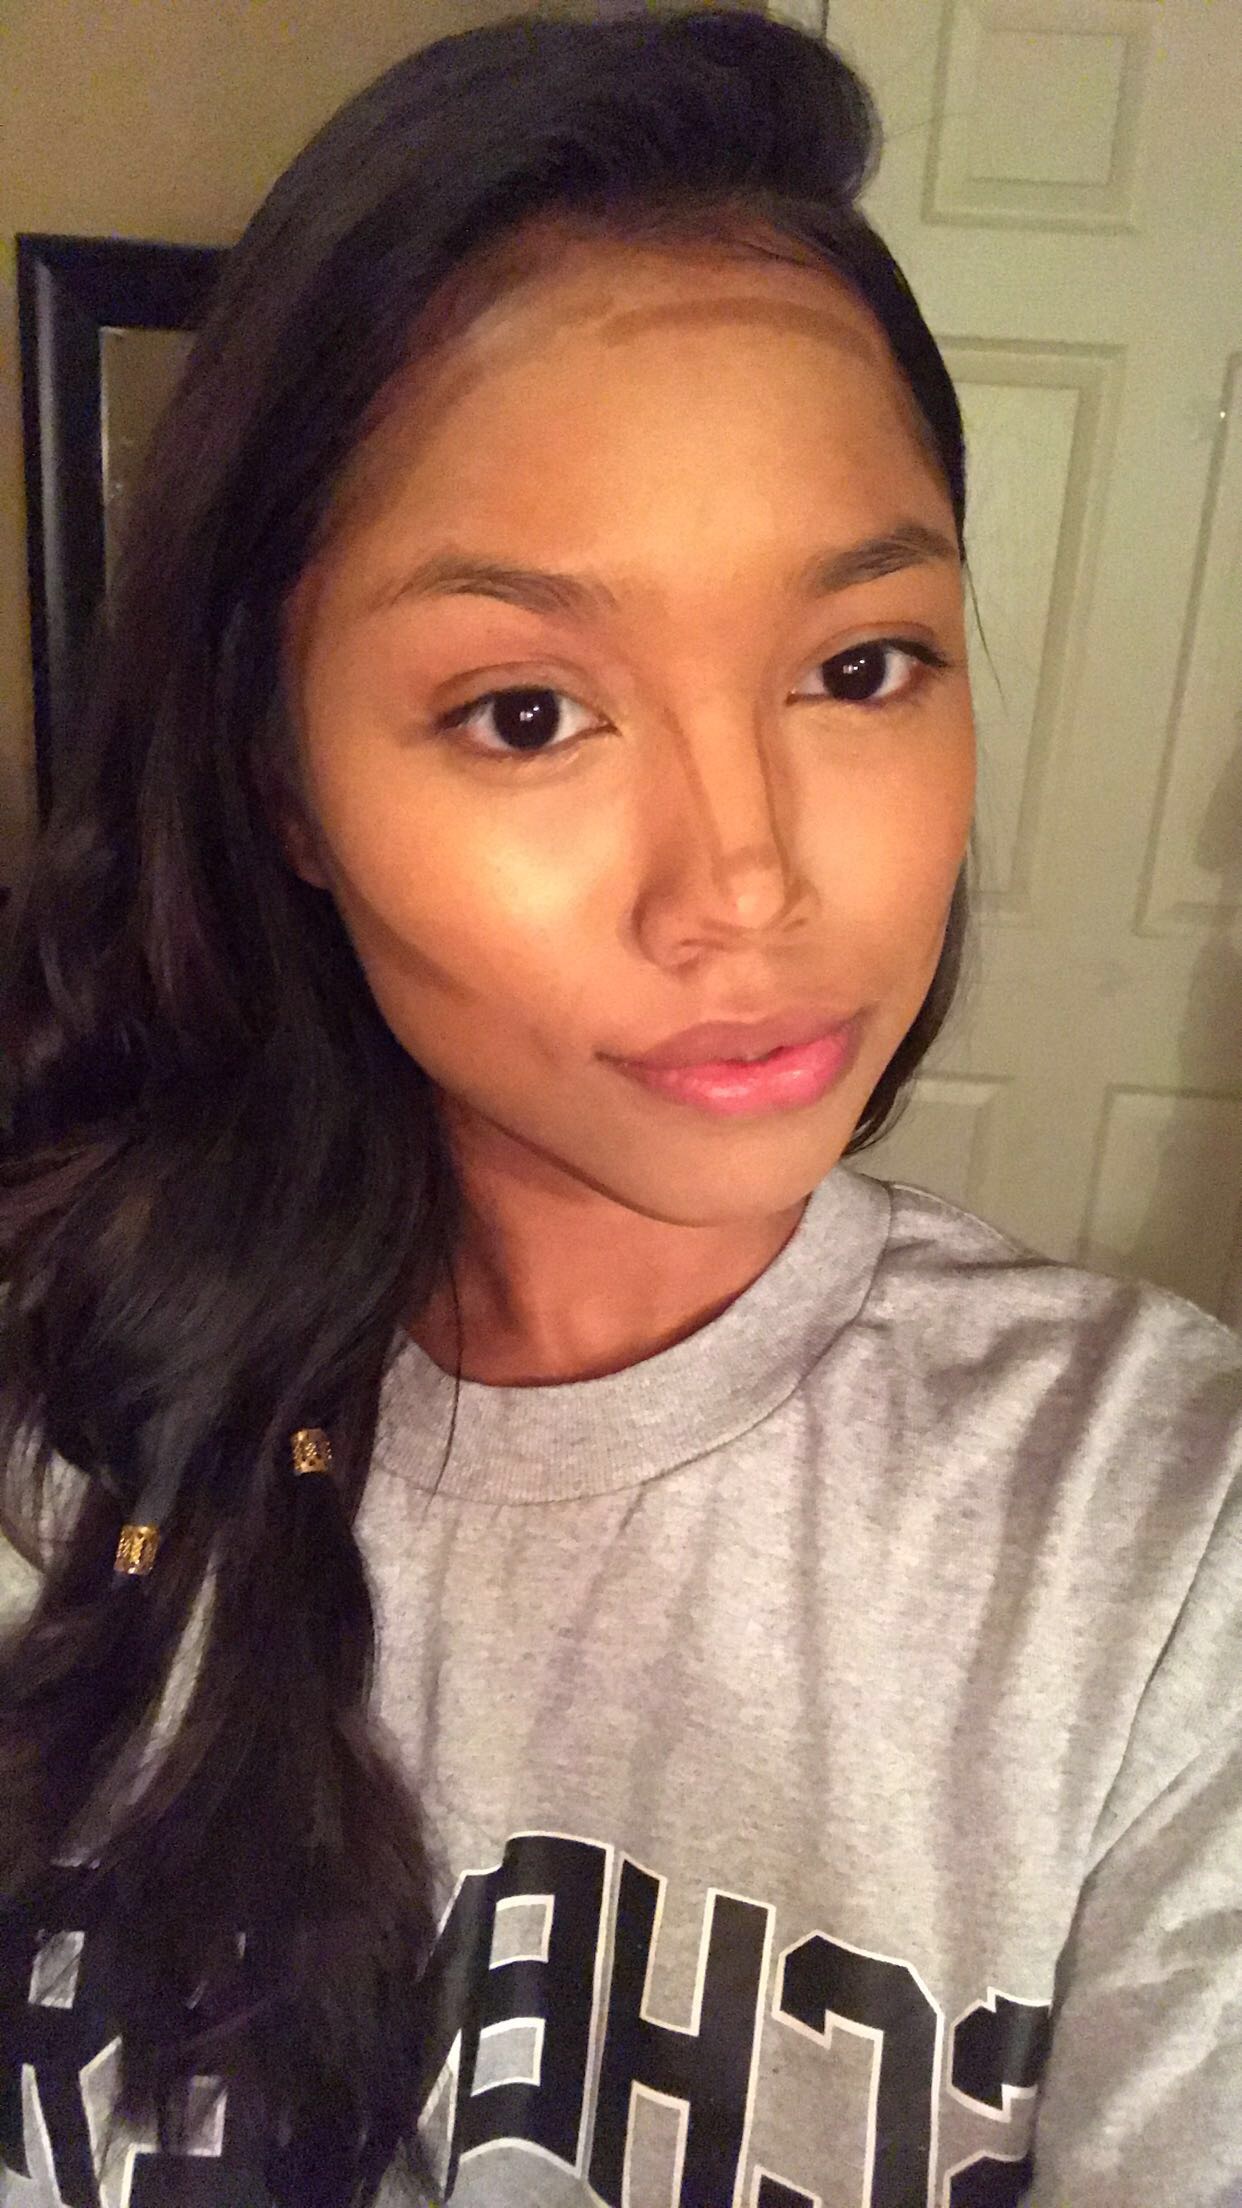
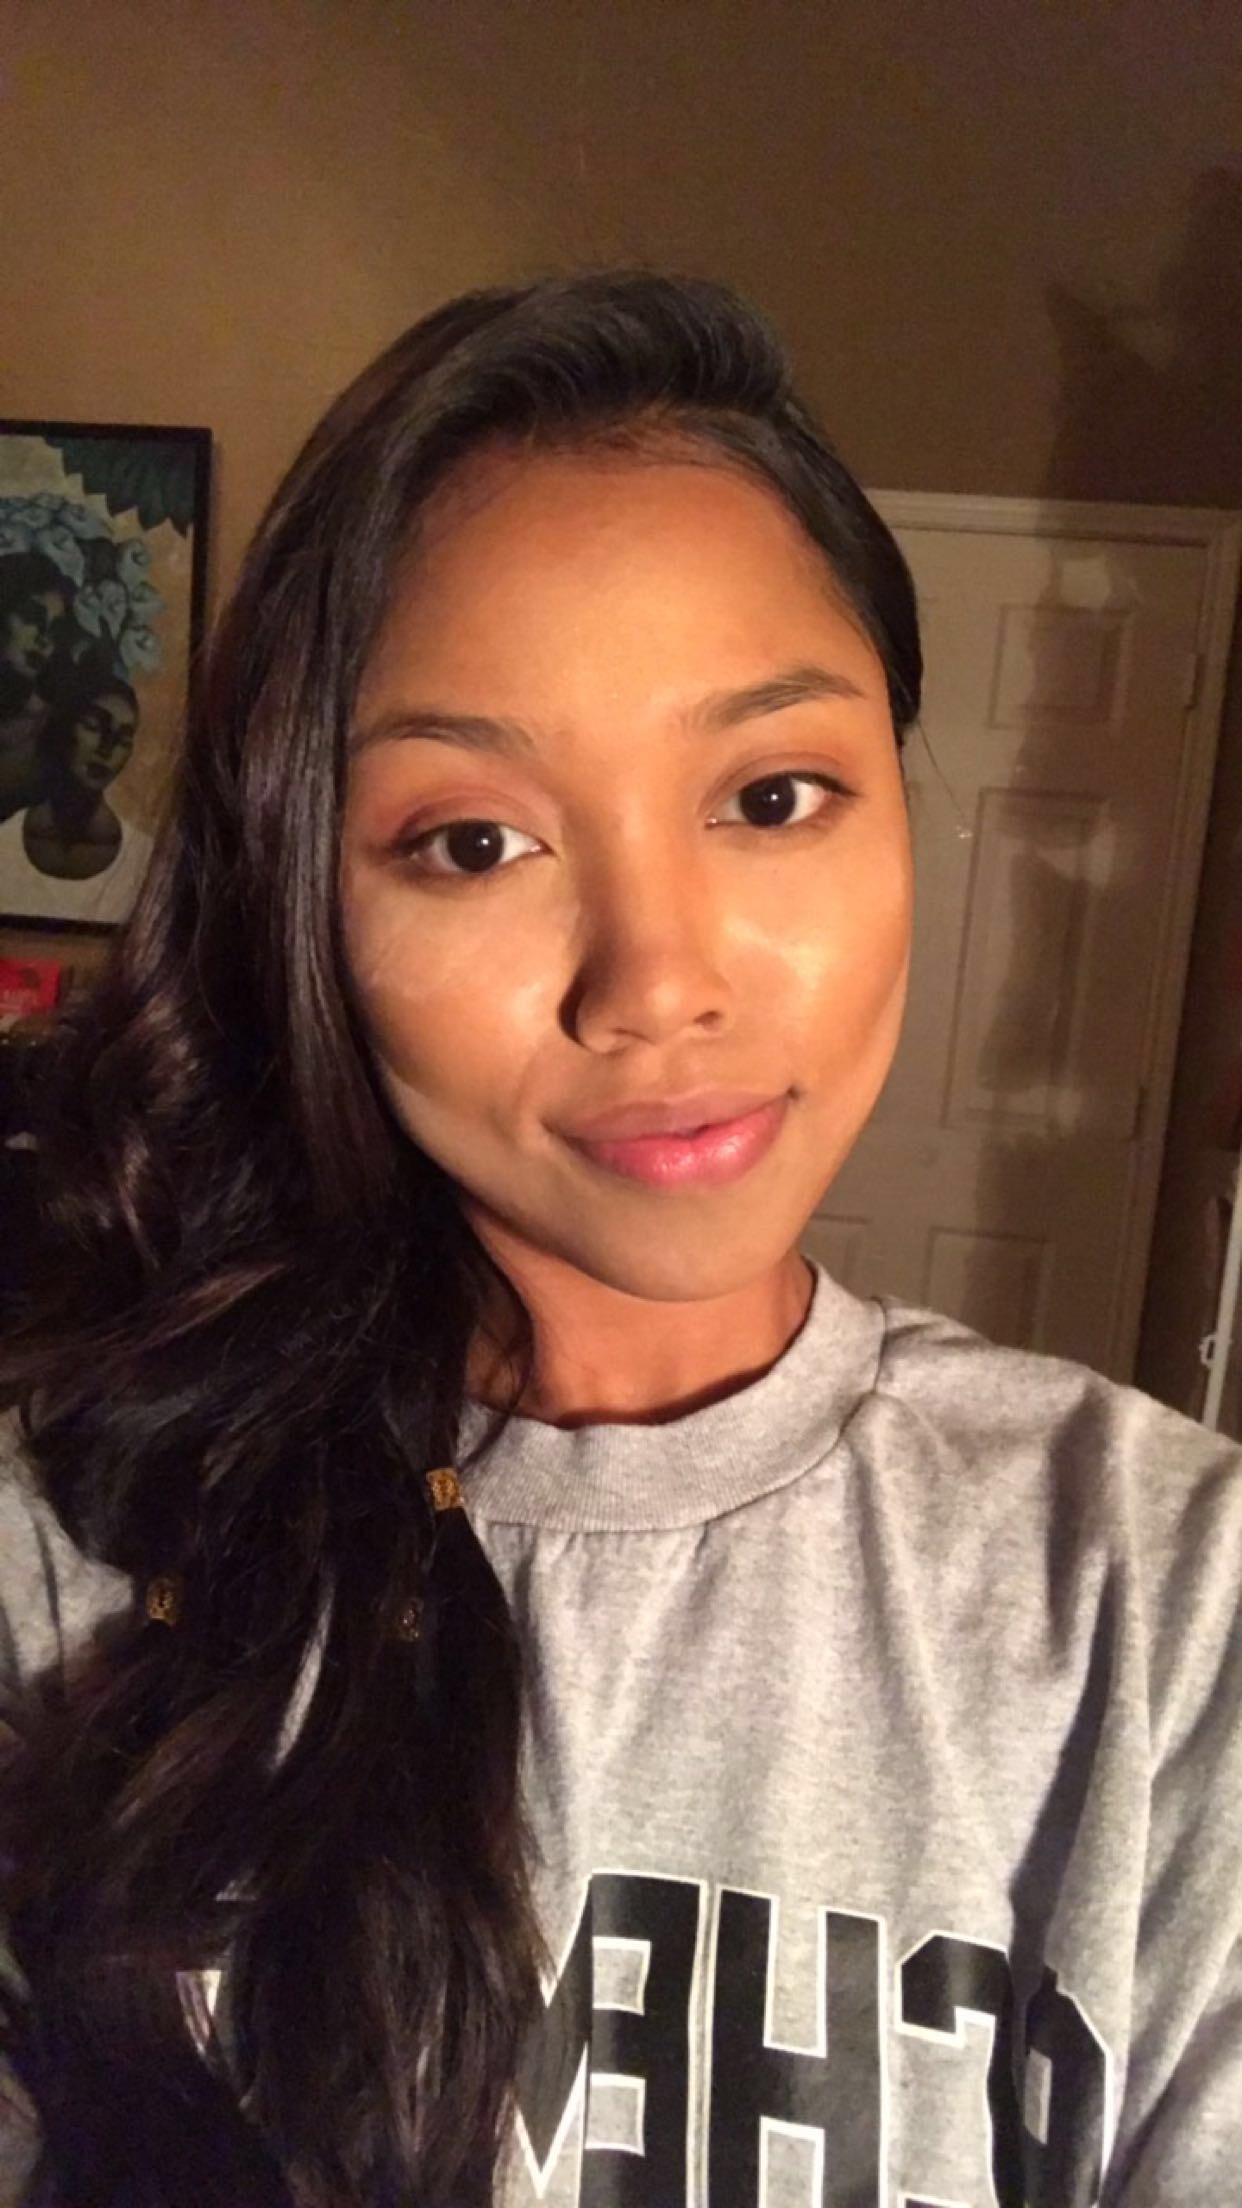
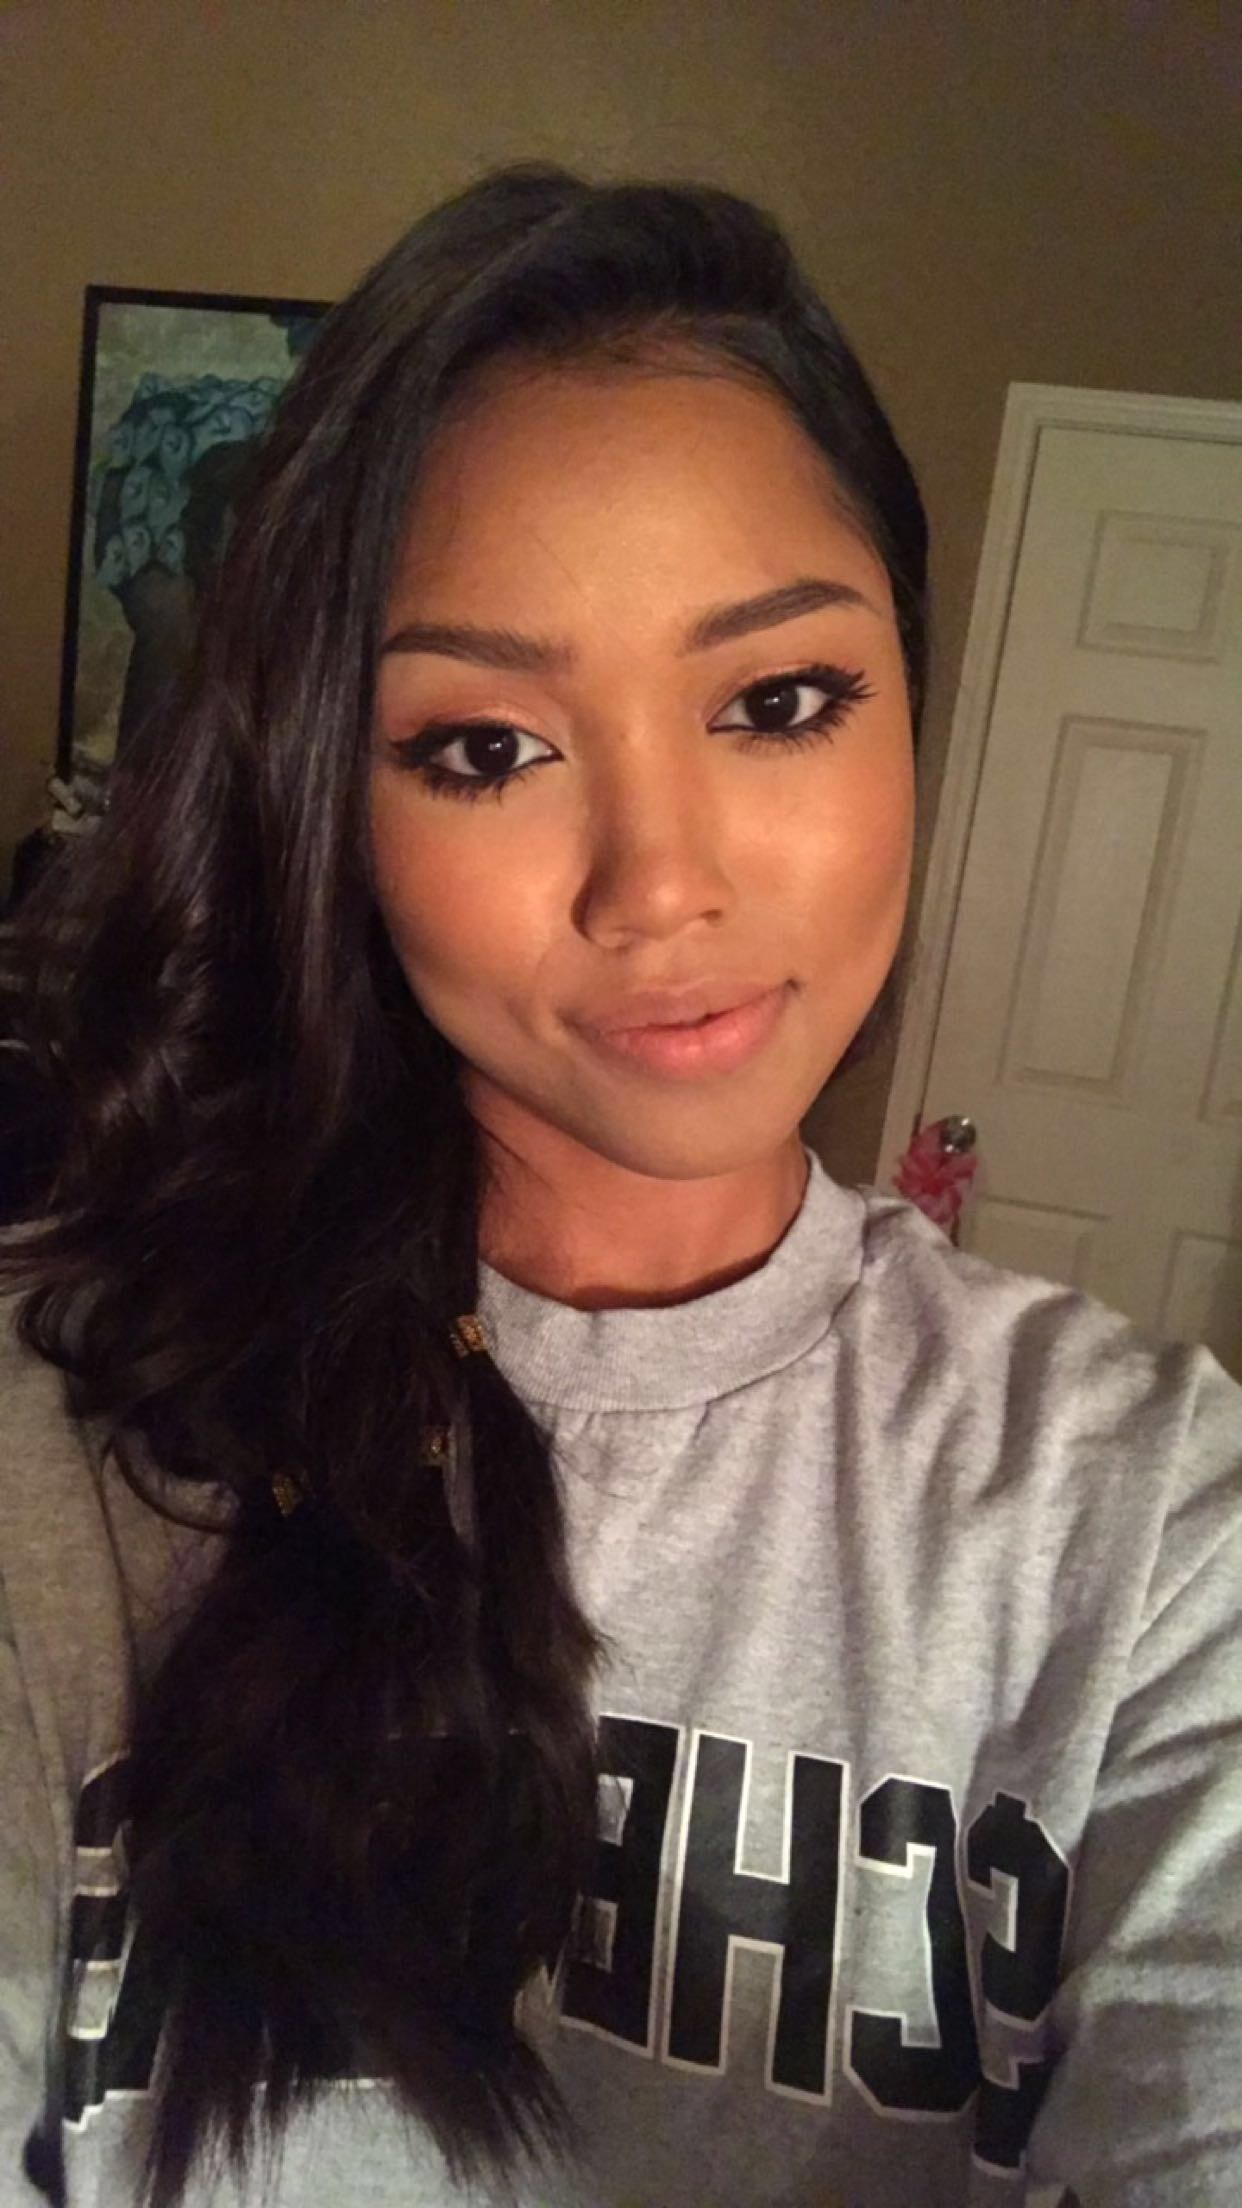
USING THE CRÈME CONTOUR AND HIGHLIGHT KIT DARK: DAY TIME

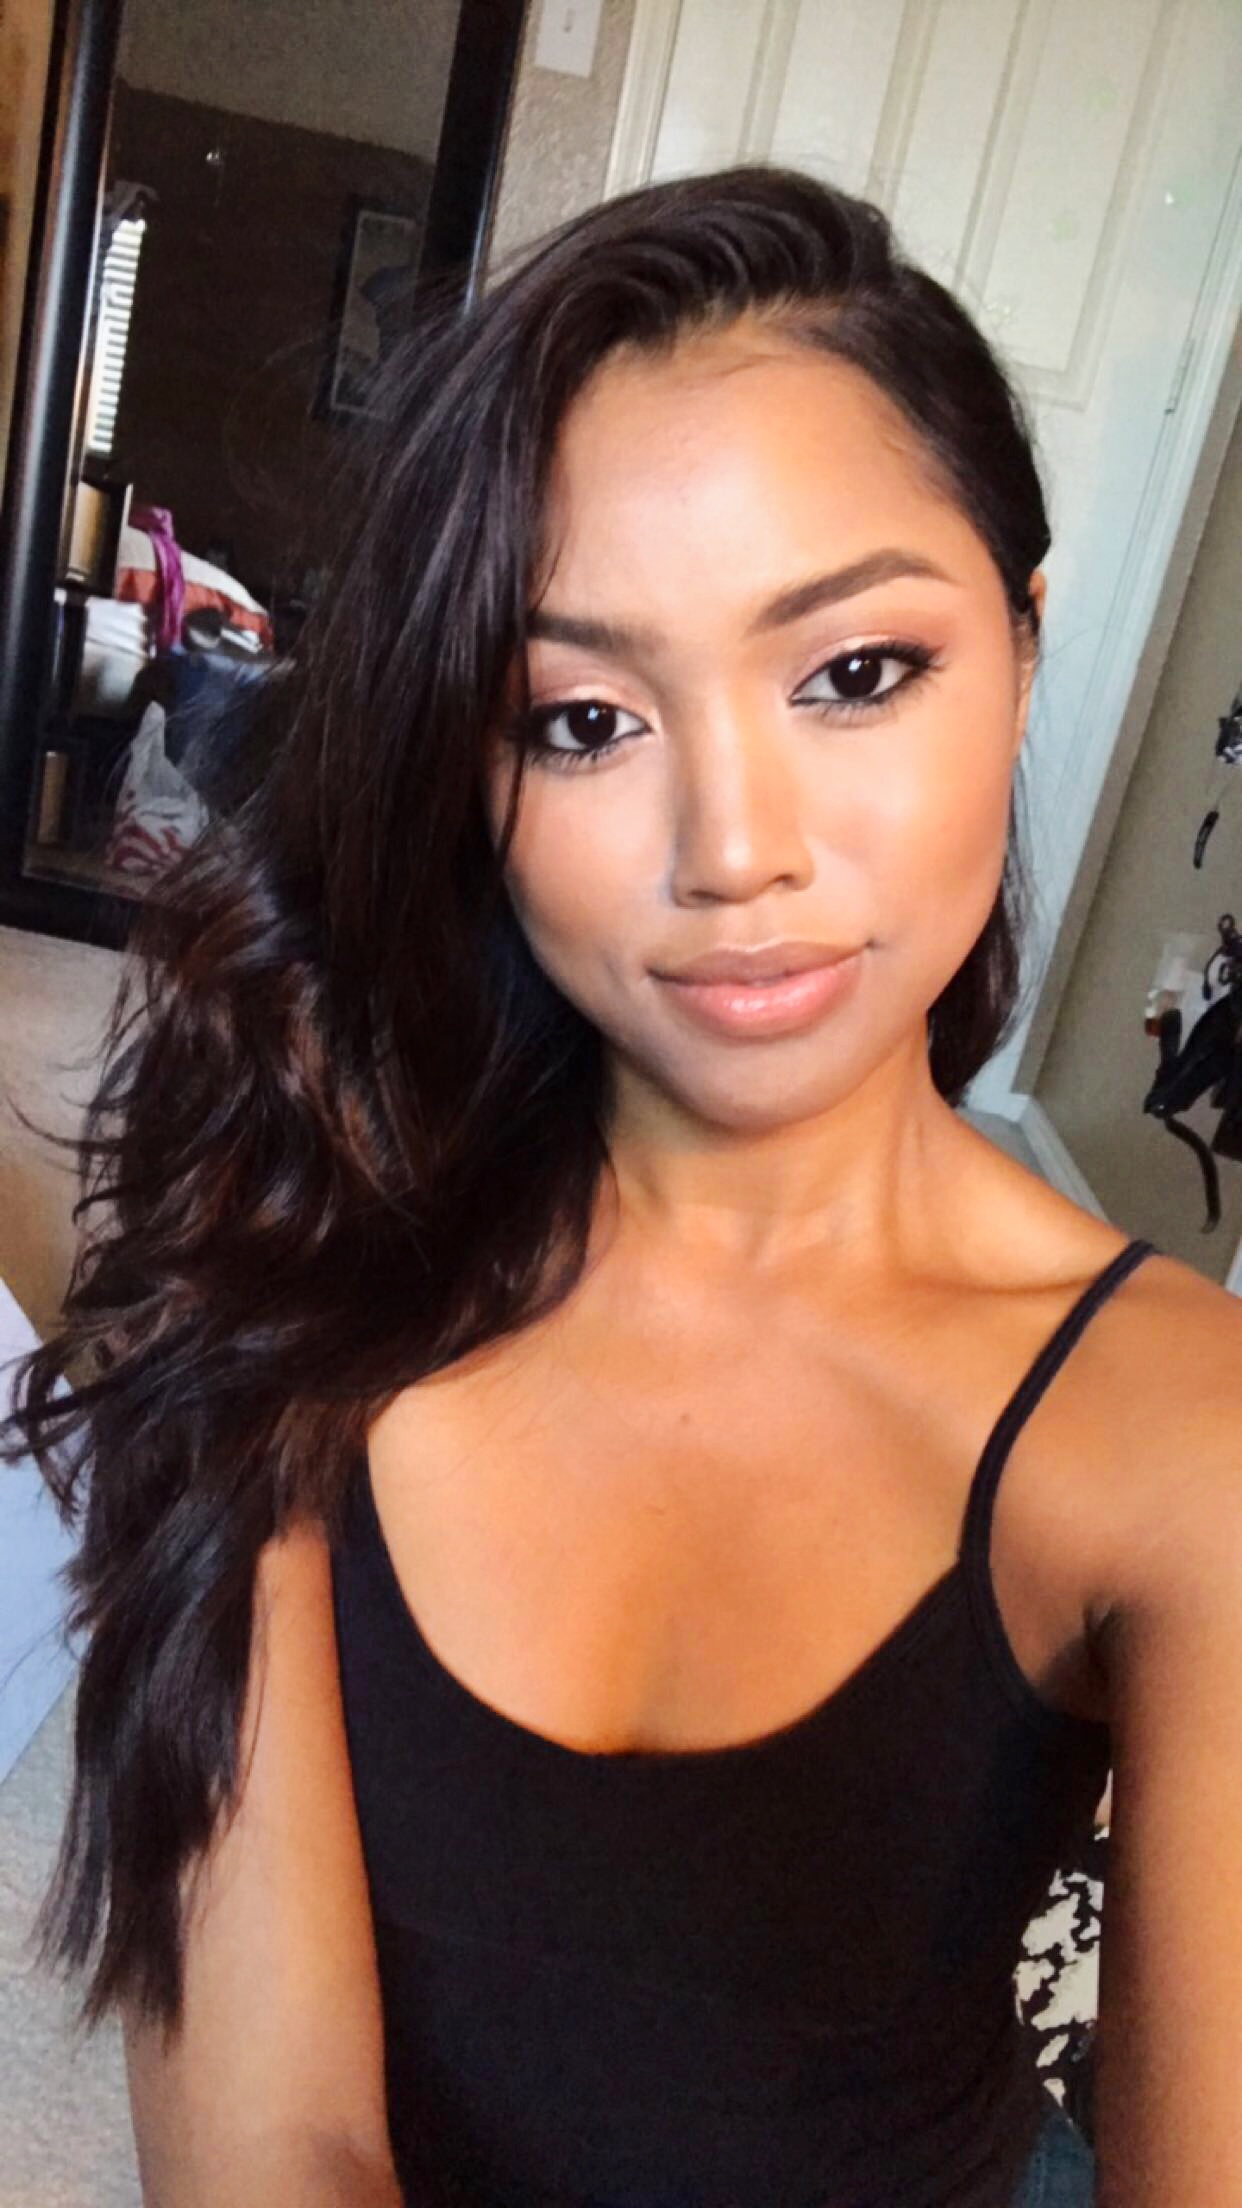
I decided to do a daytime look so you can see the difference due to lighting. The steps from above are the same. Apply foundation, use the contour stick to define features, blend, bake, and apply the rest of your makeup.
I didn't add any filter here so that you can see exactly what the results are on my skin tone. One thing I really liked about the sticks were that they could be applied to areas quickly without too much mess, they're very forgiving if you want to remove some of it. Below I added the lighter contour of the dark kit on my eyes.

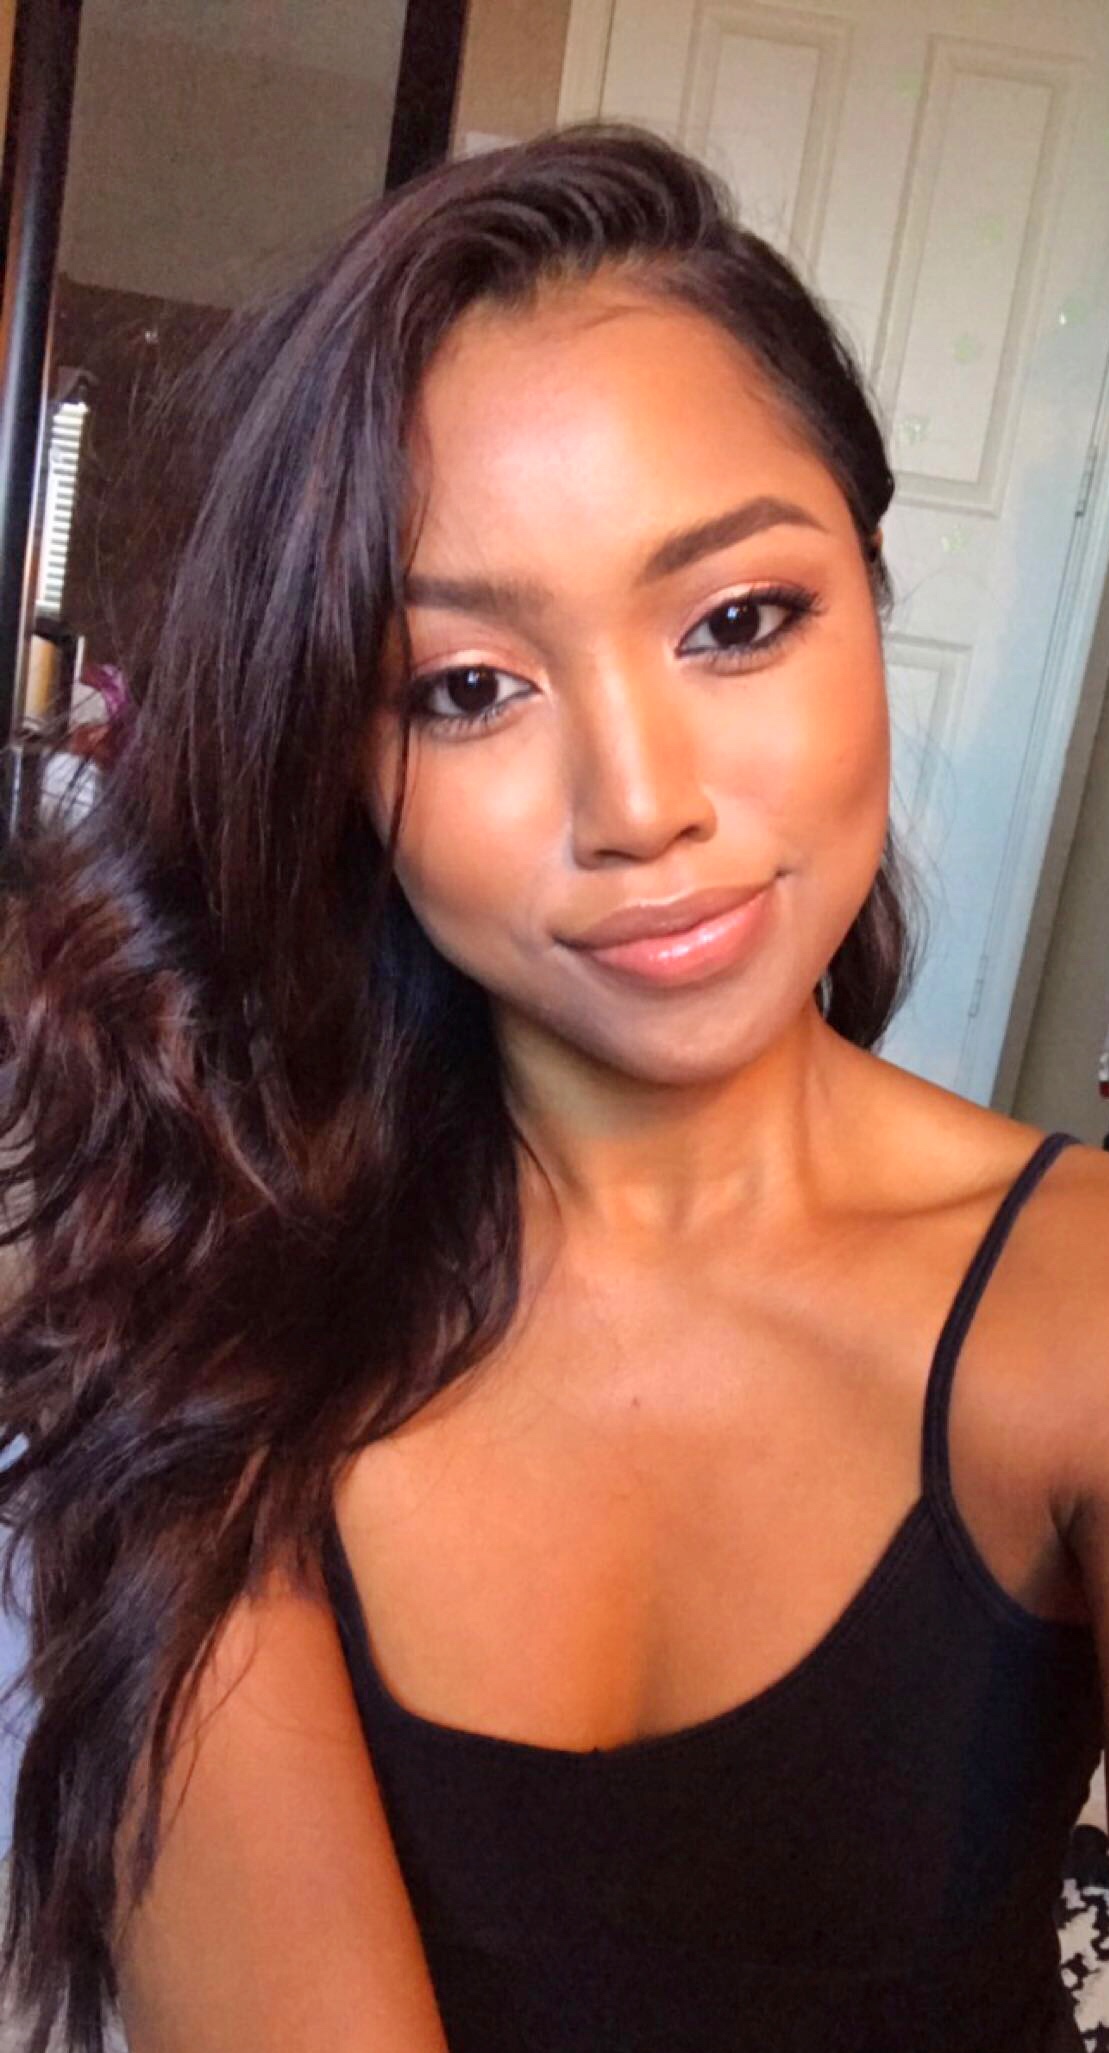
I used two kinds of lighting so that you can see the look in a darker room during the daytime versus a well-lit room.