My Two Yoga Poses For Tight Hips: Pigeon & Crescent Lunge
“CONTINUE TO SHINE THE LIGHT YOU HAVE WITHIN. EVEN IF IT MEANS YOU’RE THE ONLY ONE HOLDING IT DOWN IN THE DARKNESS. YOU JUST MIGHT BE THE LIGHT AT THE END OF A TUNNEL. ”
To get a full grasp on why we do "Hip-openers" in yoga, I'm going to give you a how-to instructional and explain the benefits of these two postures. I have met a lot of active people, former collegiate athletes, gym go-ers, and competitive sport playing individuals who often talk about tight hips. Even many yogis, including myself, sometimes complain about the tension in this area.
For one, I am not the most advanced yogi, I have many improvements I can make, but I am confident in giving you information that could help relieve or improve flexibility in this part of your body. If you have some basic physical therapy knowledge, then you know that the body creates this fascia, a tough, thin, elastic tissue that surrounds the muscles in the body. After exercise or regular activity, this connective tissue starts to increase, enclosing the muscle as a protective barrier. On the flip side, fascia can also misalign as it forms over your muscles, causing tension, blocked nerves, reduced blood flow, etc. Focusing solely on the hips, I want to help you strengthen and open this area, stretching the hip flexors, groin, and lower back.
Two poses that help me to open this area are pigeon pose and a crescent low lunge with a modification. To learn the benefits and how to move safely into and out of these poses, keep reading. Shout out tolarcefor the sick beat.
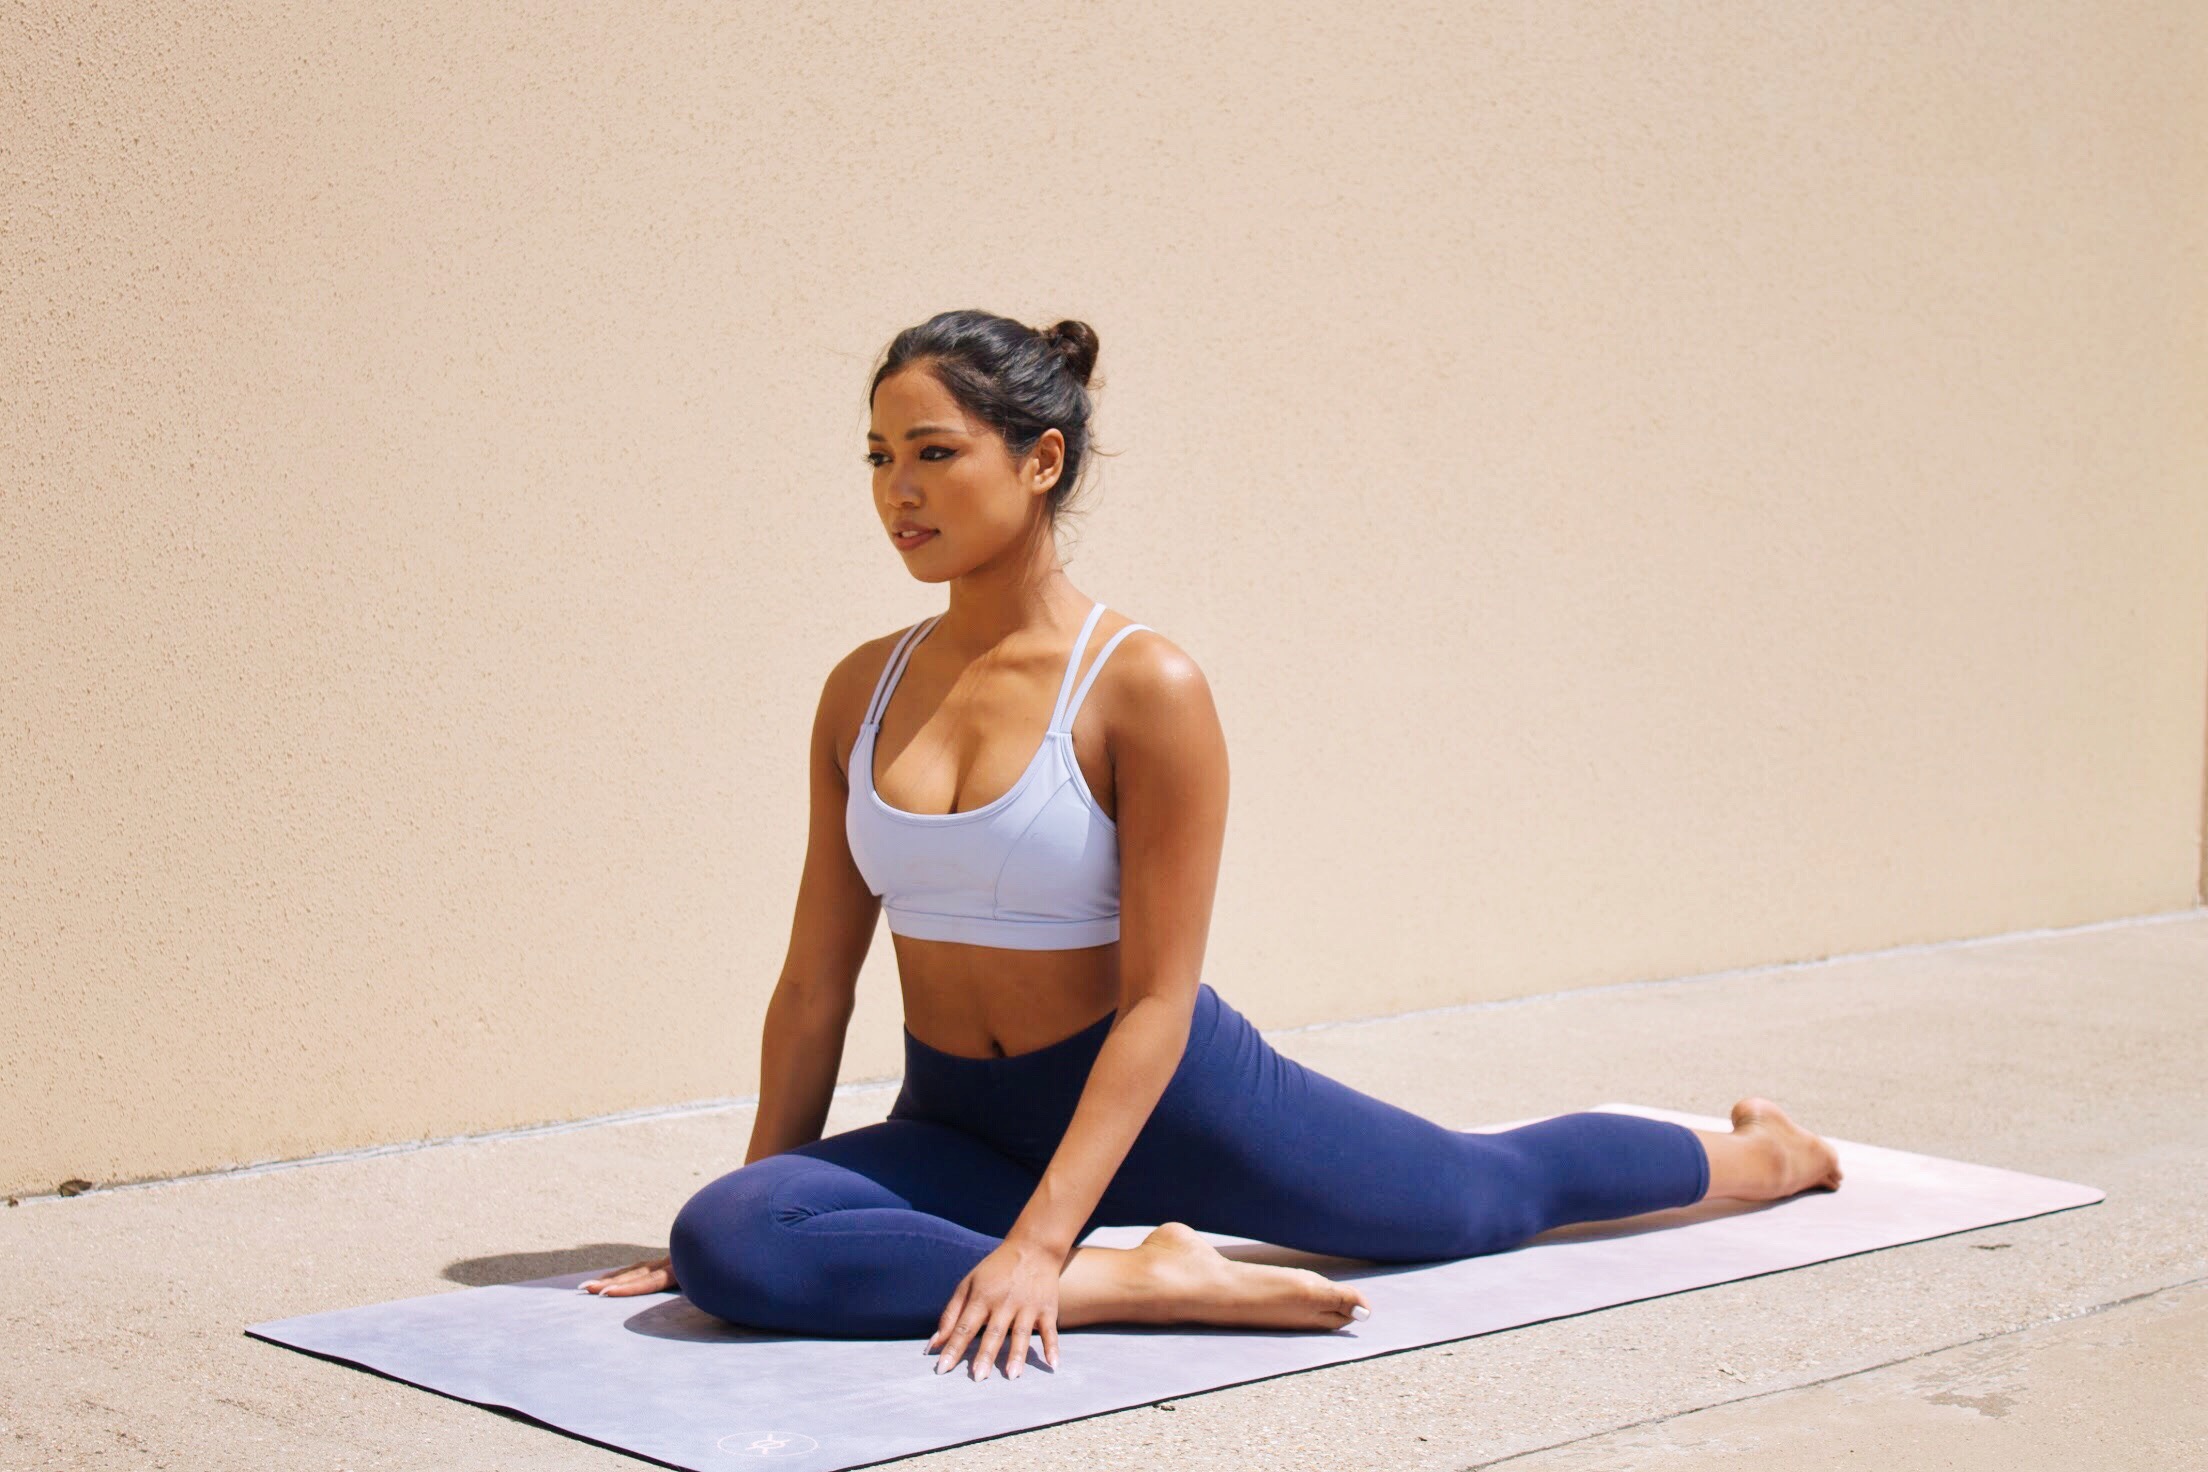
PIGEON POSE
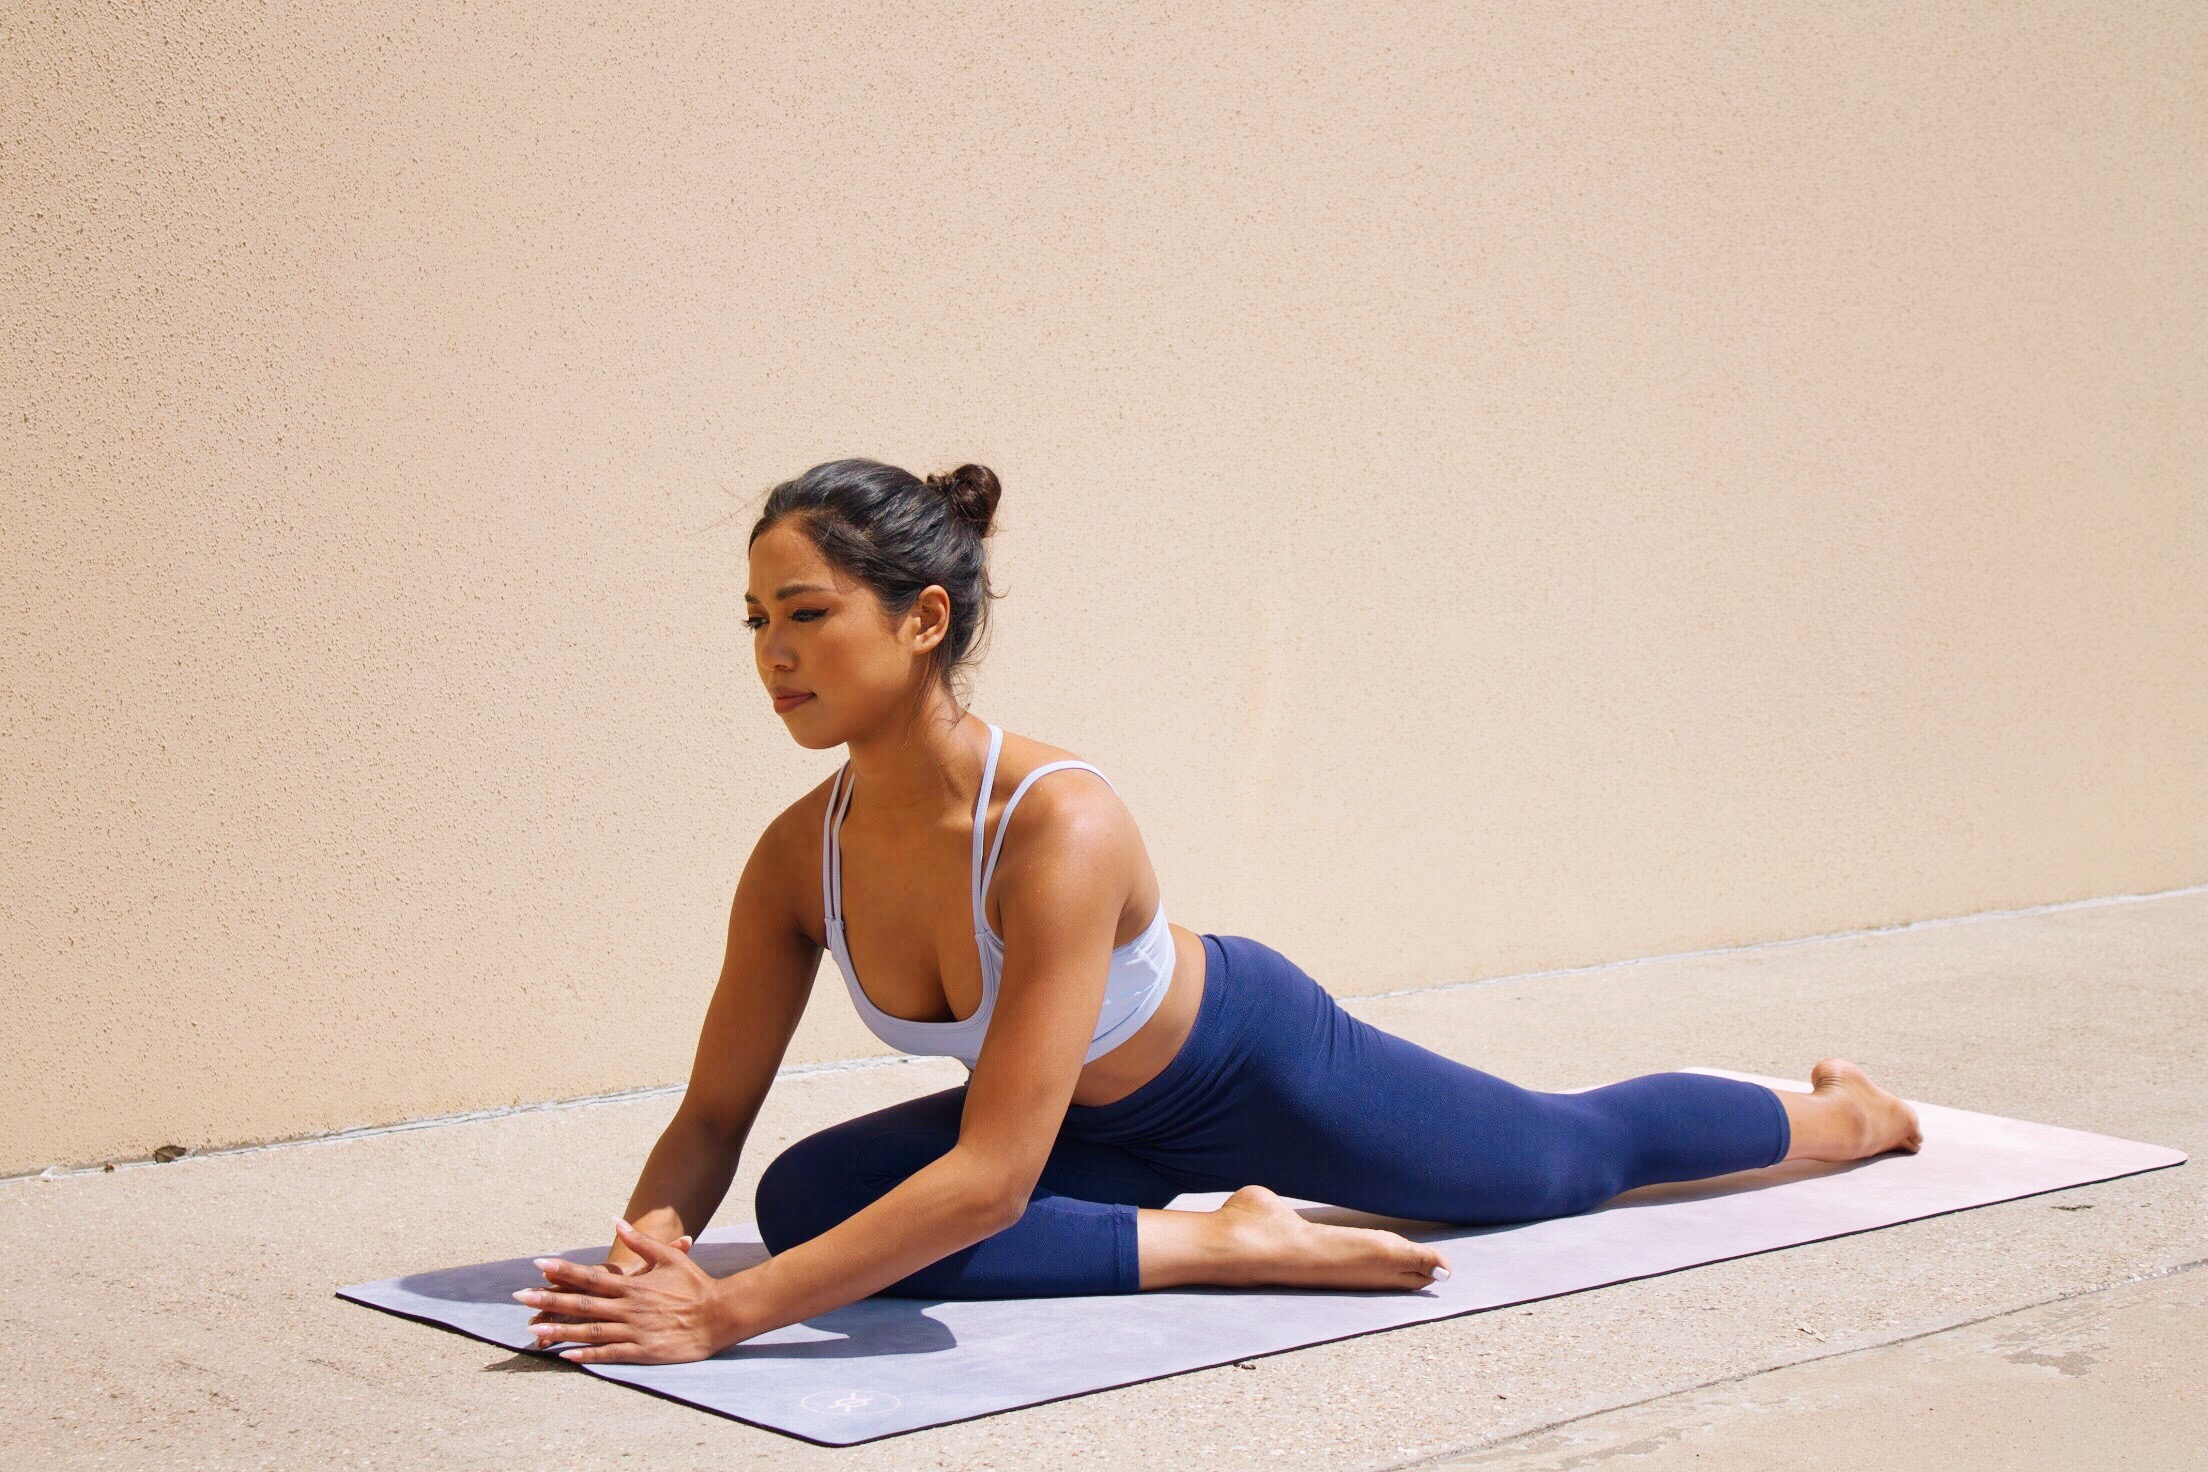
EKA PADA REJAKAPOTASANA
HOW TO
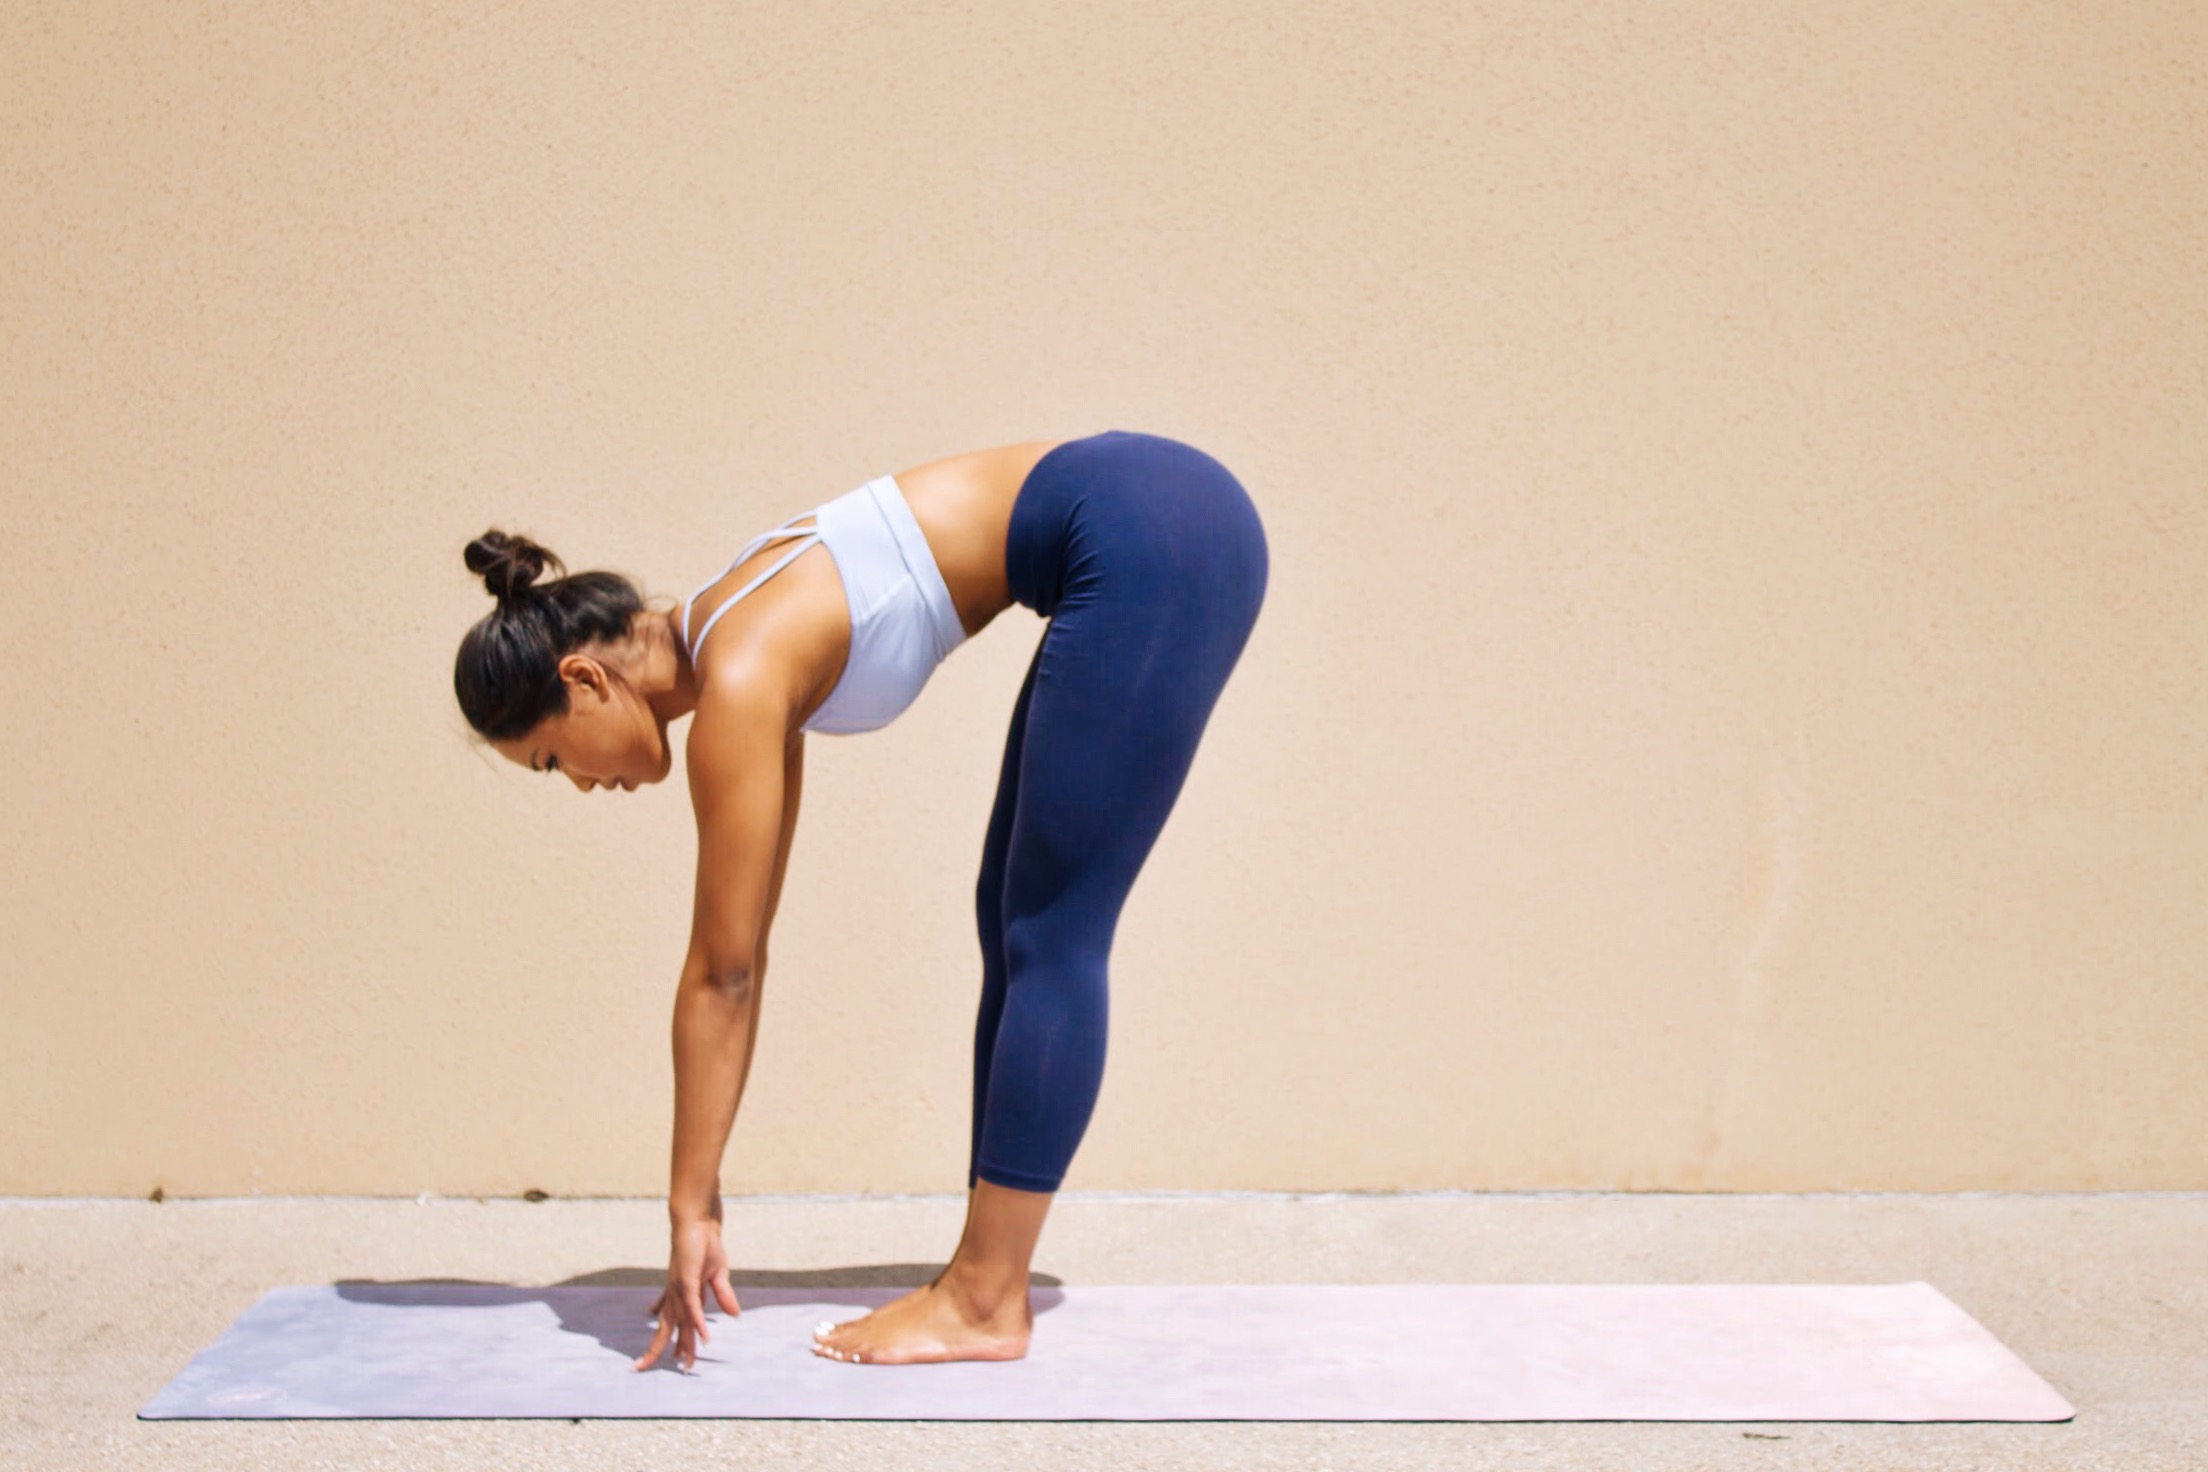
1. Begin by hinging forward in a forward fold.
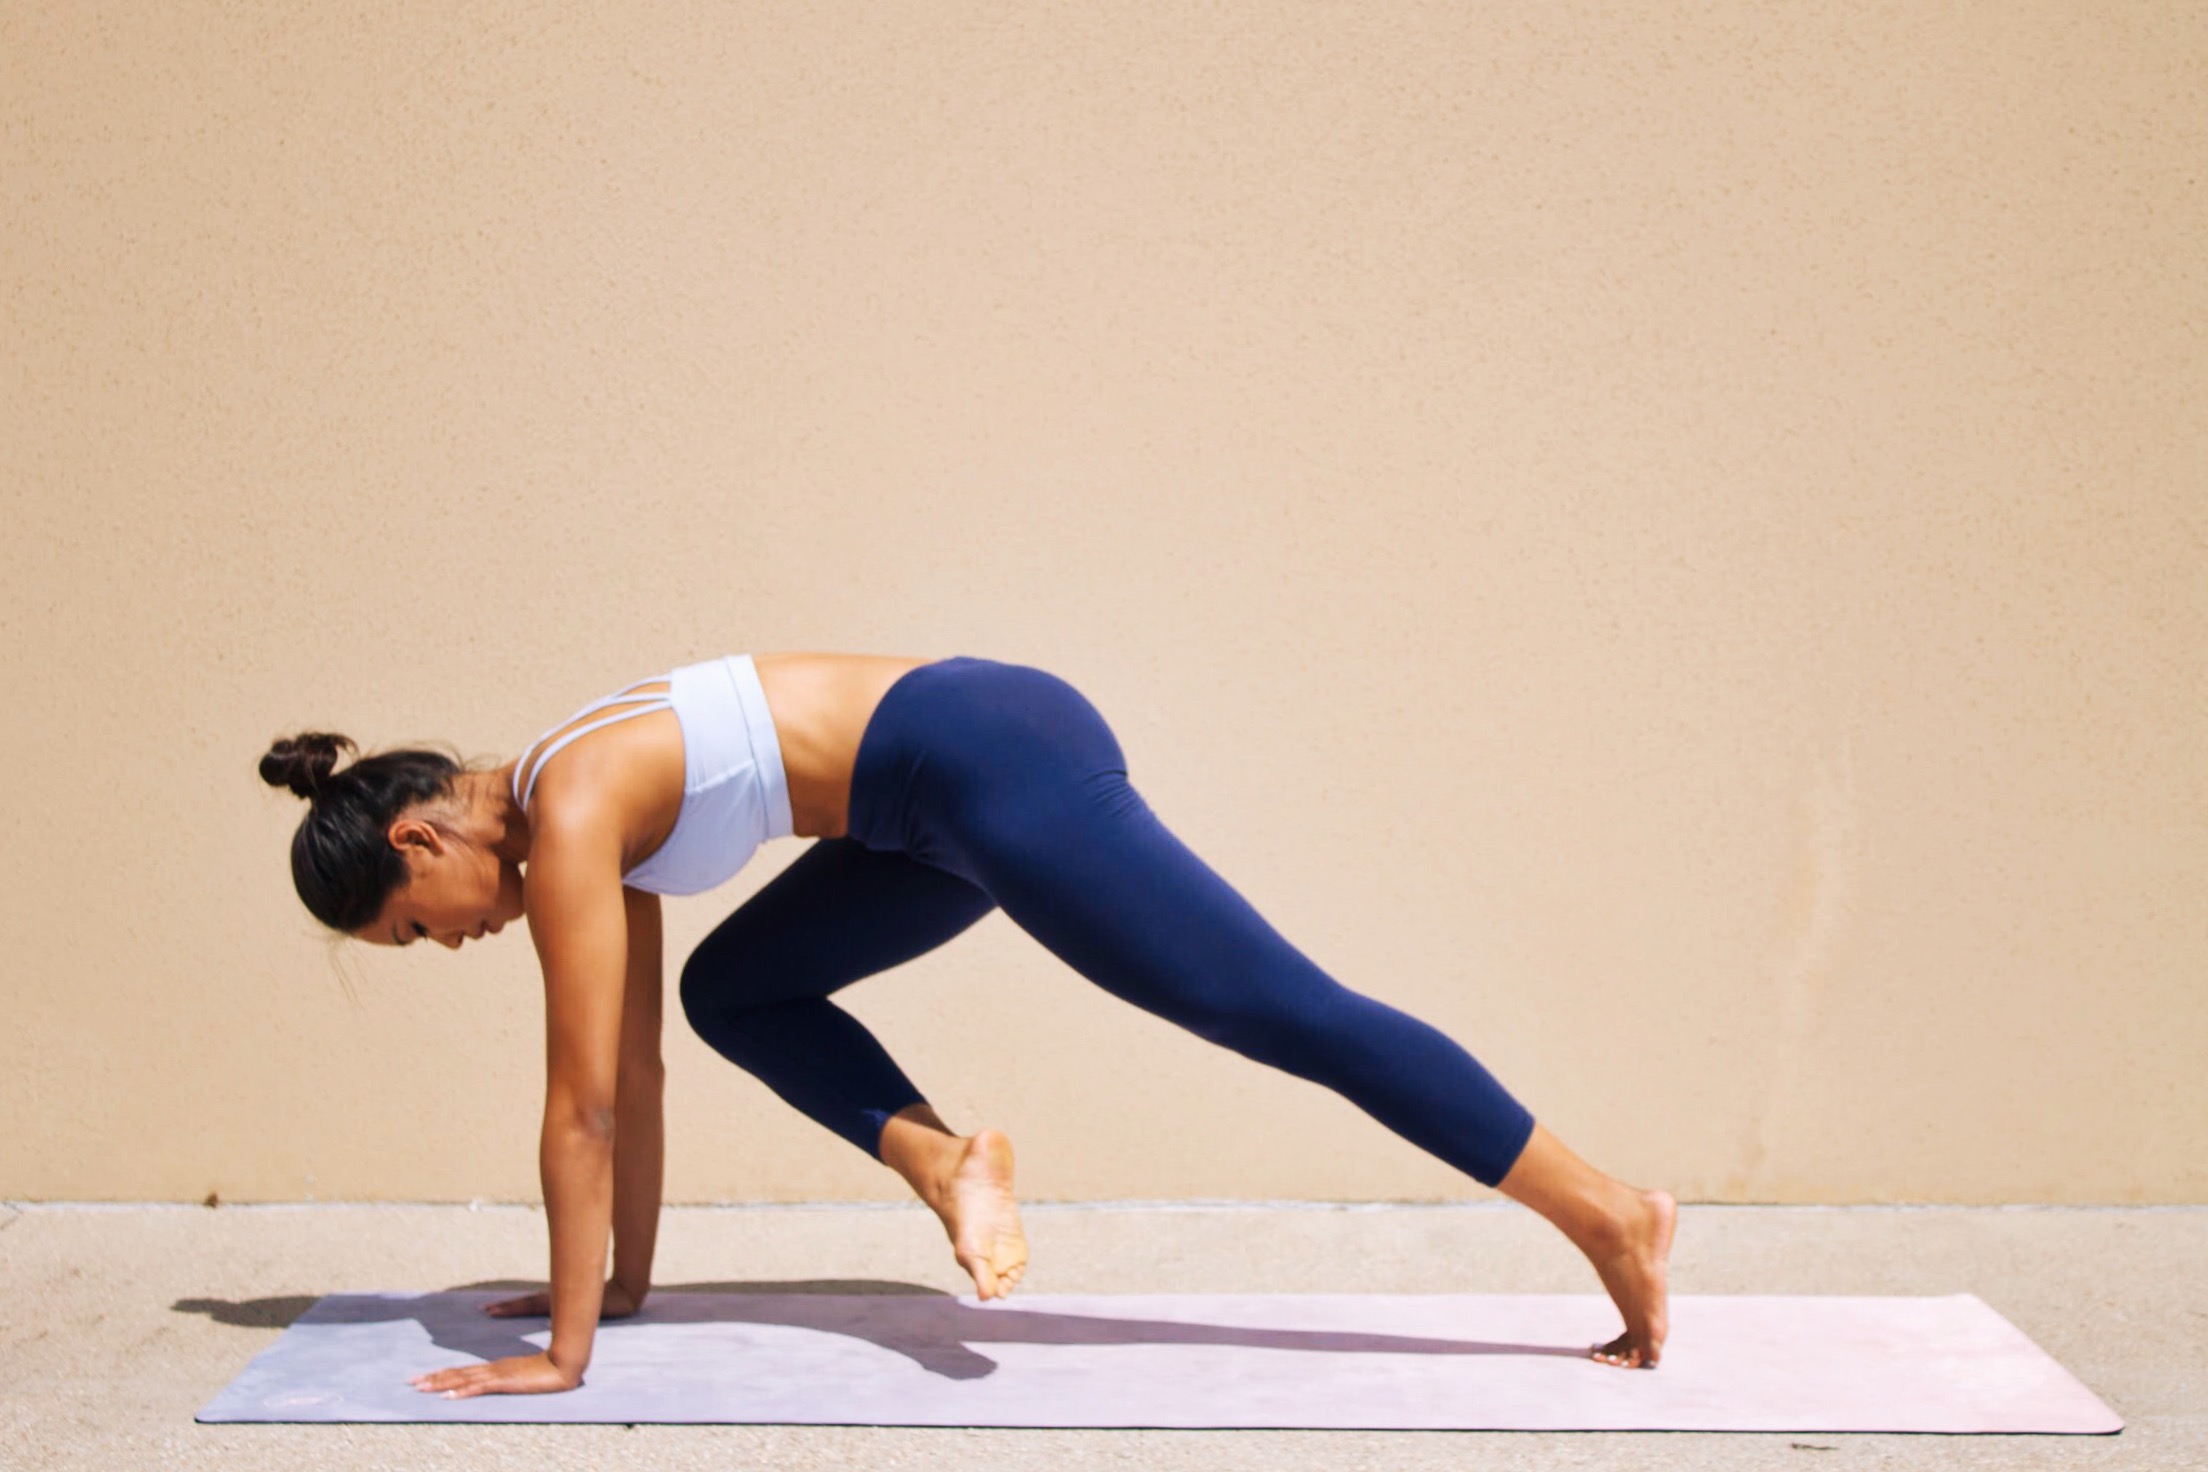
2. Hop or step your feet back into plank pose. Keeping the back straight bring your right knee forward so that it is placed between your hands.
3. Gently set your hips down, ensuring that the right thigh is parallel to the mat. Rest here or begin to fold forward into the pose.
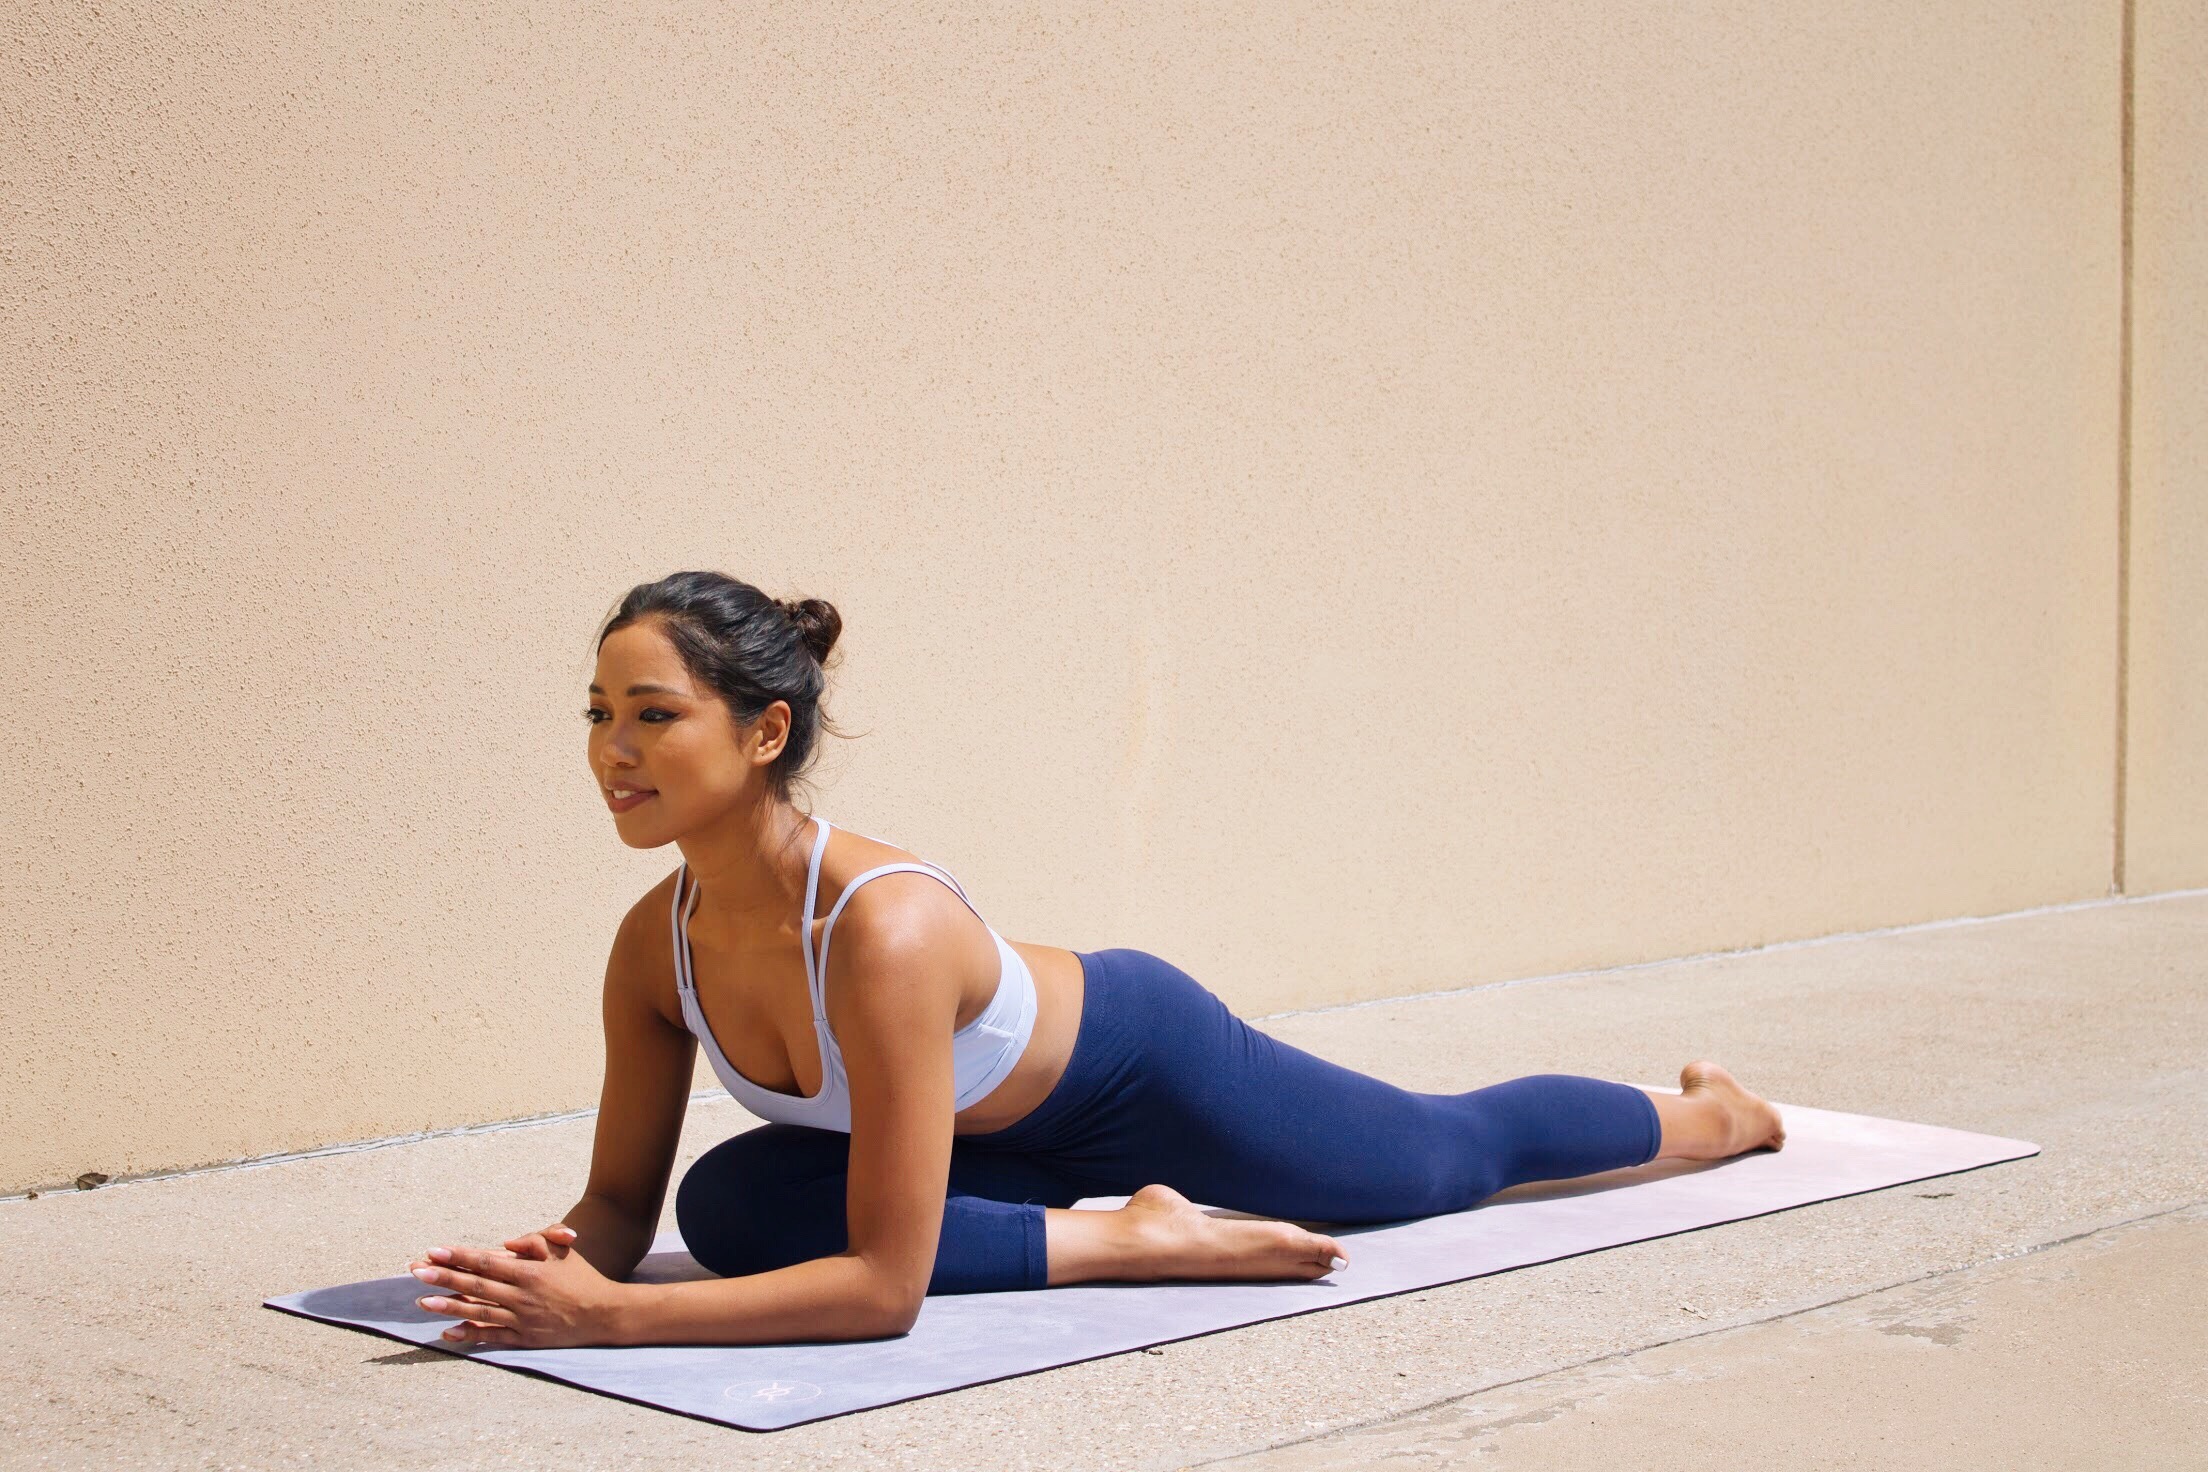
4. Walking your hands up, place your elbows on the ground, then interlace the fingers, keeping the chest lifted.
5. To come out of this pose or go into the left: place your hands on the outside of your right knee, lift the body up, moving the right foot back into plank pose, now place the left knee at the front of the mat in between your hands, dropping the left hip this time. Repeat step 4.
MODIFICATIONS
5. You can use a folded blanket or yoga block under the hip for more support
6. Stretch the arms forward for a deeper pose.
7. Bending your left knee, you can use the right hand to grab the left foot behind you. If you've mastered this step, use your left hand to make a complete circle as your shoulders and chest remain forward and lifted. Both hands will be able to hold the left foot.
BENEFITS
Stretches the groin, hips, gluteus maximus, lower back
You receive flexion of the hips and the knees.
Actives the internal organs
PRECAUTIONS
Do not attempt this pose if you have knee, hip, or lower back injuries.
Work within your own comfort level, going only as deep as your body allows. Use a modification, like keeping the chest lifted or hands on the ground, to prevent damage.
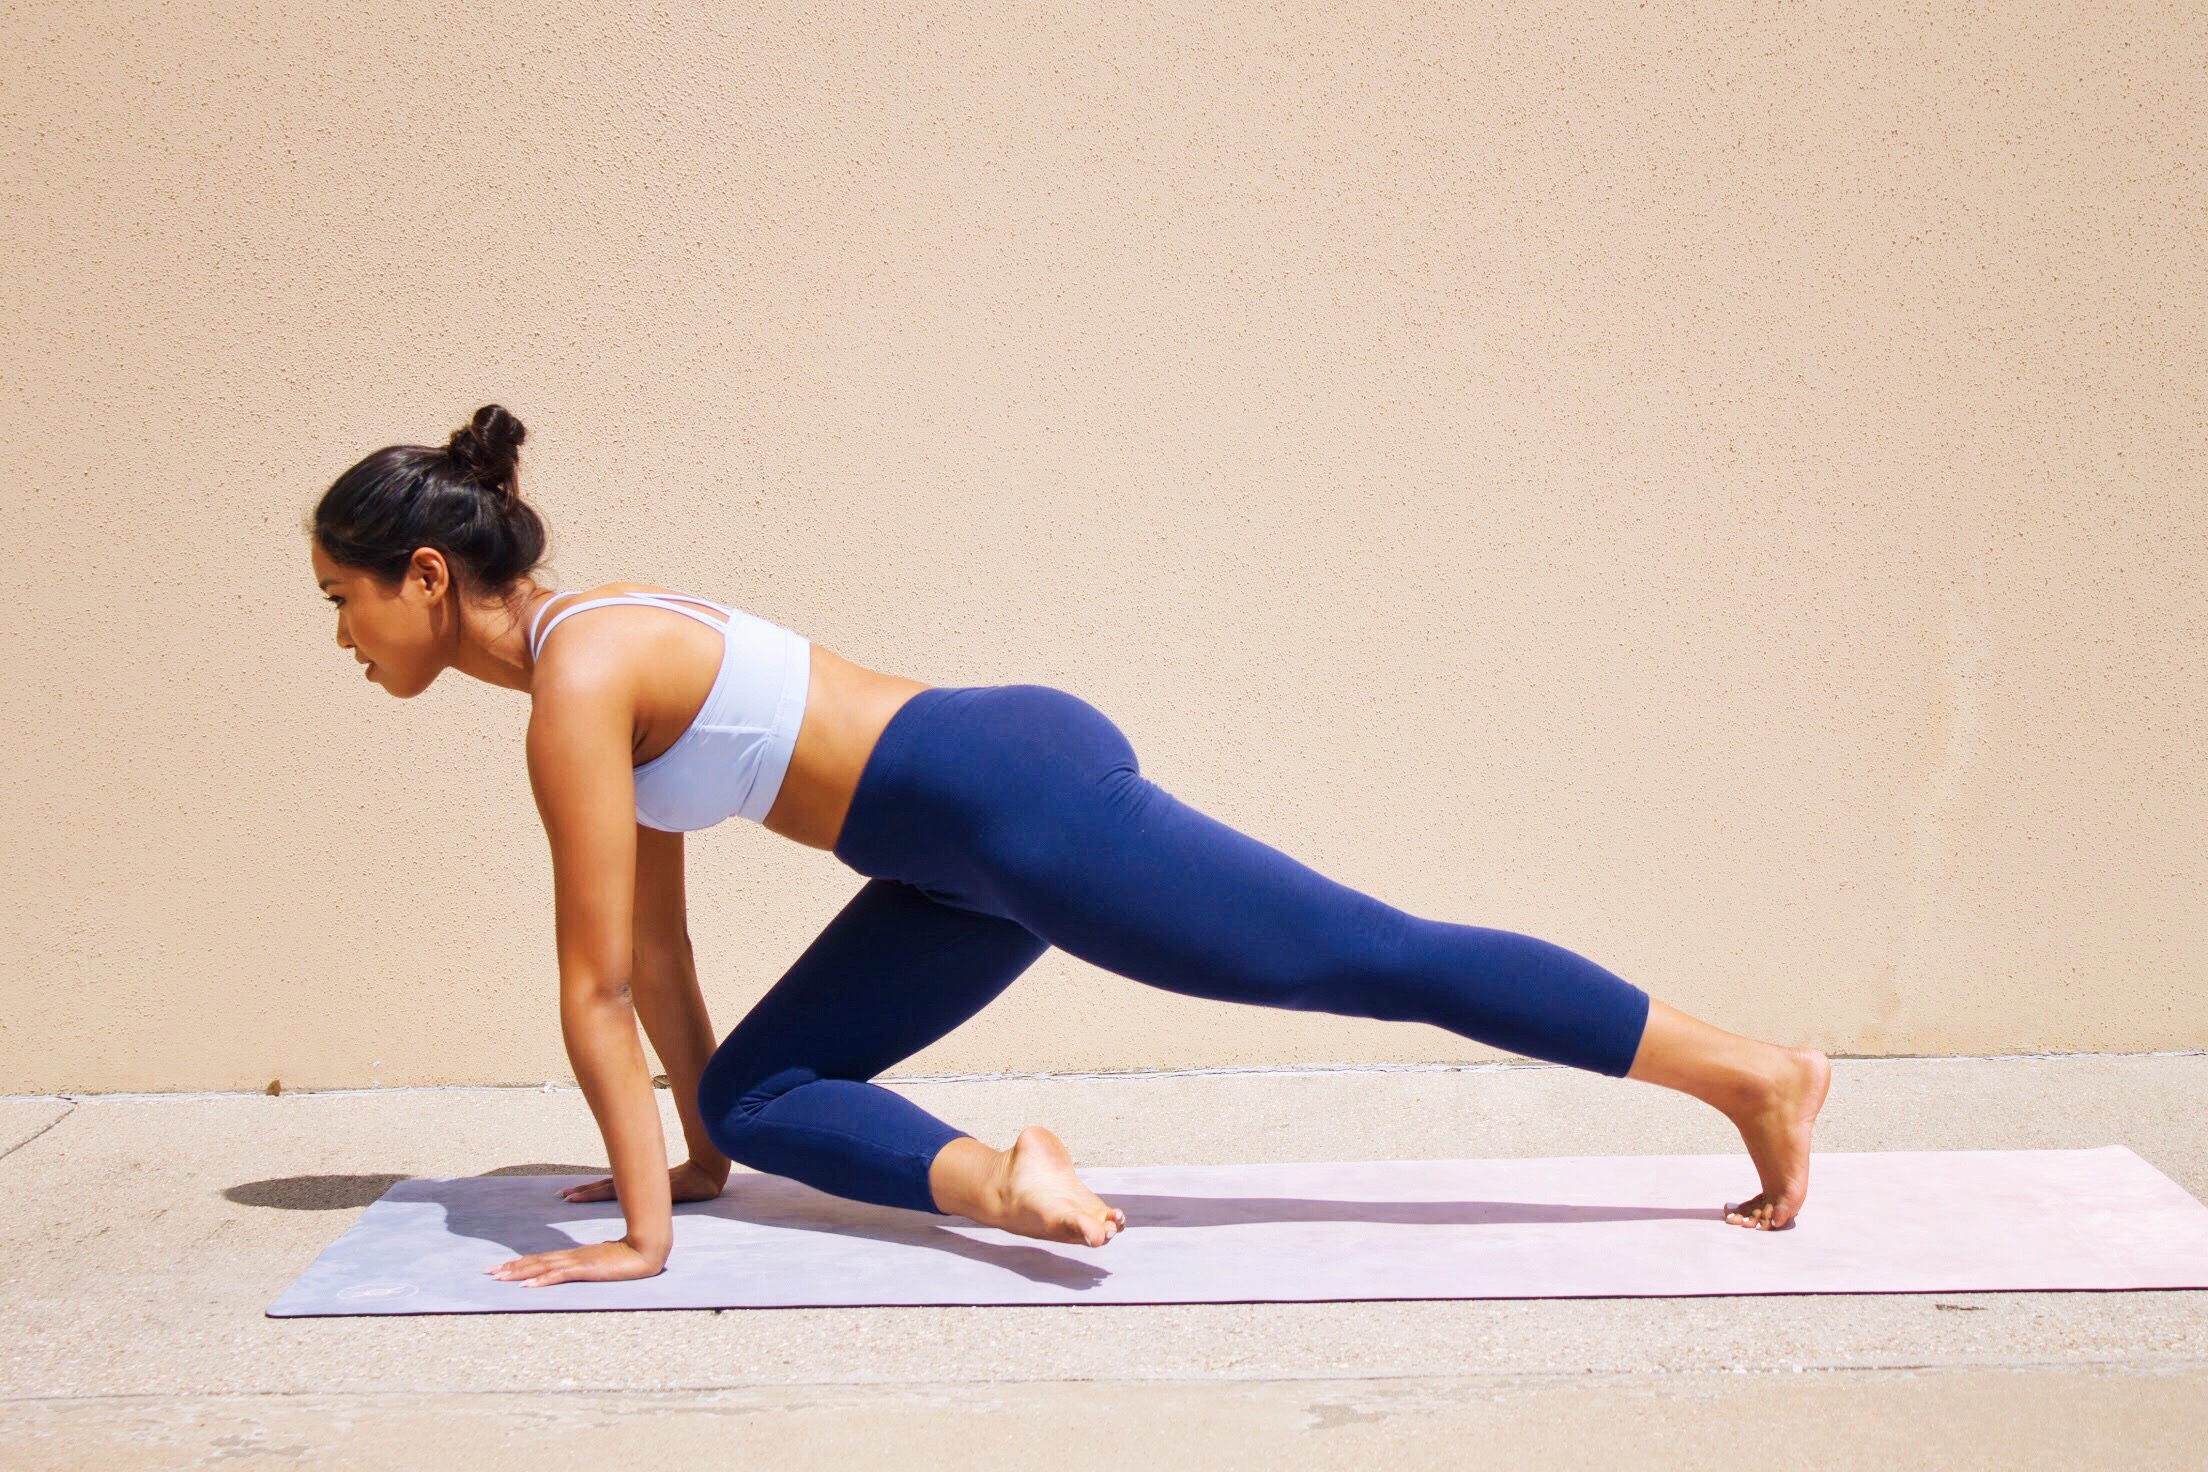
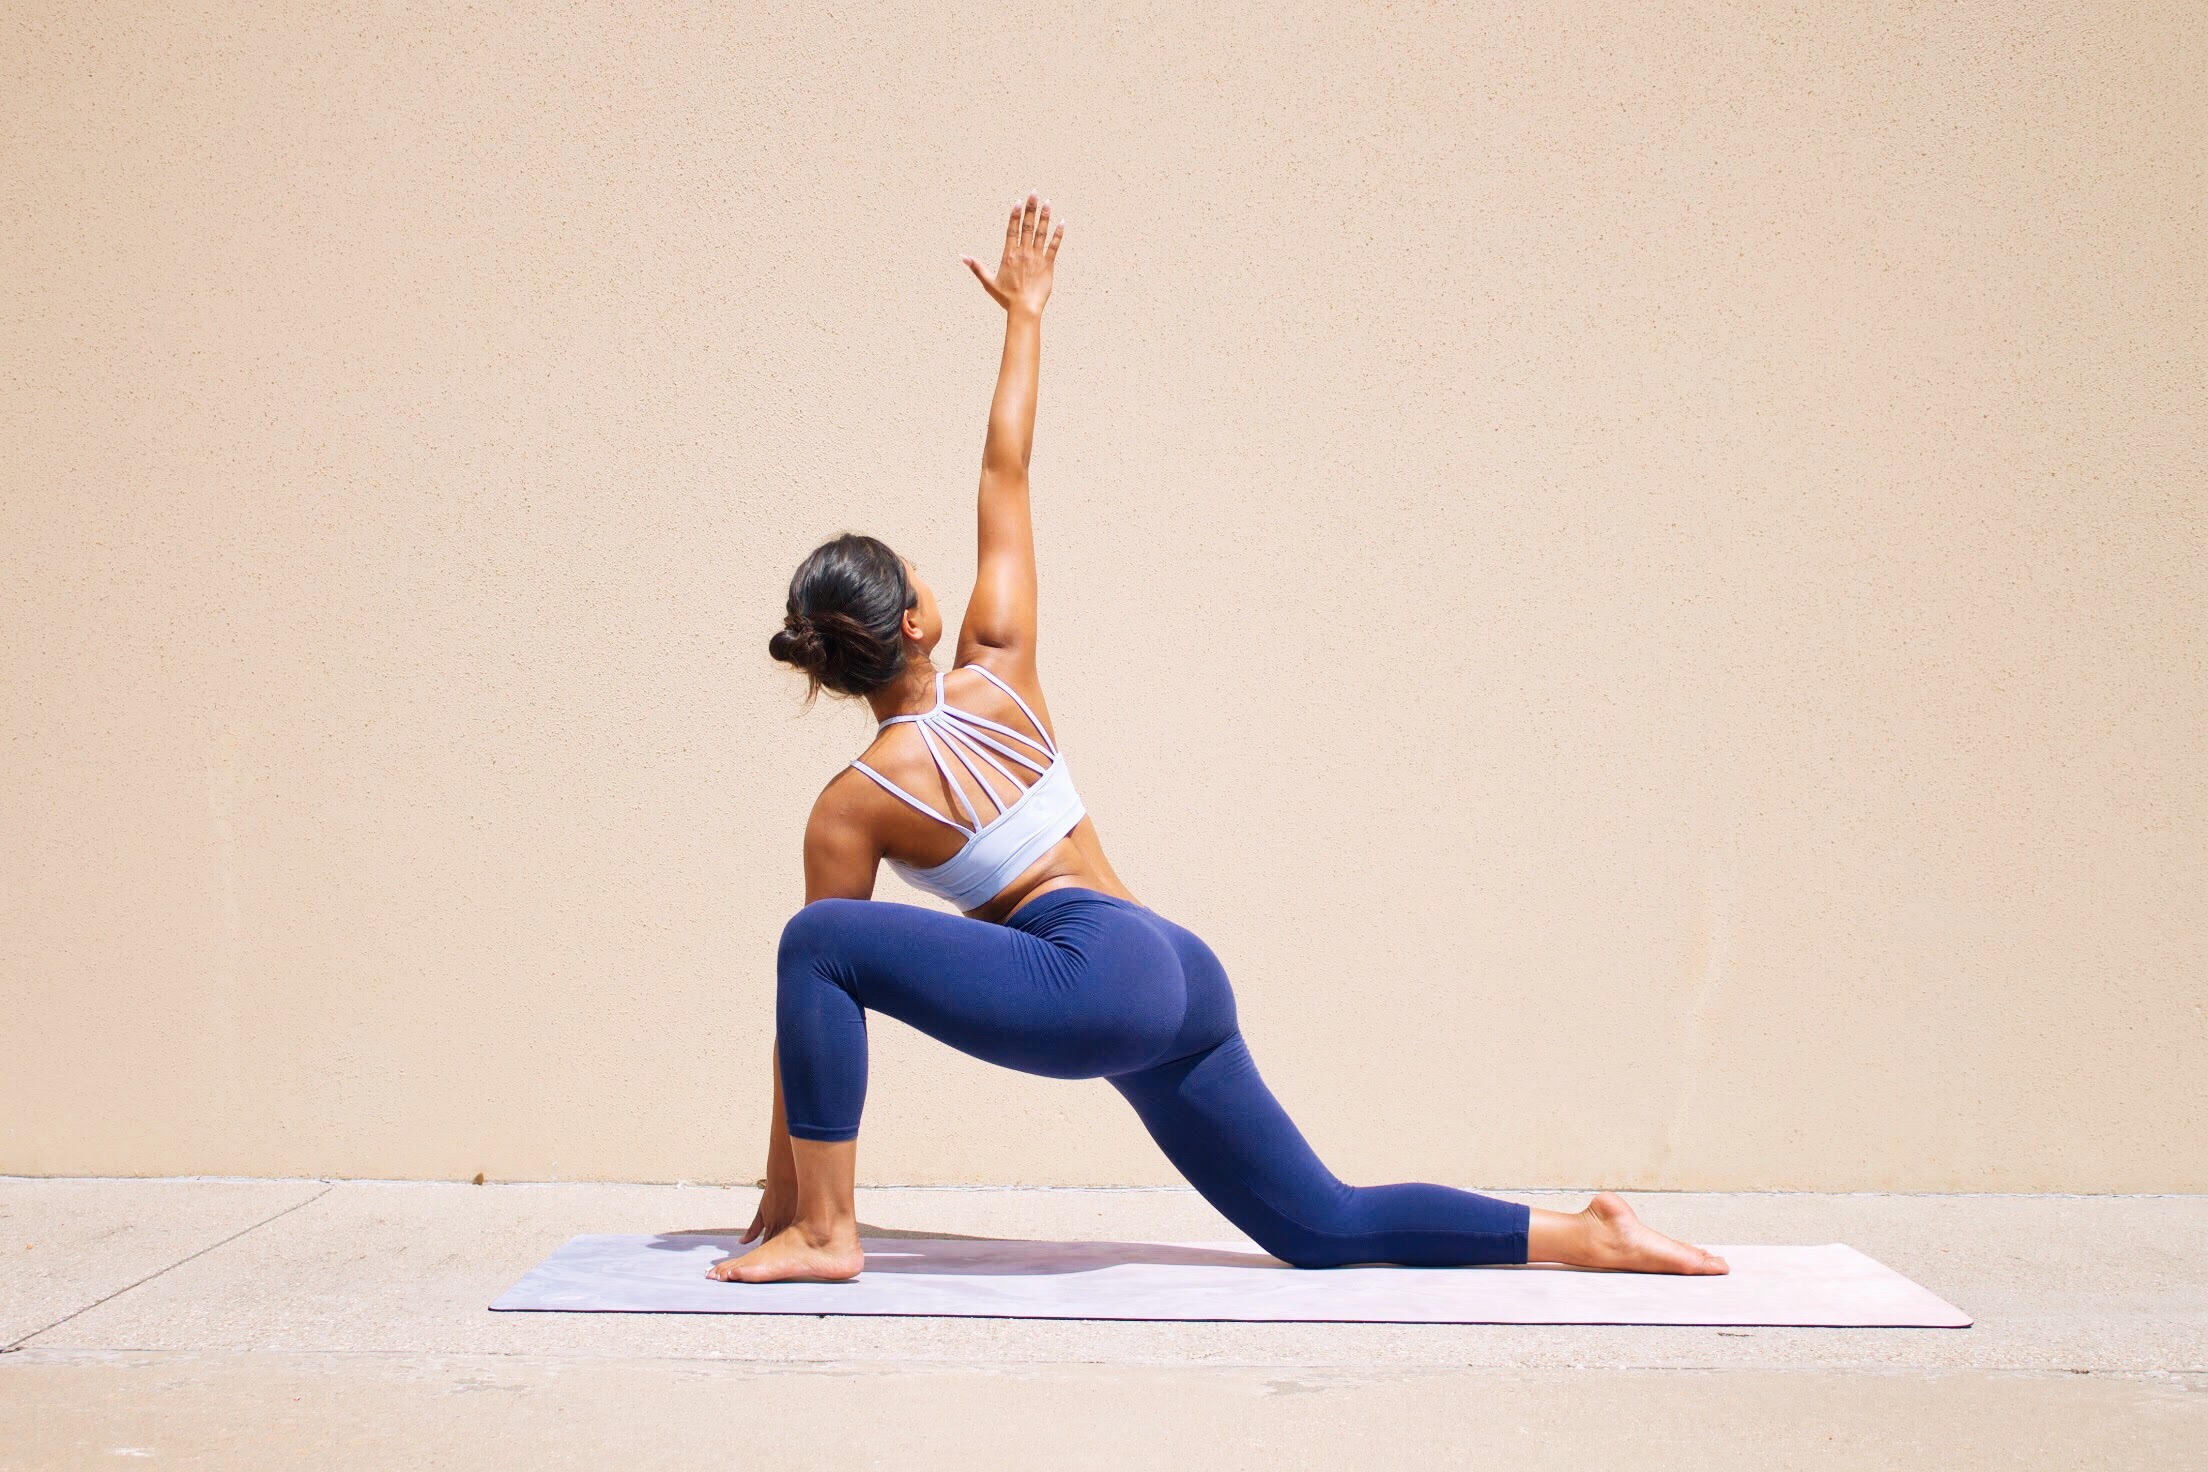
CRESCENT LOW LUNGE POSE
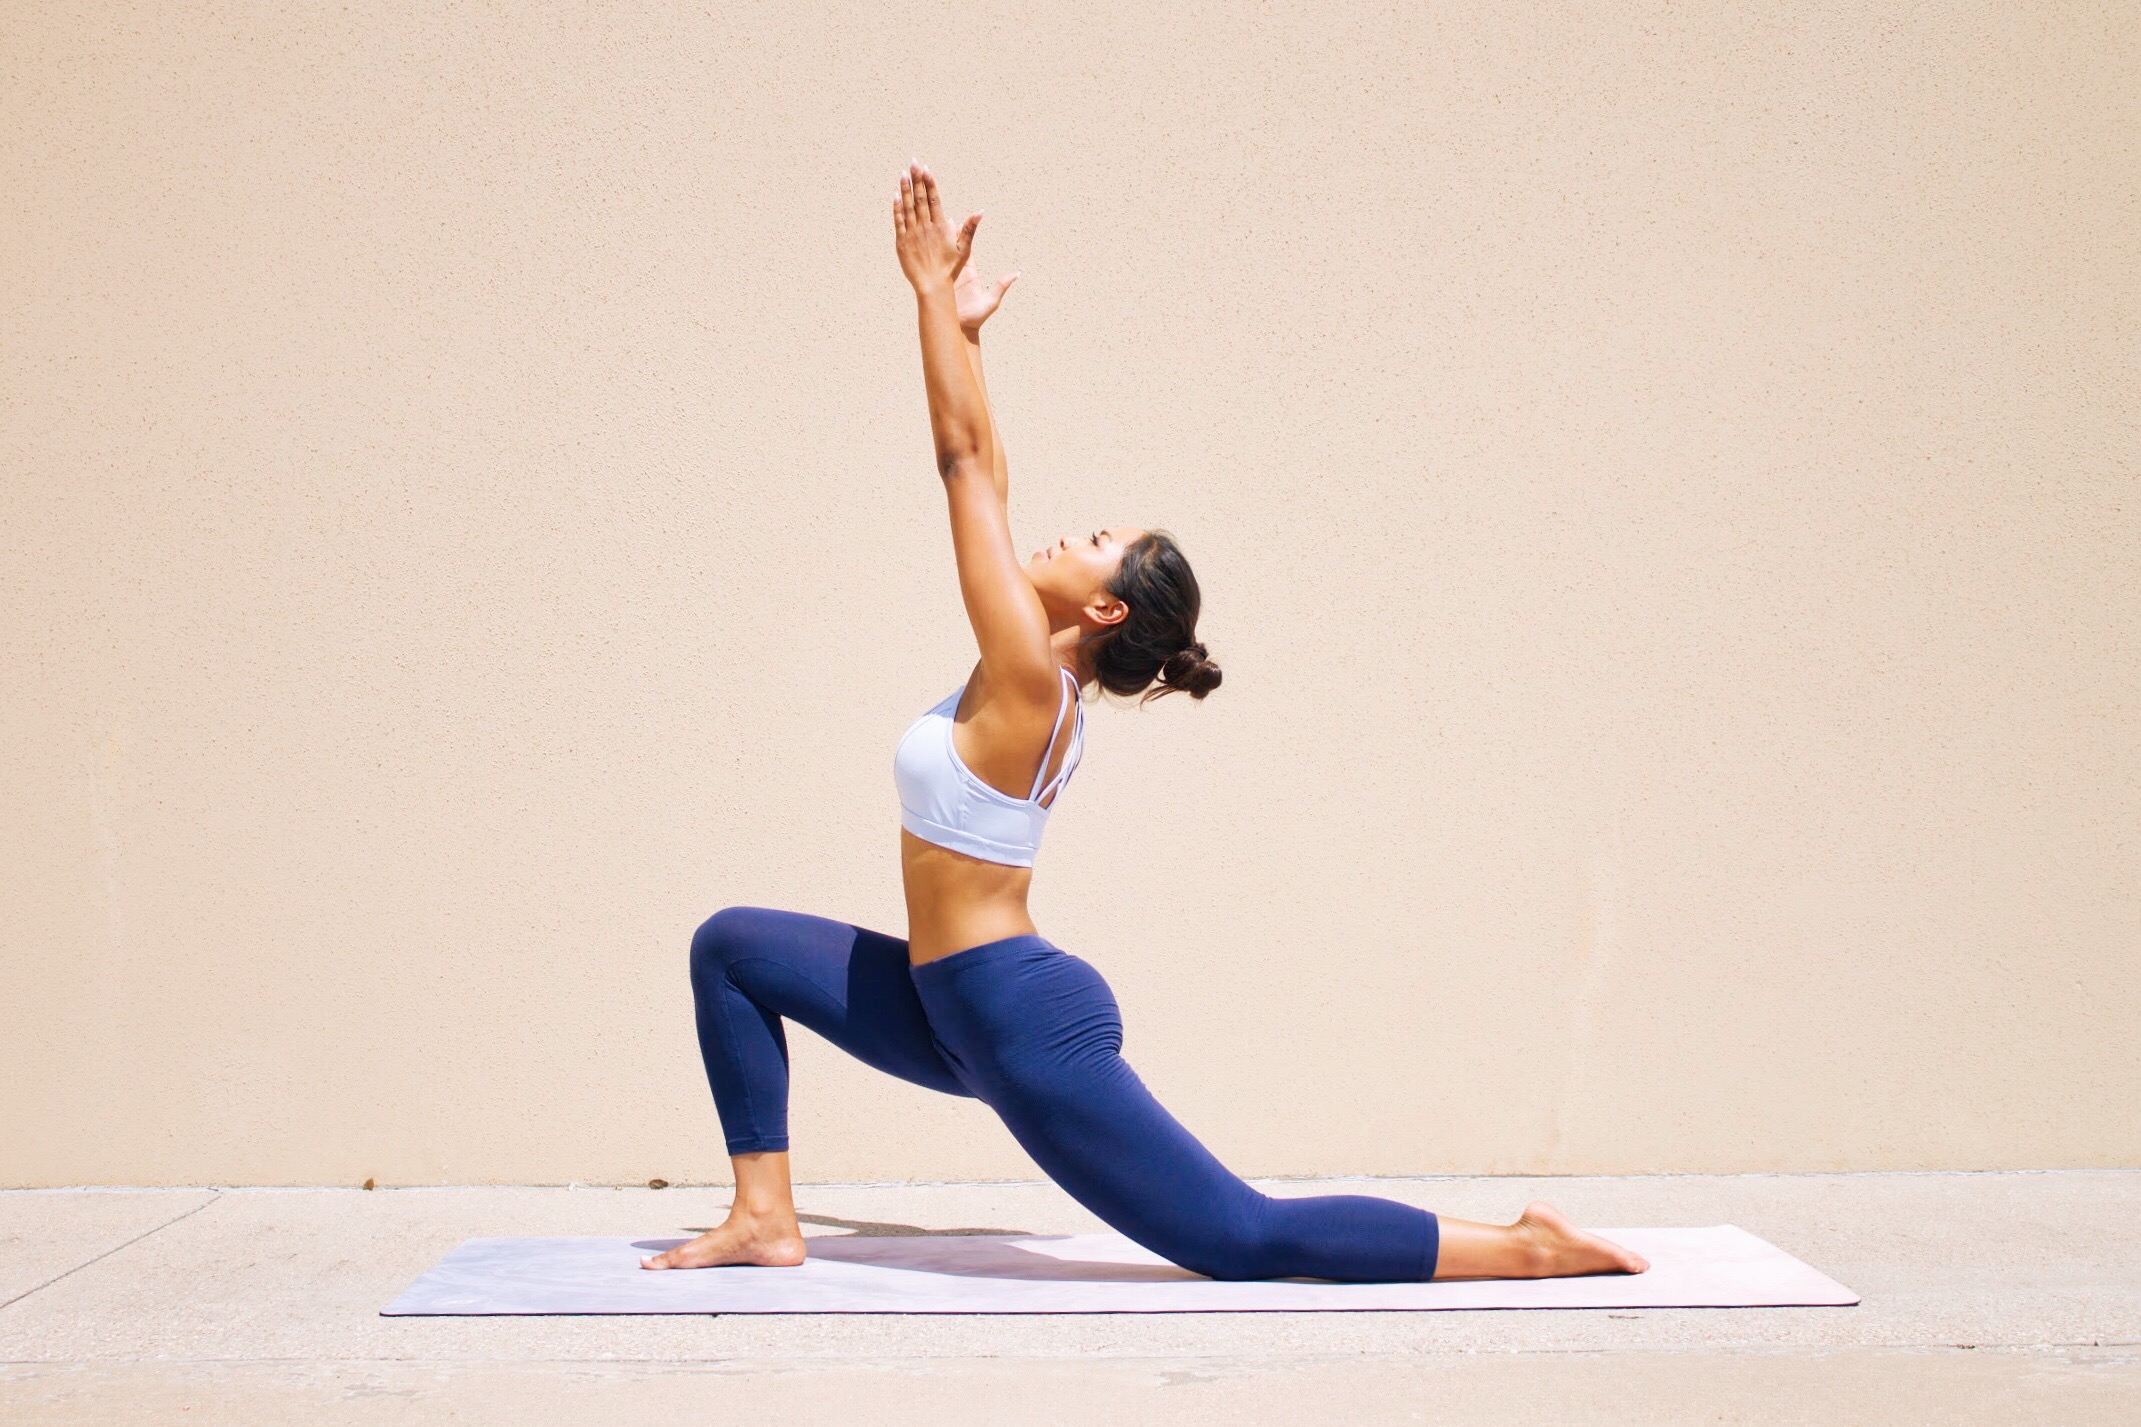
ANJEANEYASANA
HOW TO
1. Begin in warrior ii, stepping the right foot forward.
2. Drop the left knee to your mat.
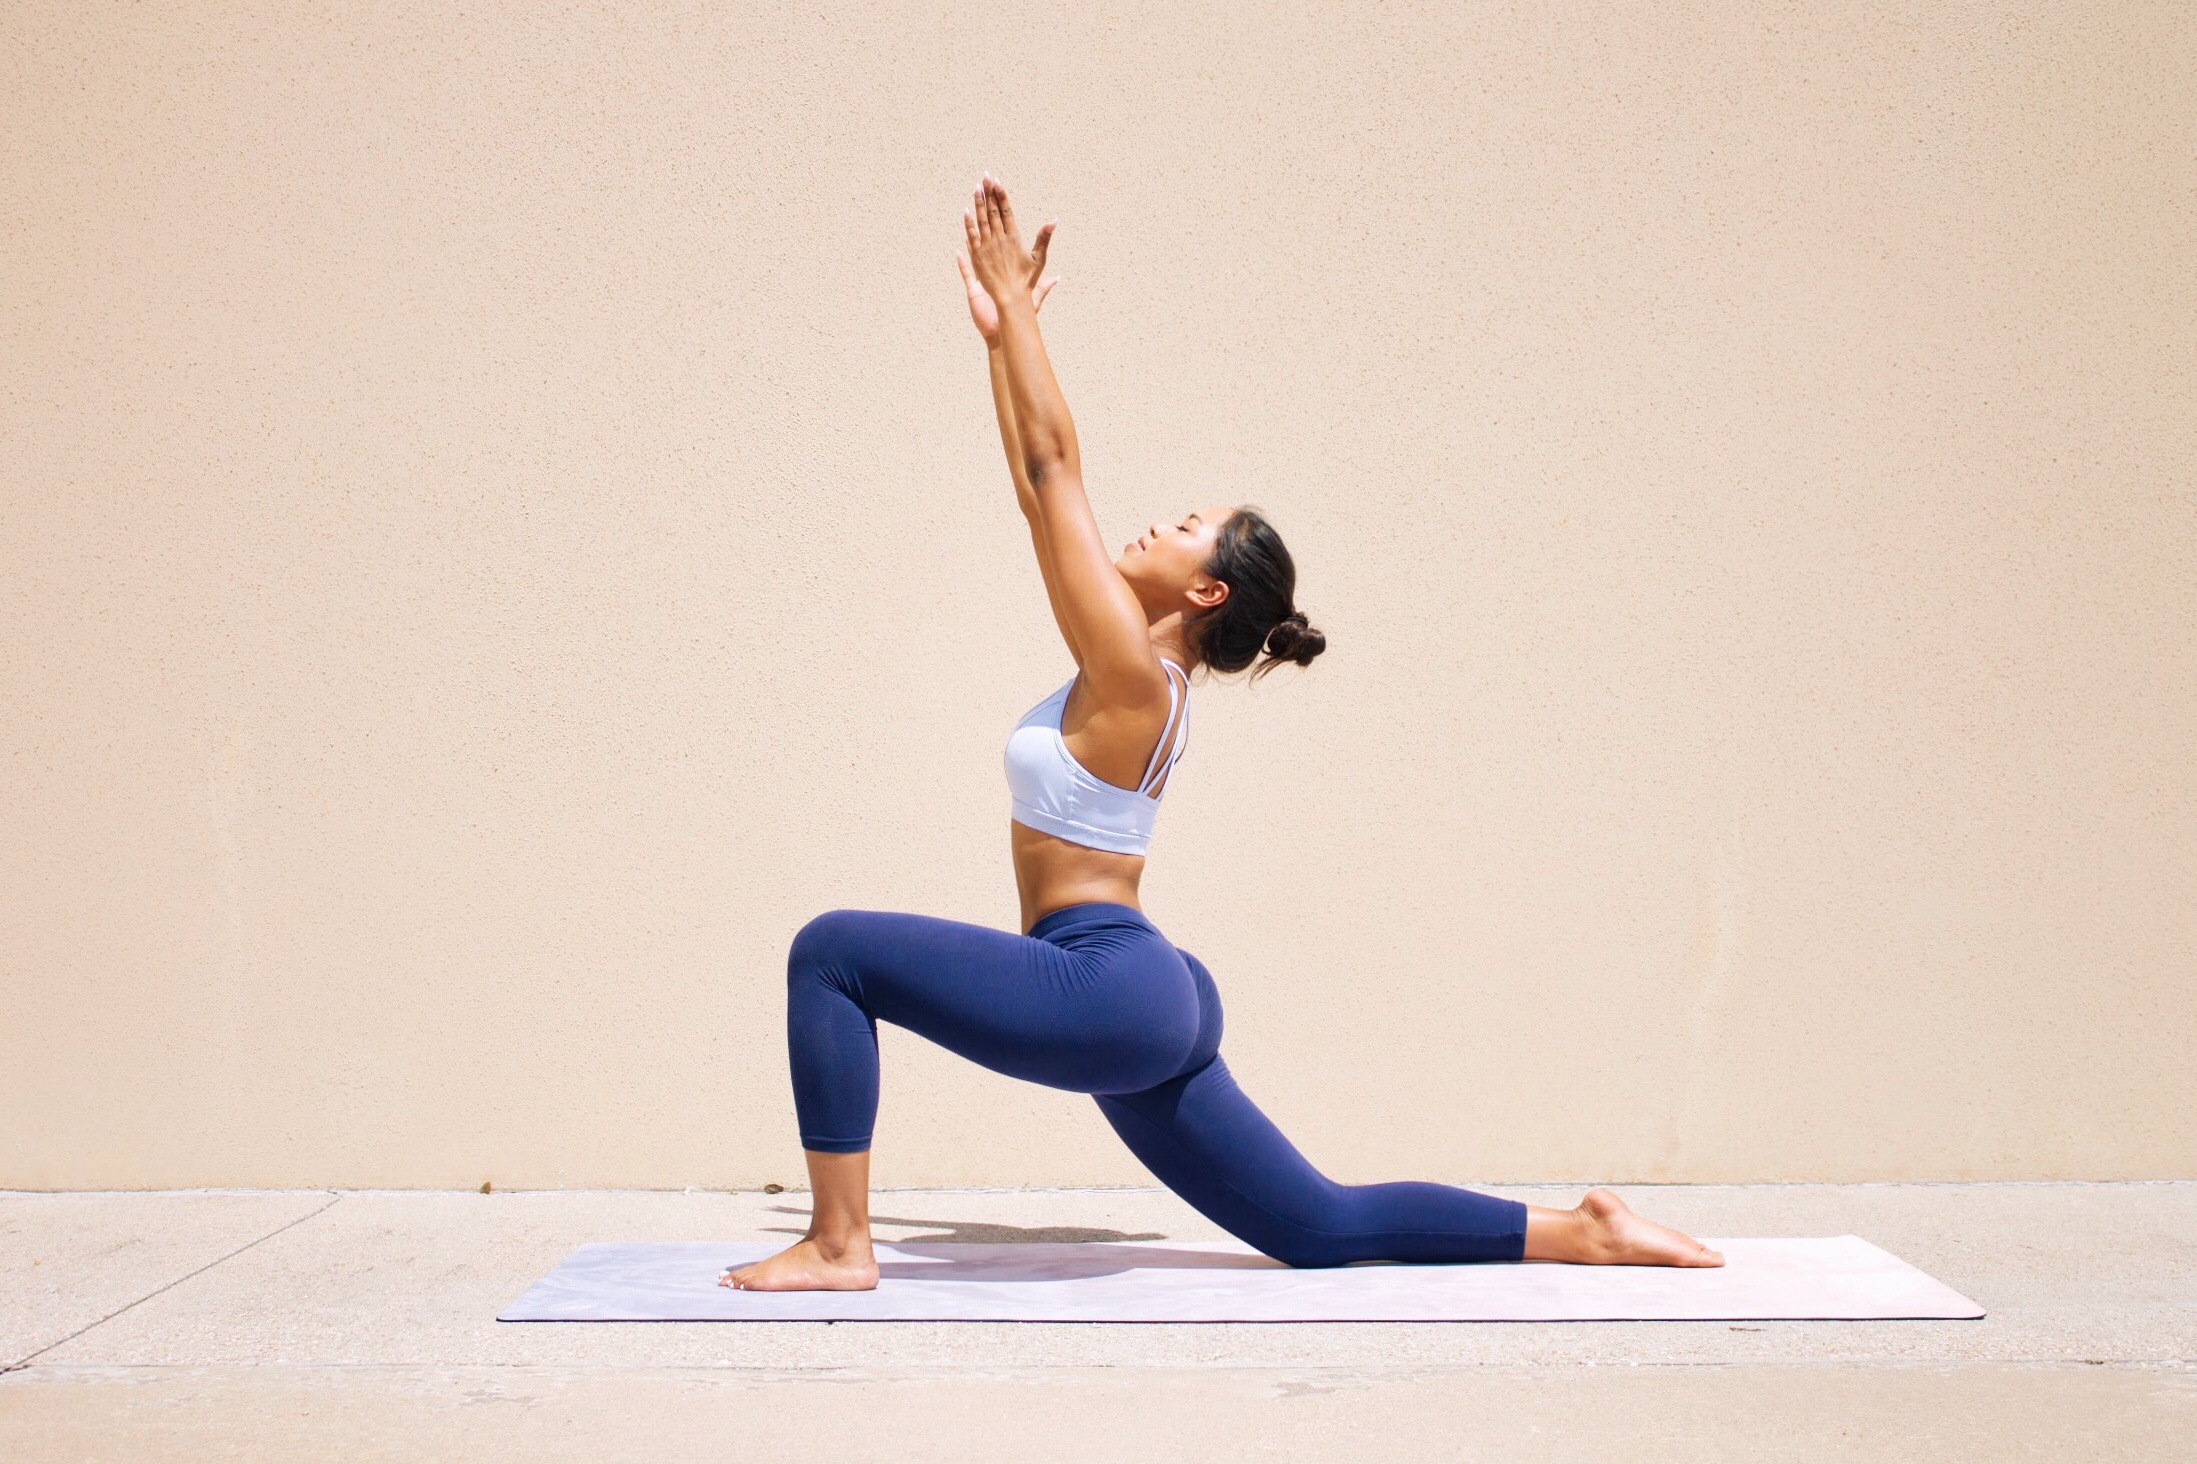
3. Be careful with the hips and spine, arms should still be raised, keeping the chest lifted. Here you will open the heart chakra. Relax the neck, looking to the sky.
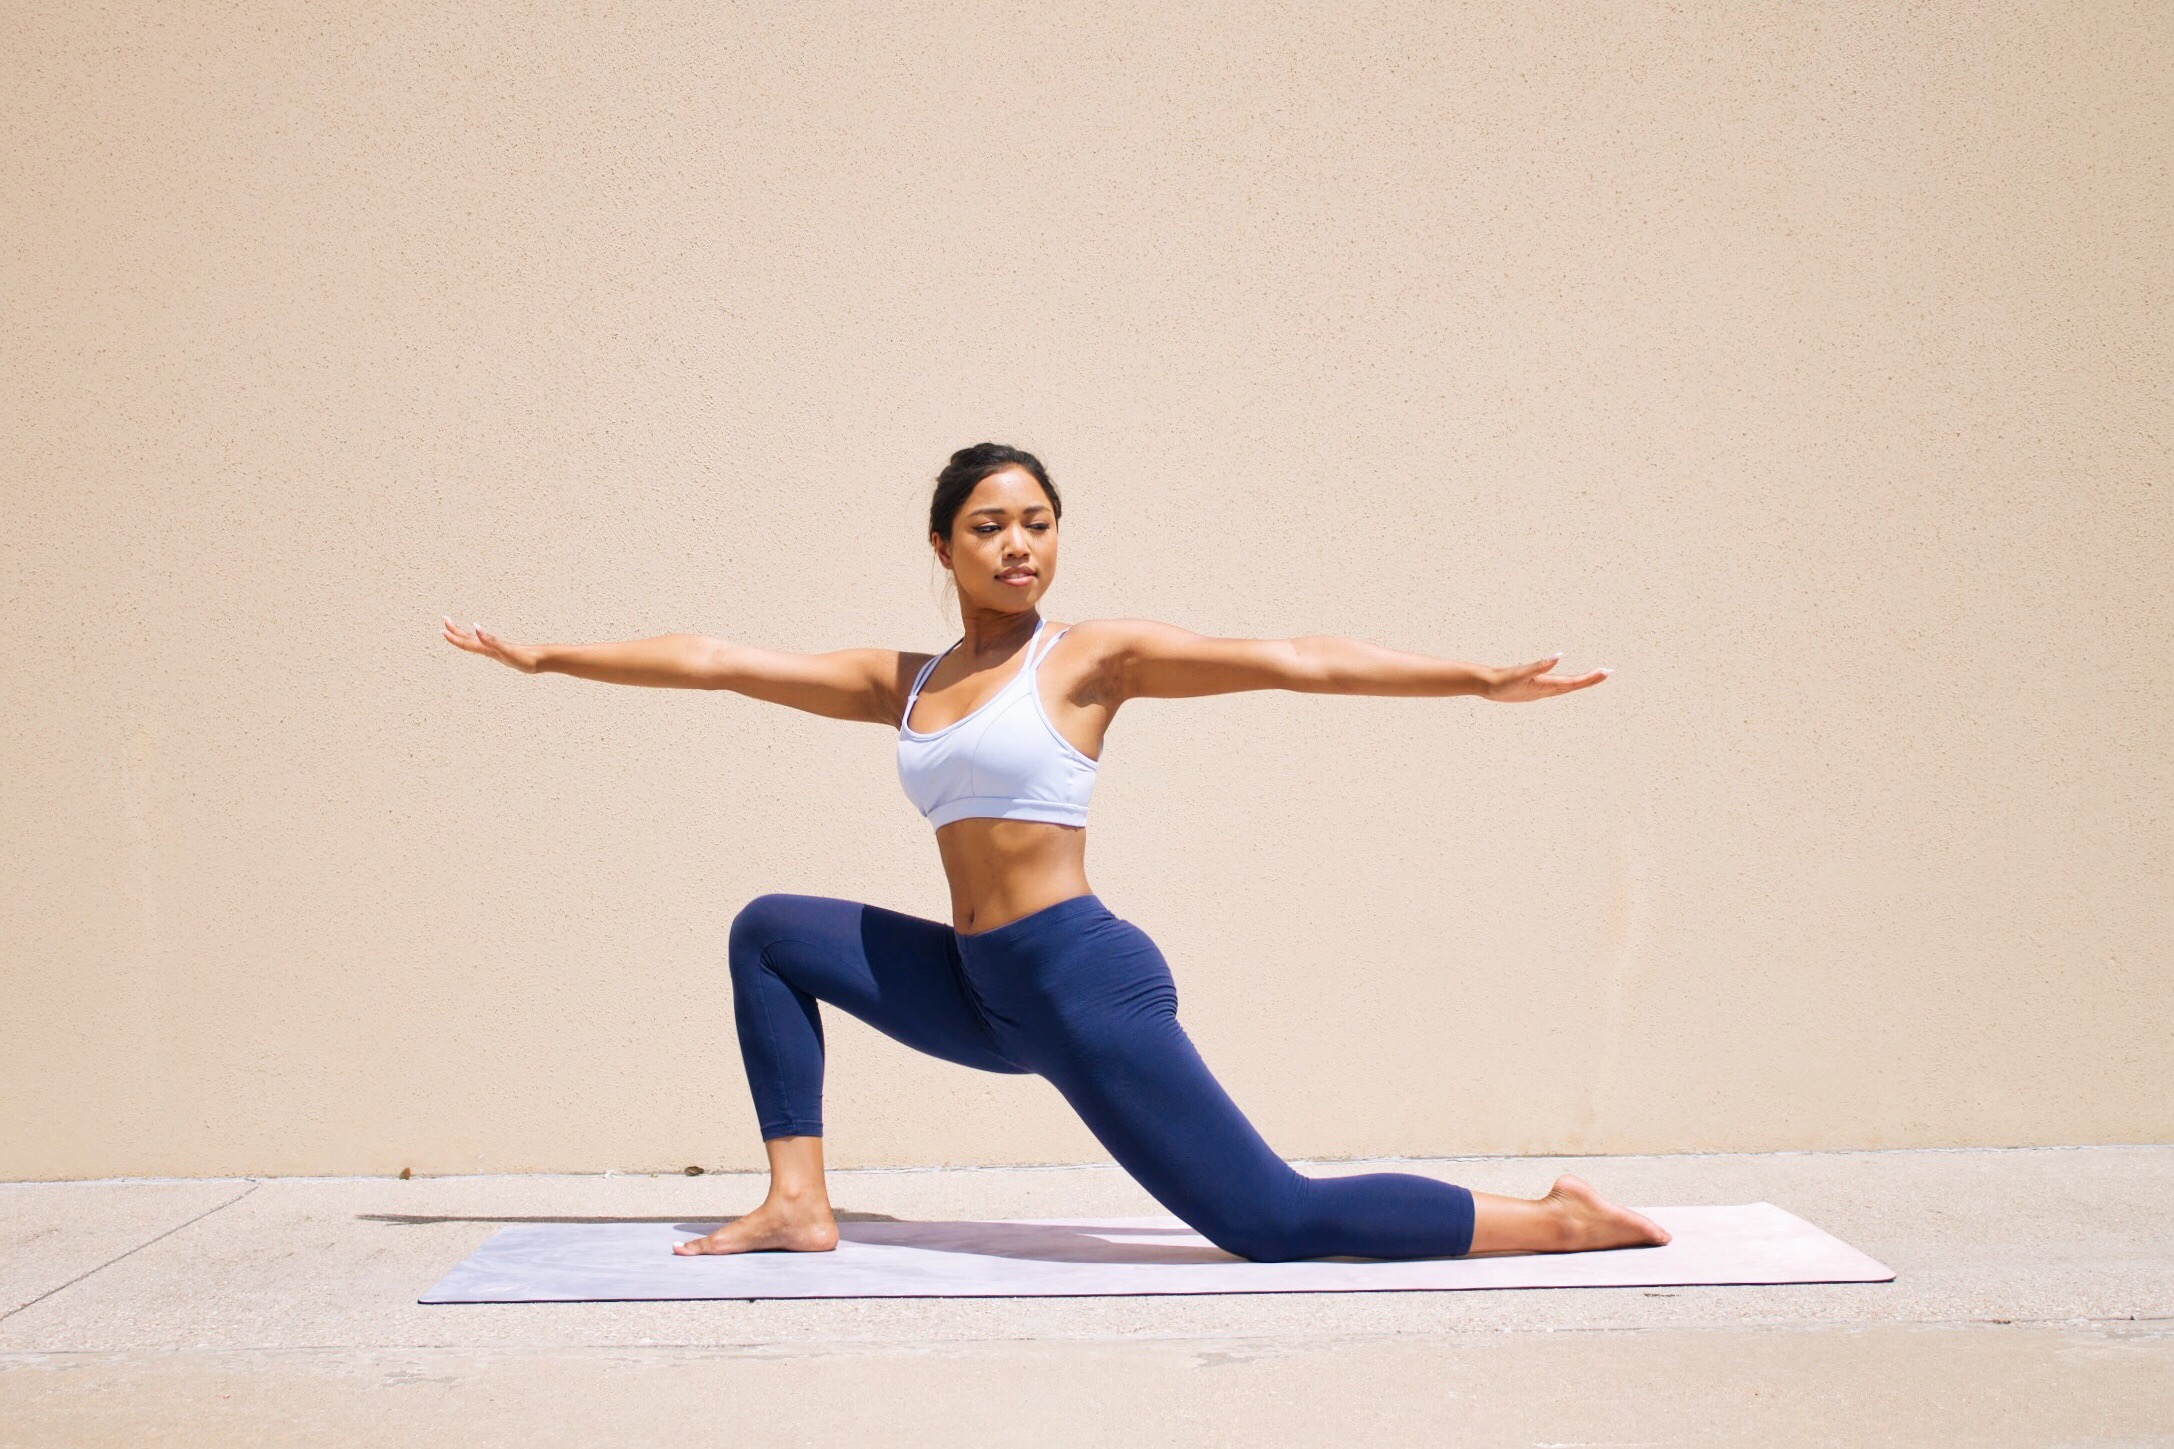
4. As the body remains forward, you will lunge forward. I use this modified version in a beginner's class or to put less pressure on my spine. Squeeze that left glute for added balance. Lift up out of the waist, sucking in the belly.
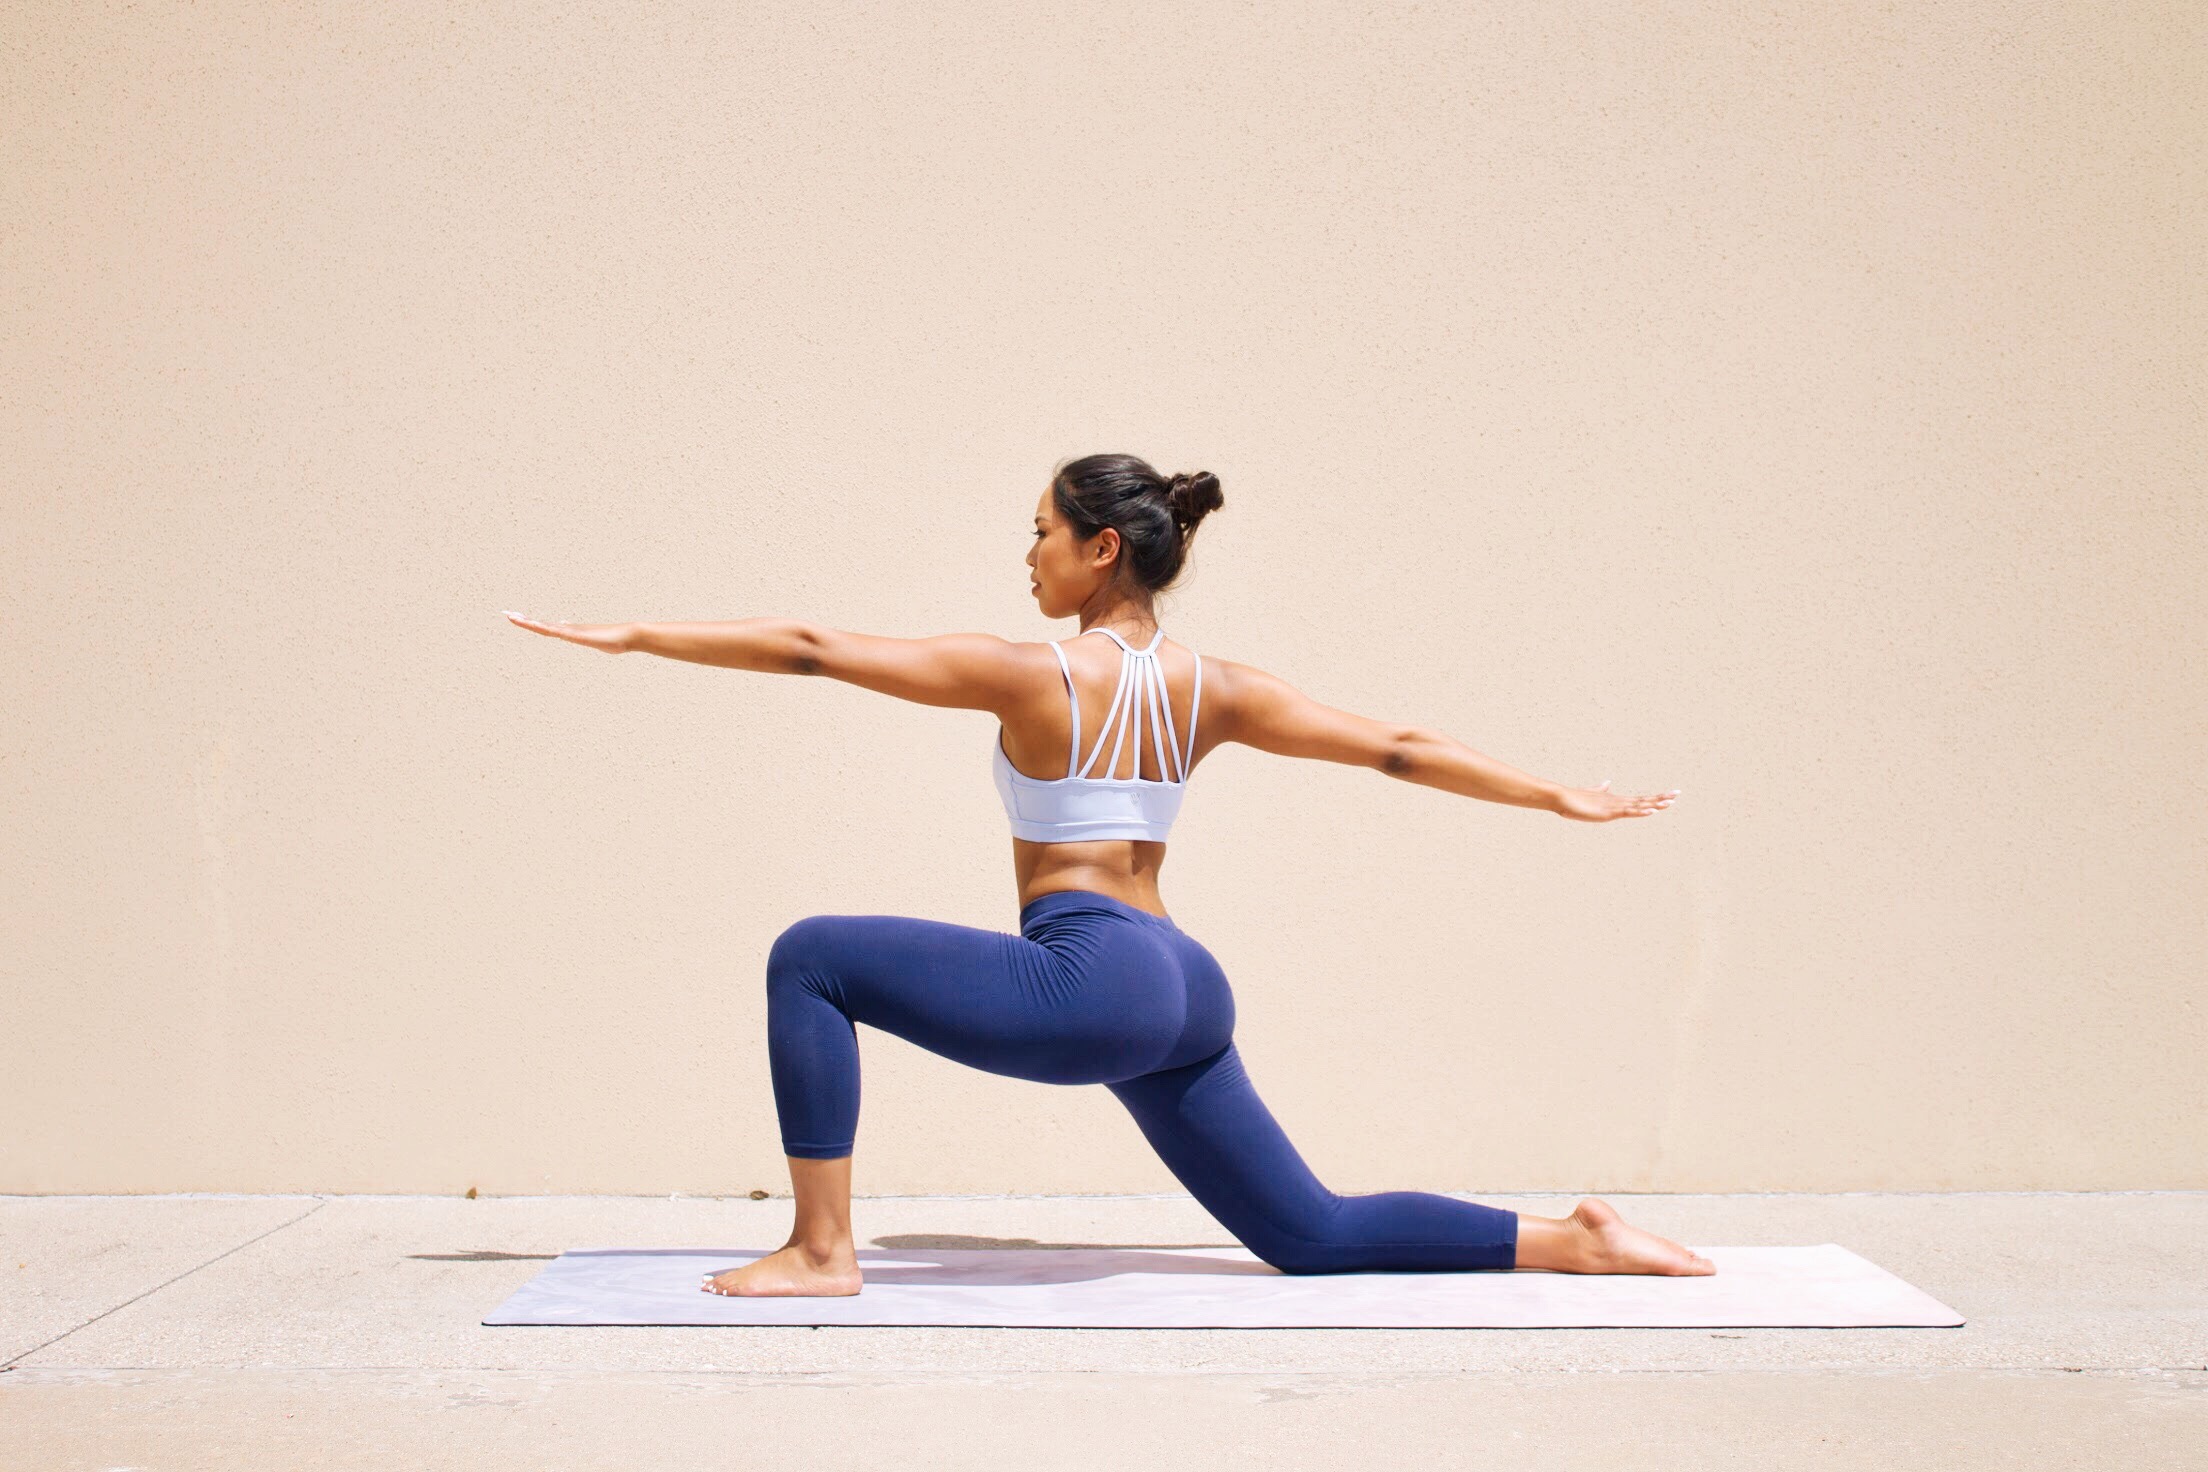
5. To come out of this pose or go into the left side crescent lunge: pivot the torso forward arms out, place your hands on the outside of your right foot, move the right foot back into plank pose, now place the left foot at the front of the mat in between your hands, dropping the right knee this time, bringing the arms up to the sky, looking upward, creating a crescent lunge.
MODIFICATIONS
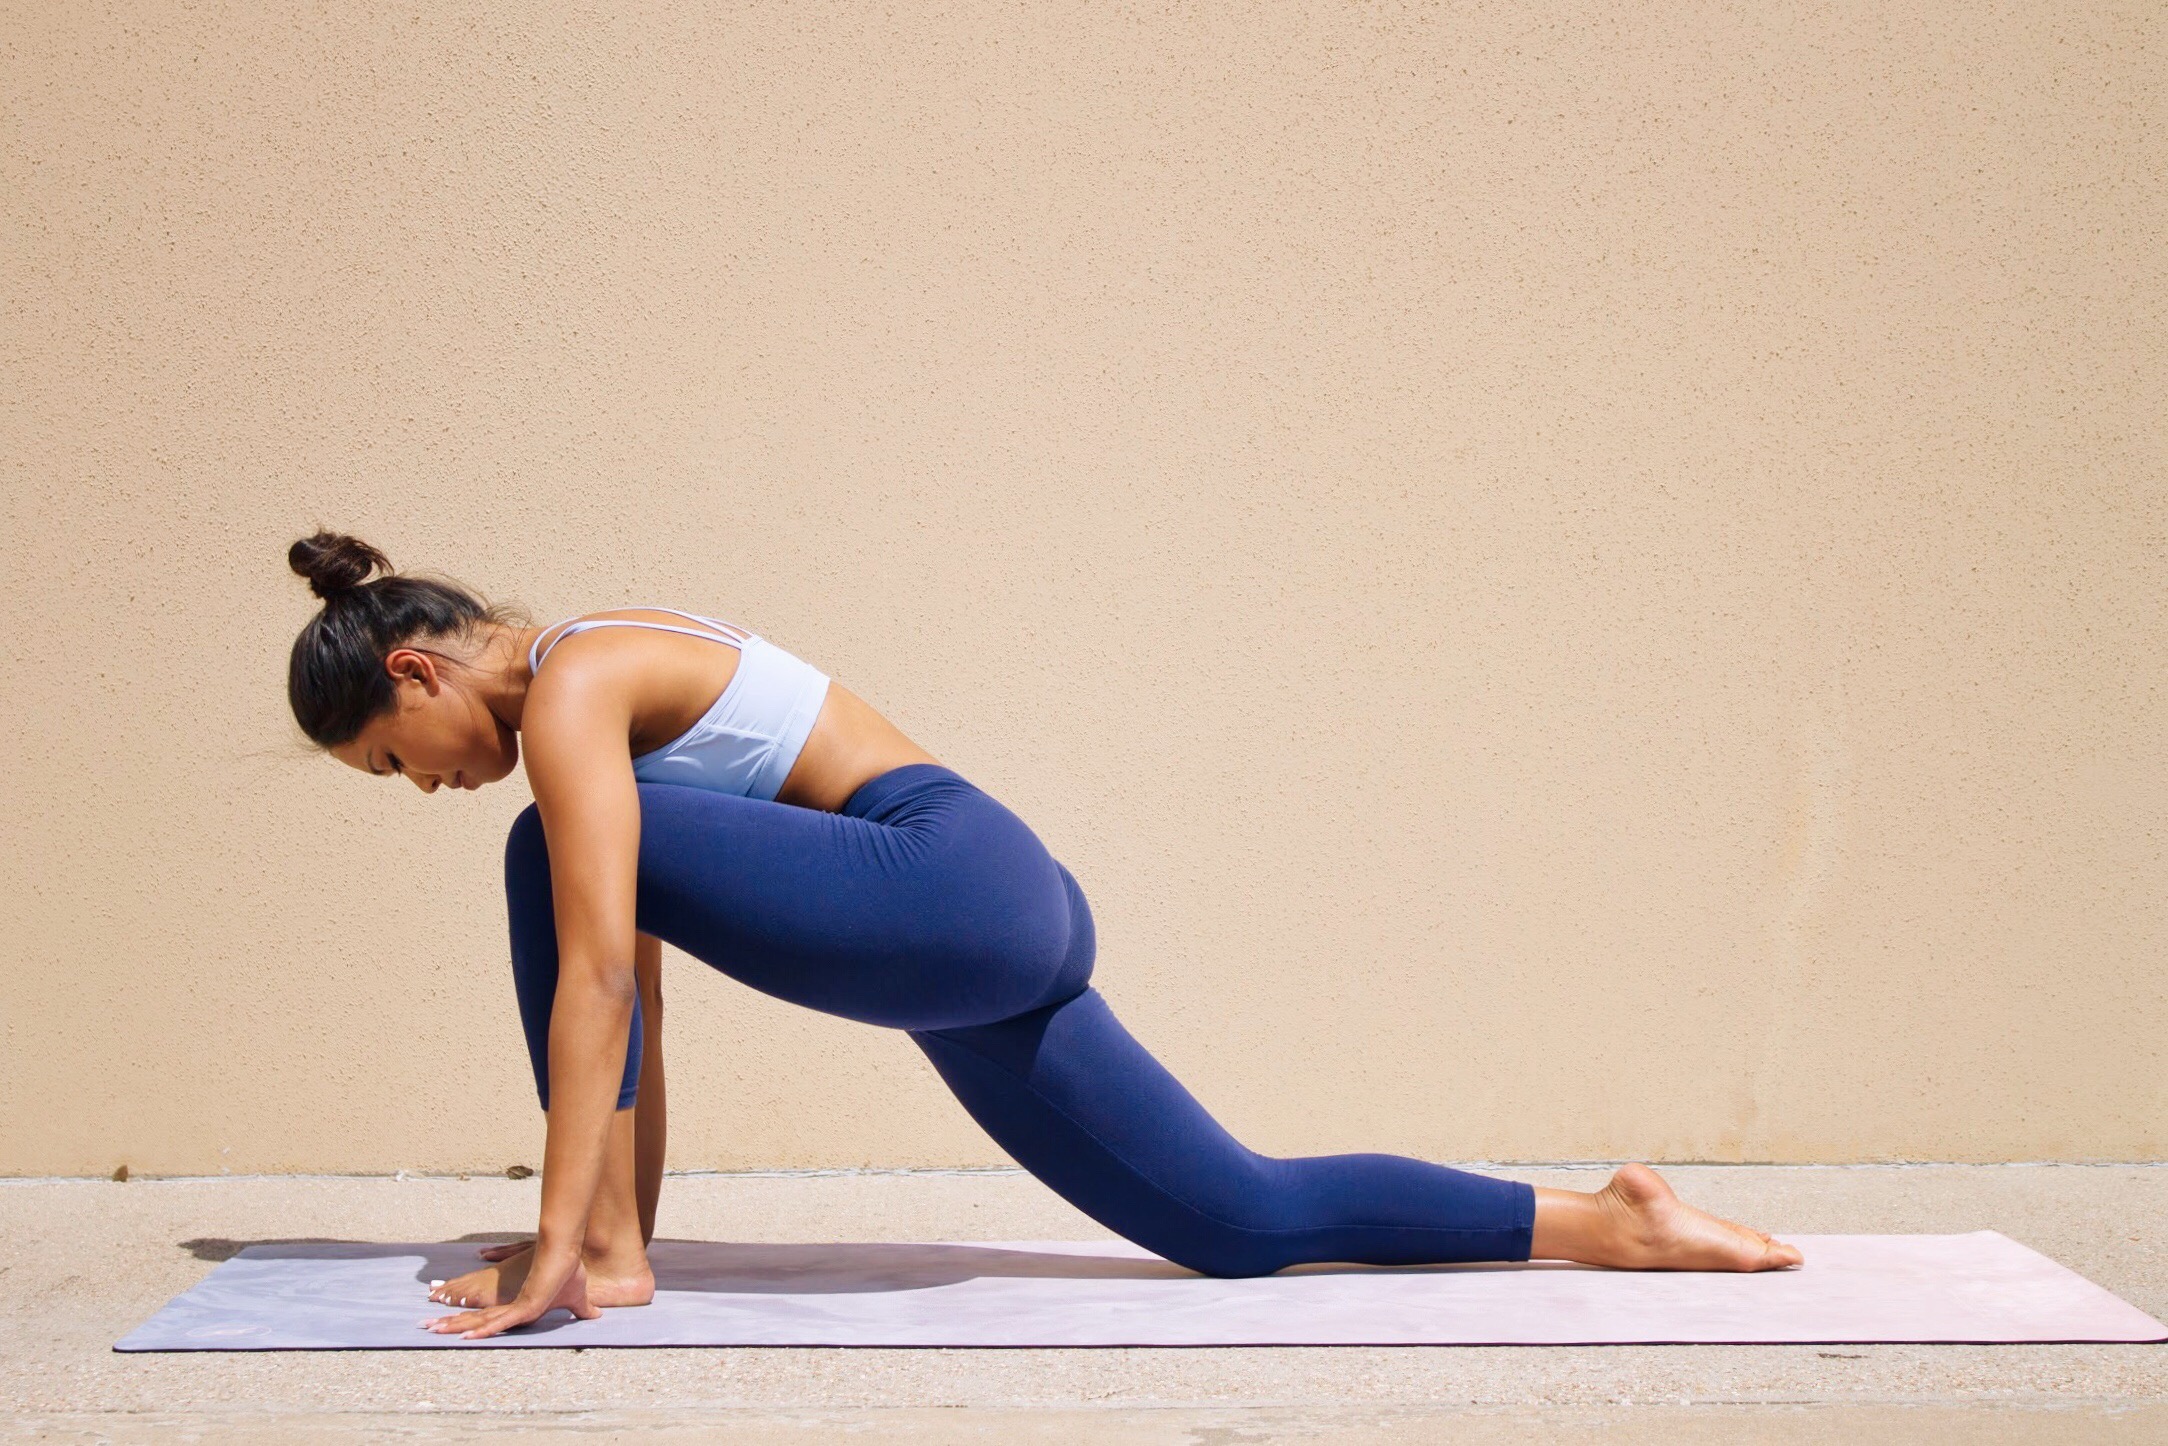
5. You can move the arms outward, facing forward, then pivoting the waist toward your left side. I like to hang here, pulsing forward a few times to stretch the hip flexors.
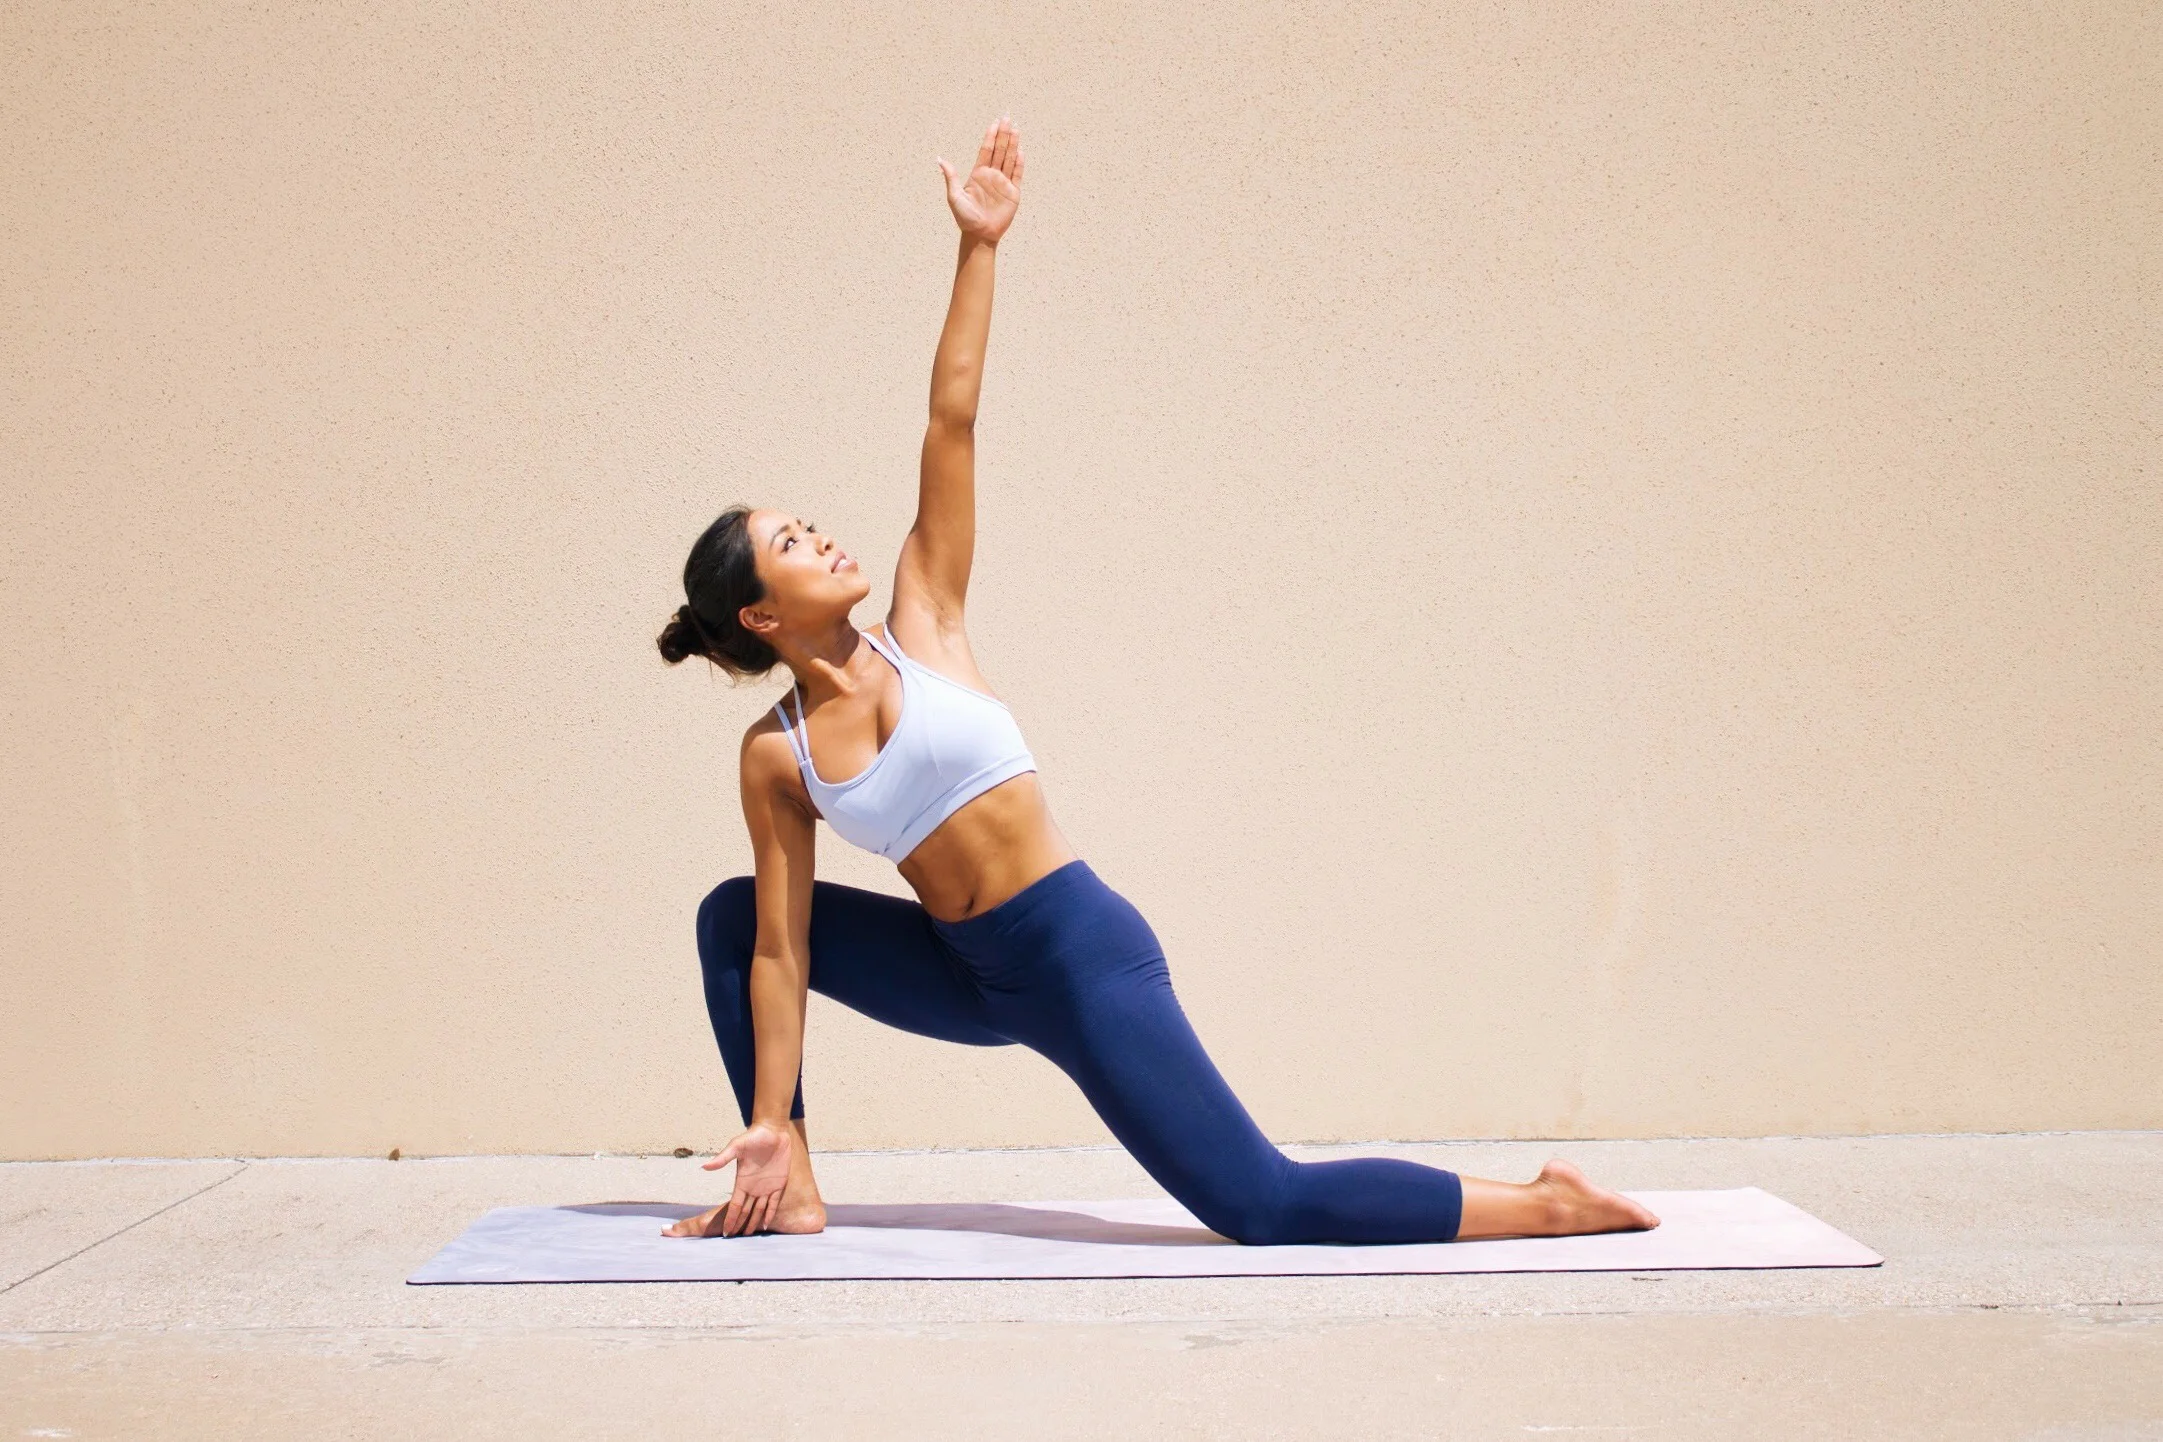
6. If I'm feeling flexible, I'll move the left arm up, right arm down and in front of the right foot. This is my version of a modified trikonasana (triangle) pose or side angle.
BENEFITS
Helps the thyroid gland and strengthens the neck
Opens the lungs and heart, improves breathing.
Stretches the hip flexors, lower back, and spine
Improves balance
Creates energy in the body
PRECAUTIONS
If you have muscle pain or injuries in the legs, knee, or hip, take precaution or ask your primary care if yoga is appropriate.
If you have high blood pressure, be careful lifting your chest and arms too rapidly.
If you feel nauseous or sick, place your hands onto the ground to modify.
PHOTOS BY DANNY FRAGASO.