Diy Project: Orchid Gift Box
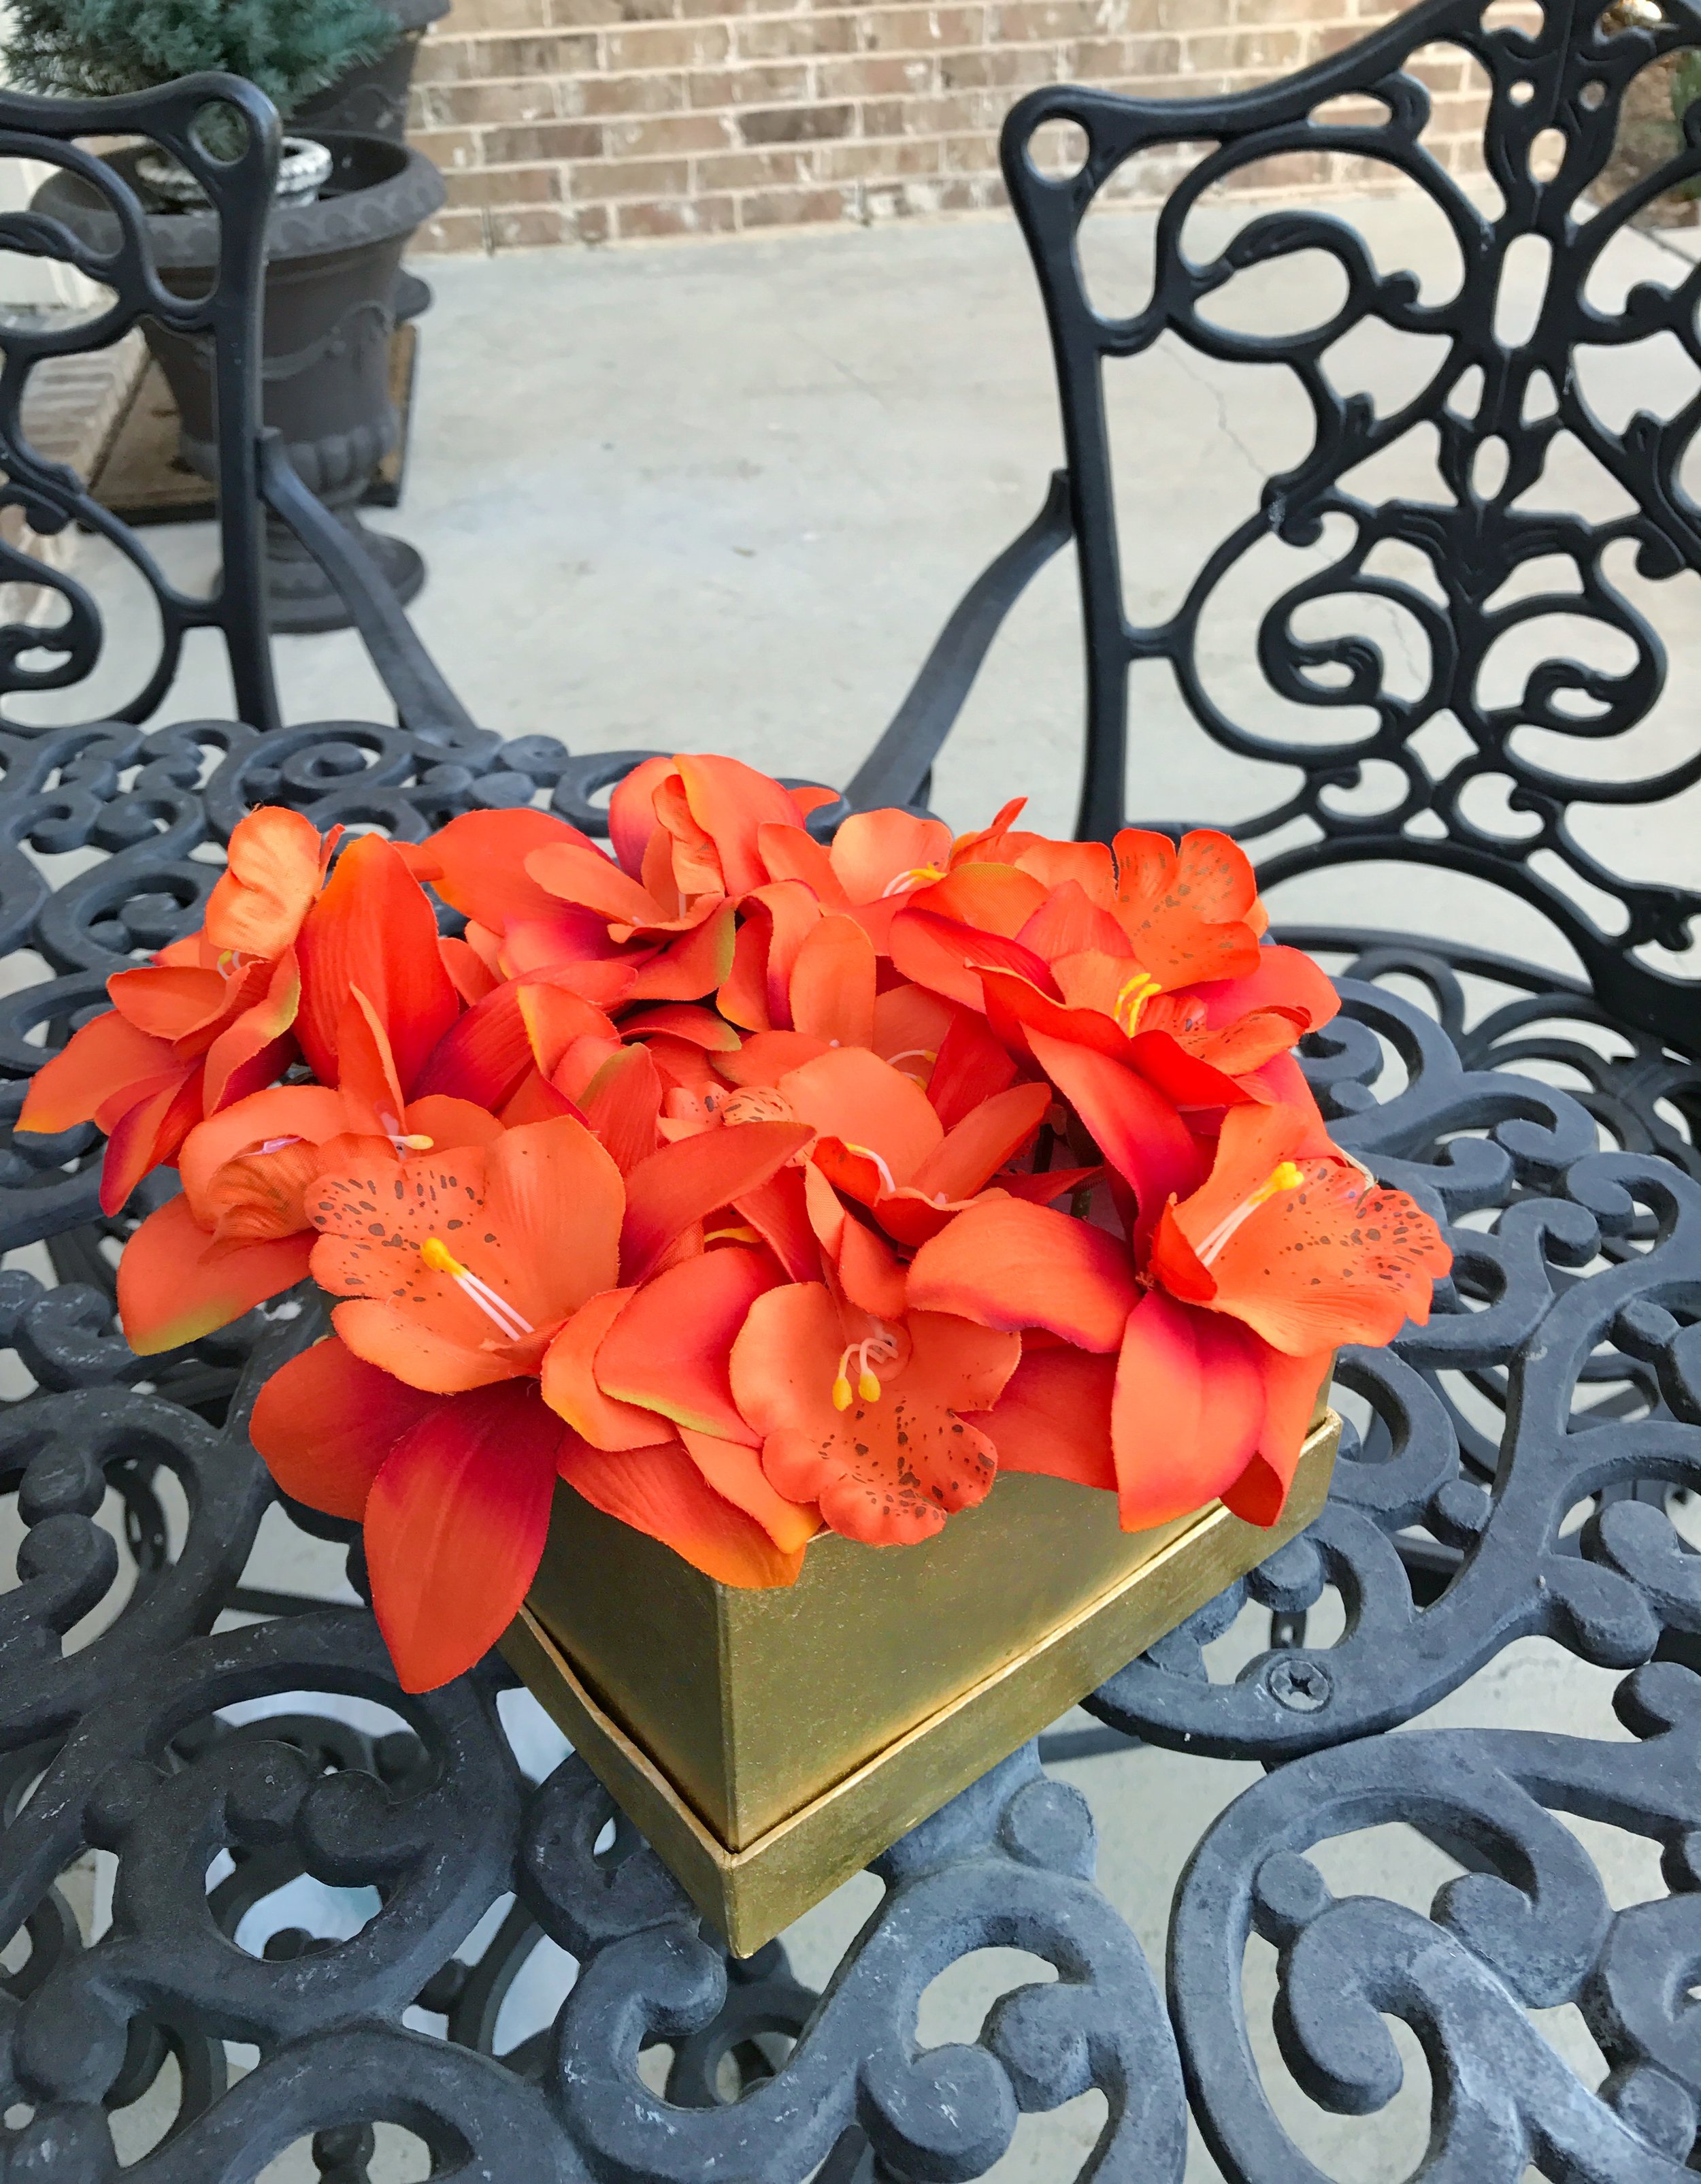
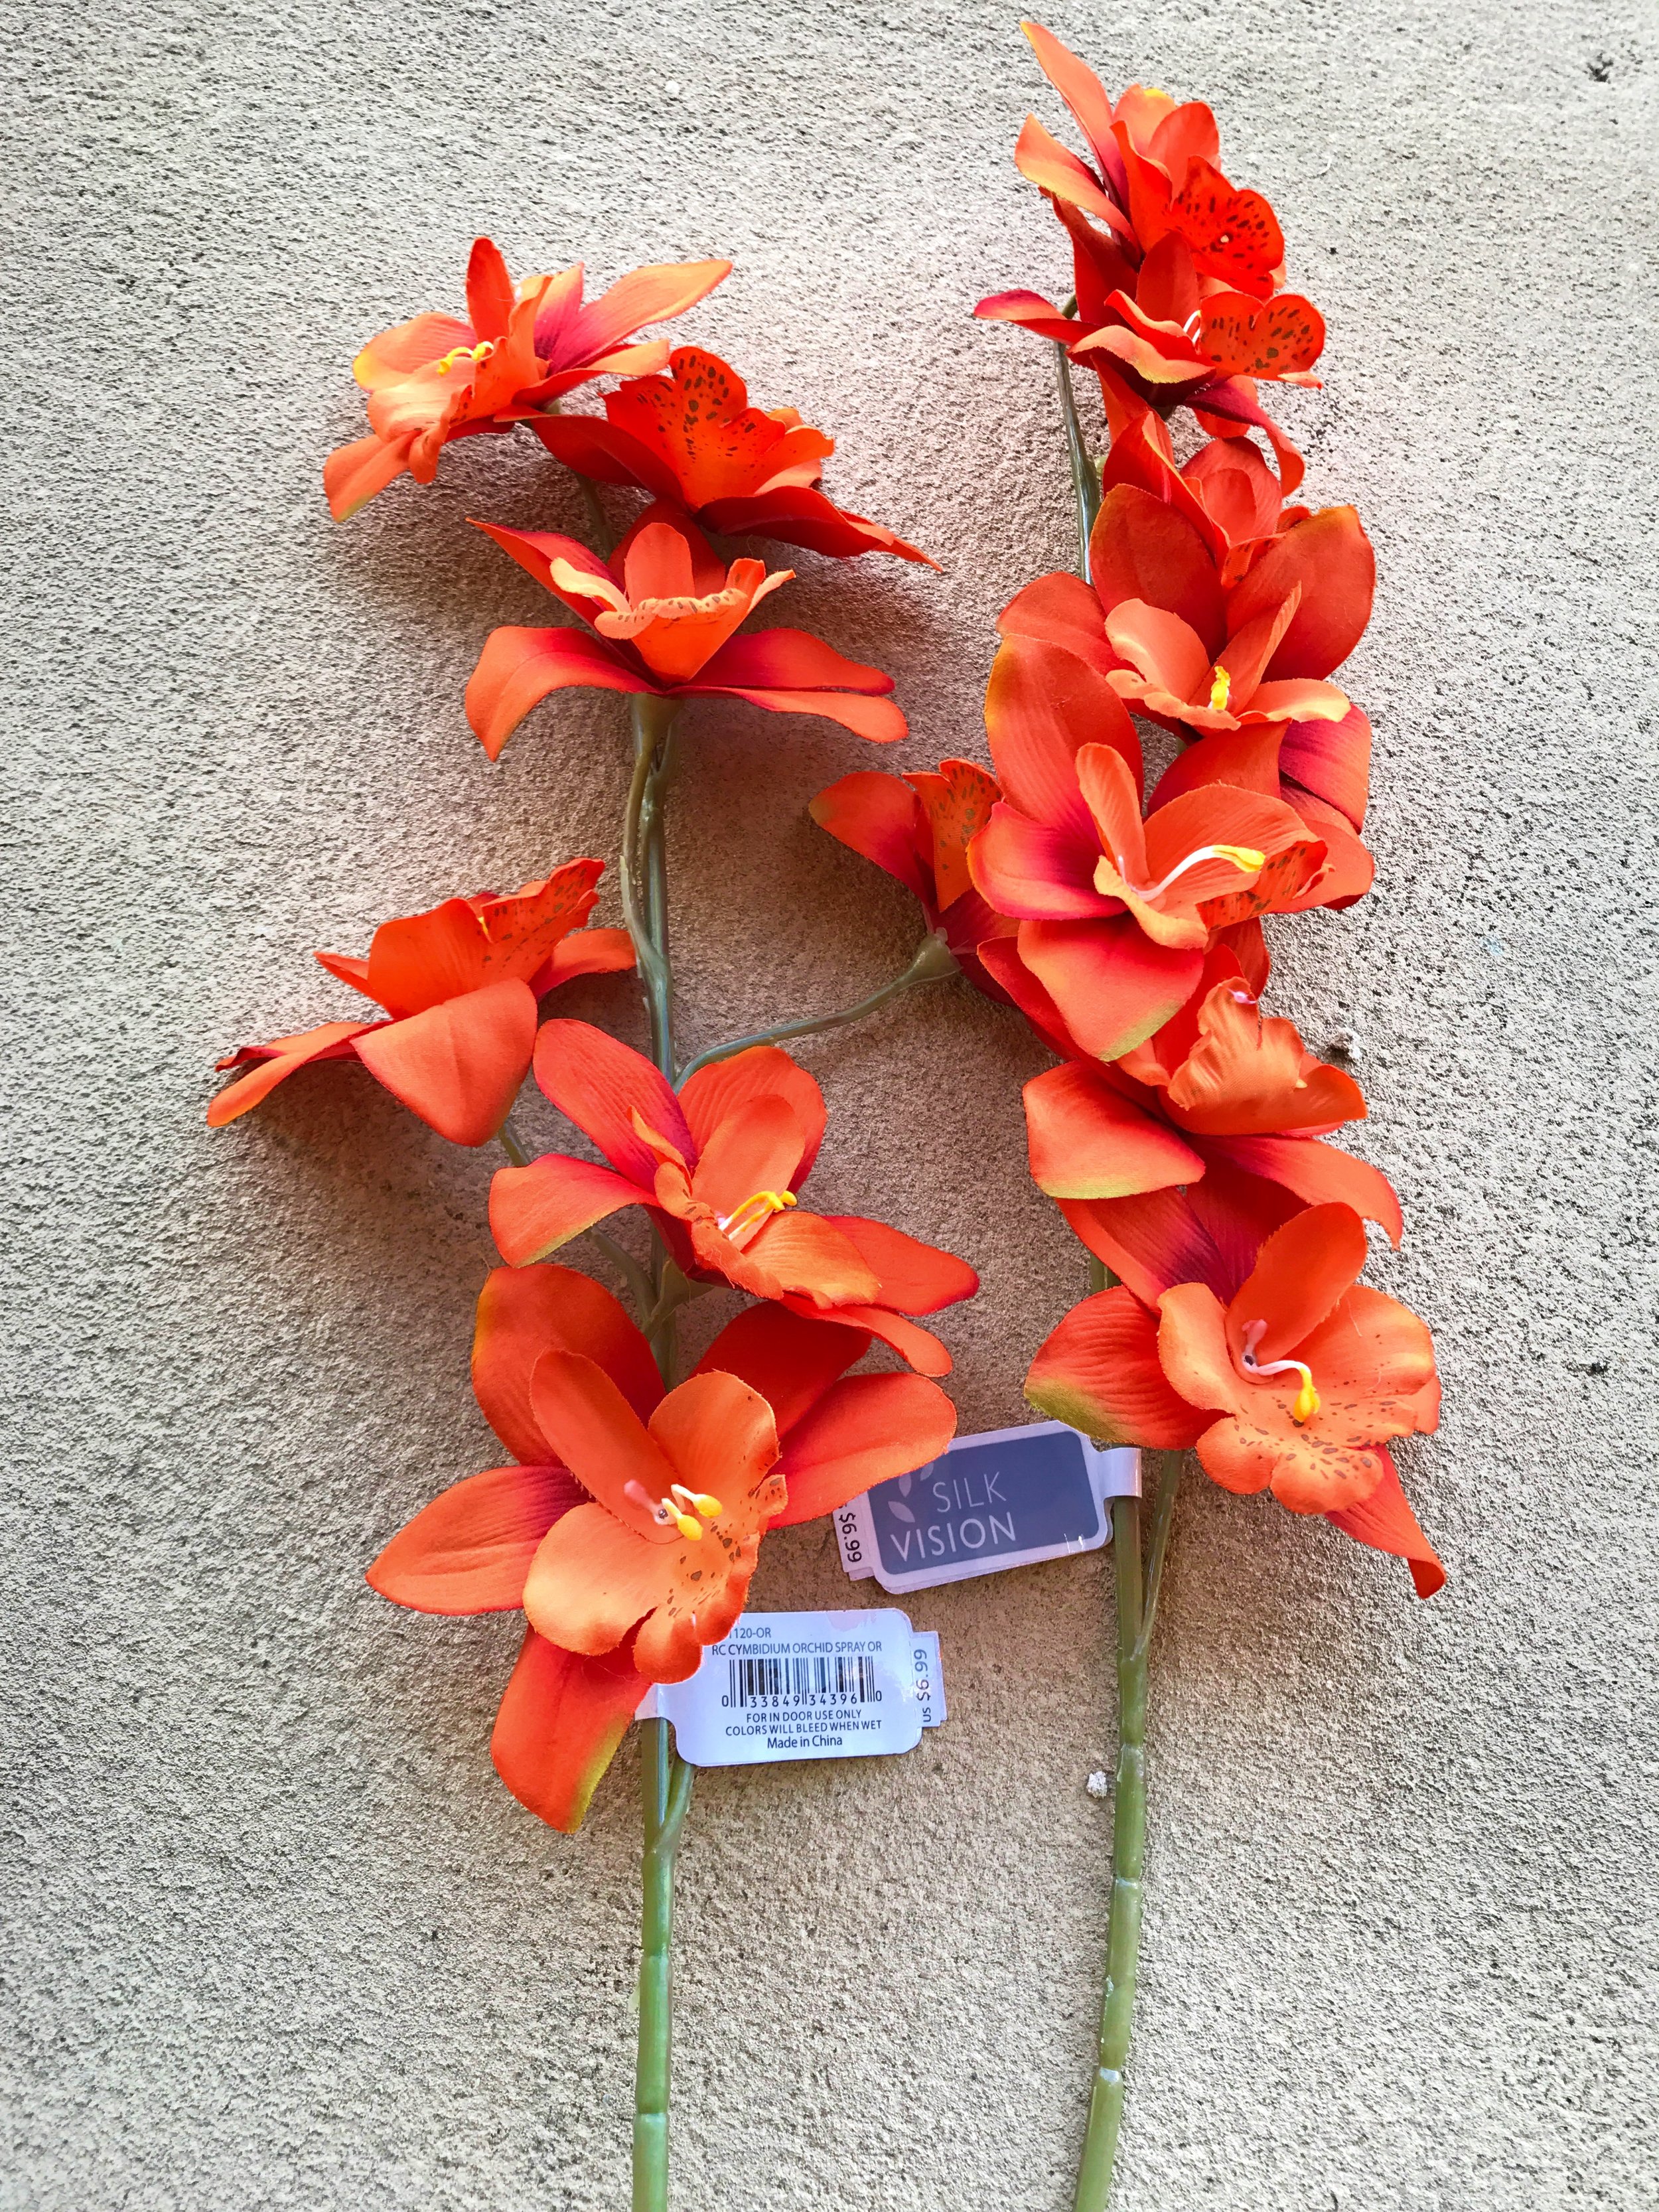
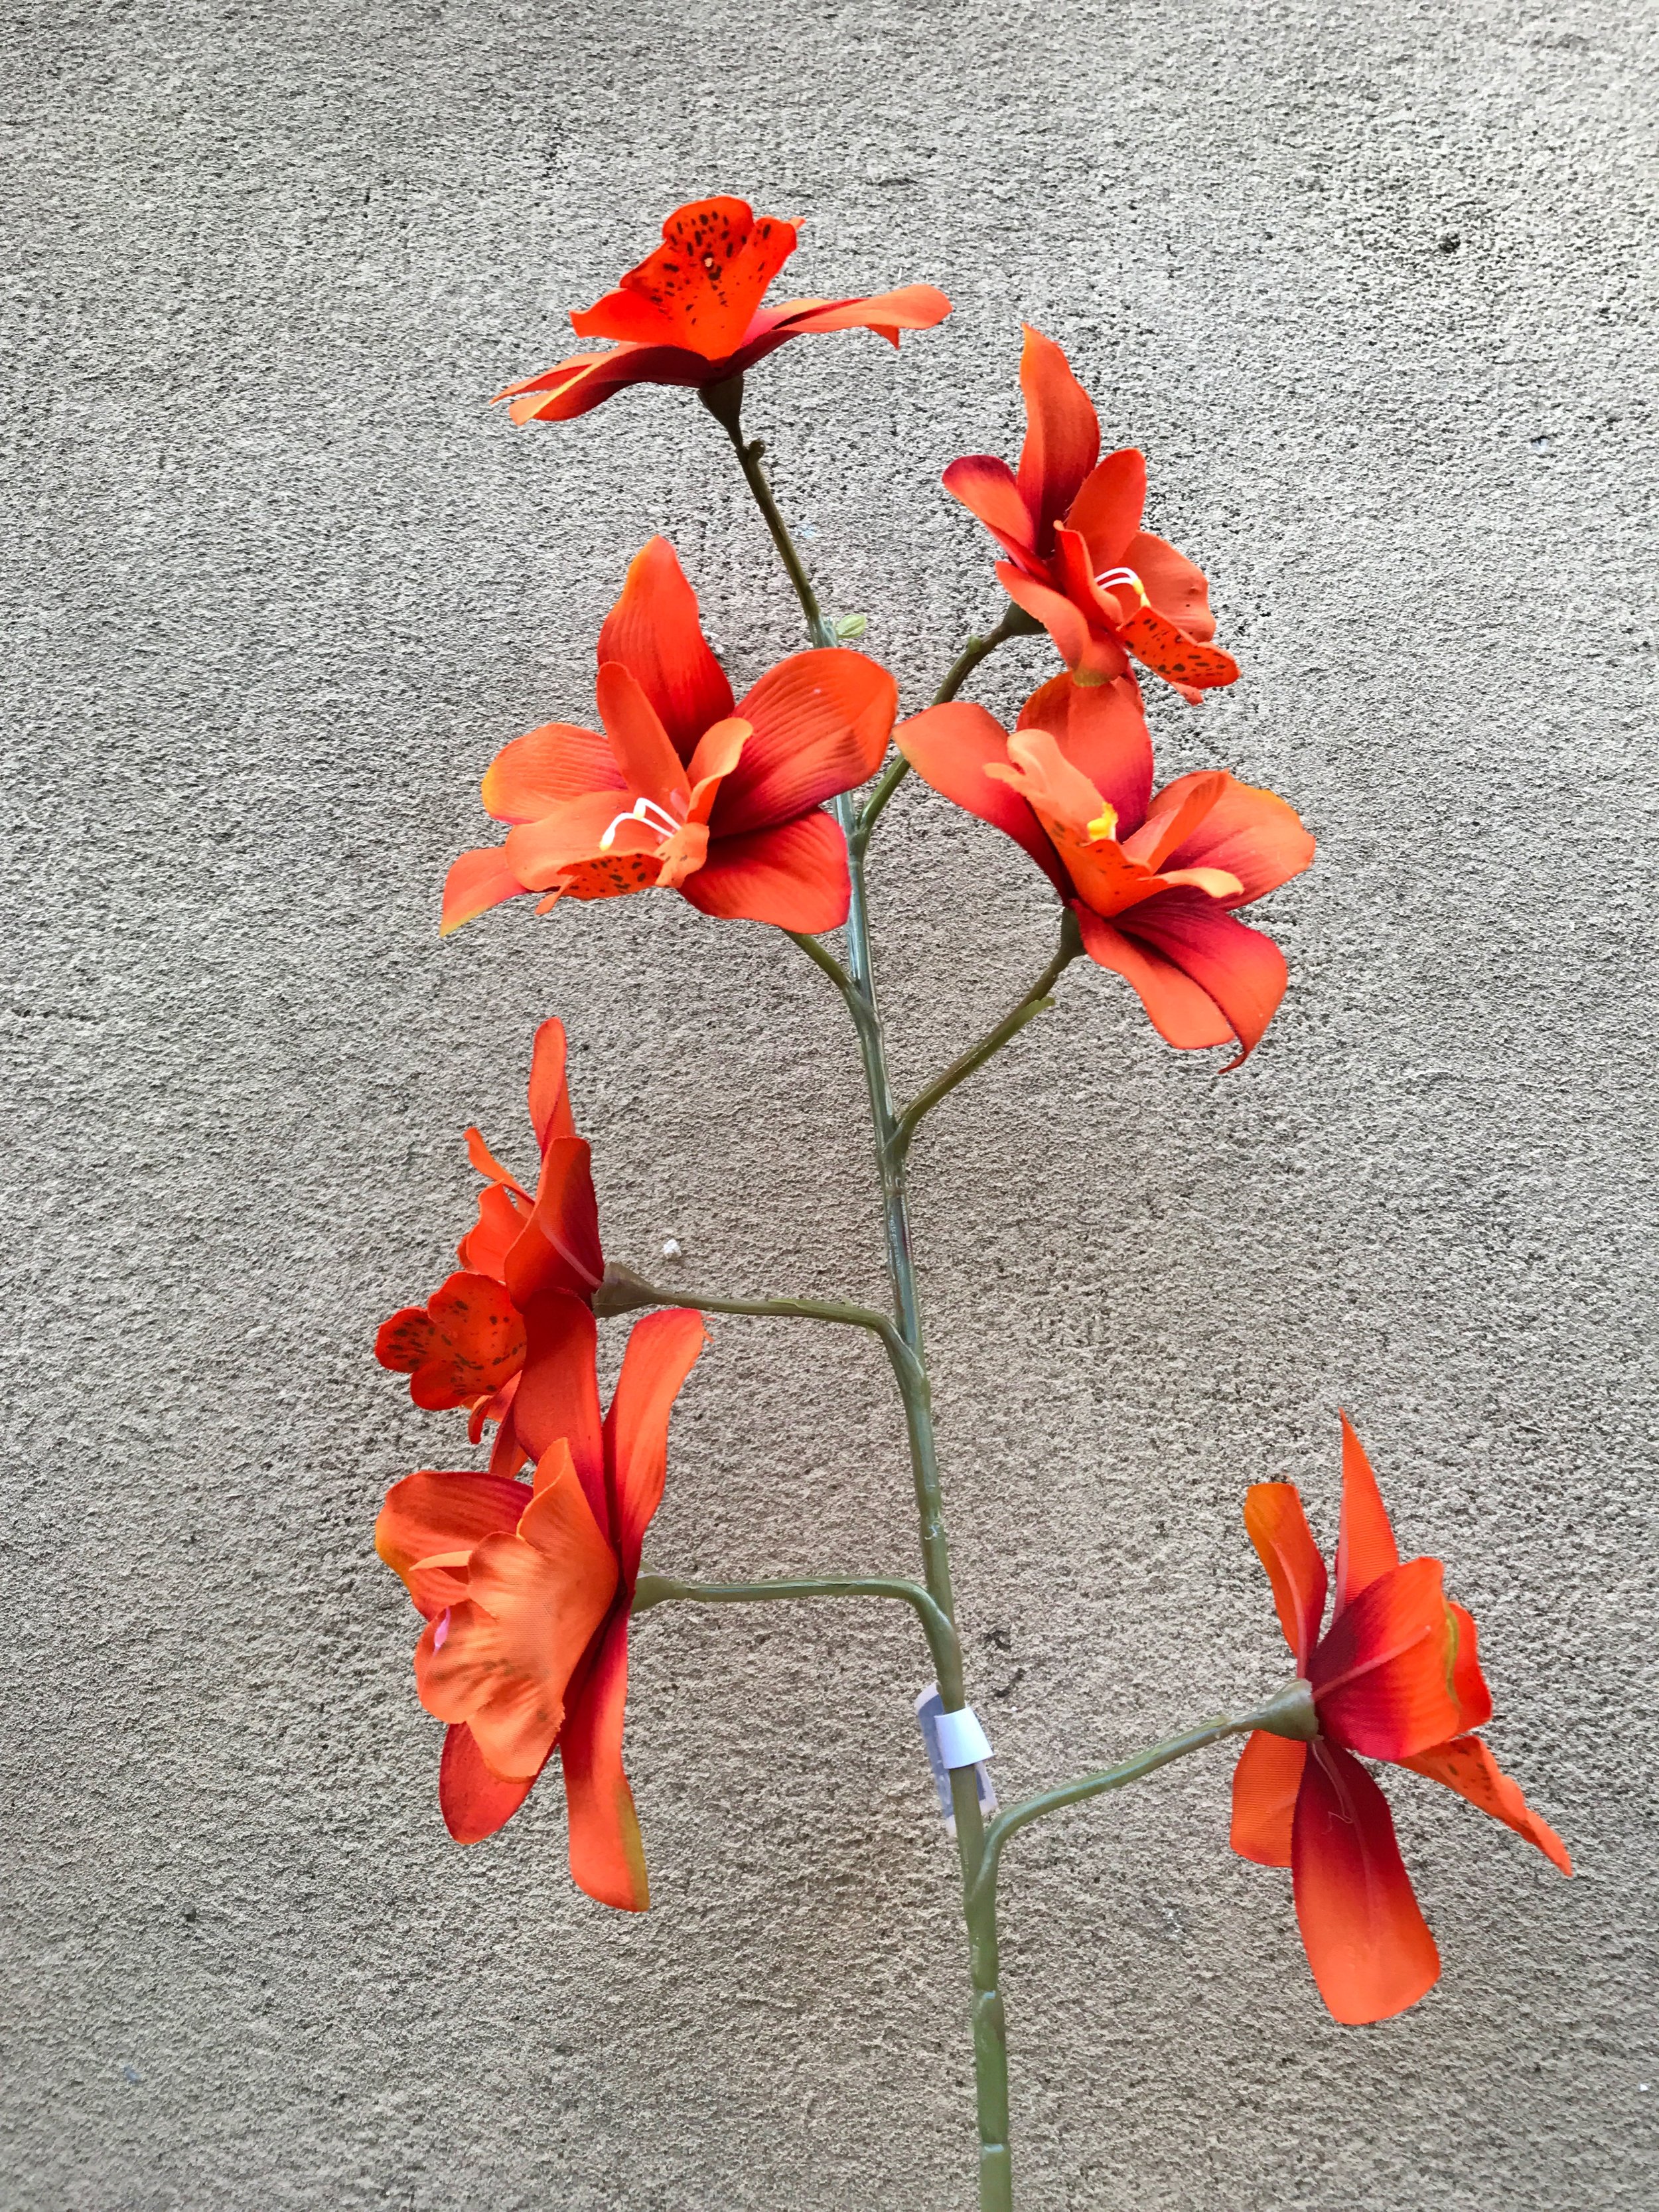
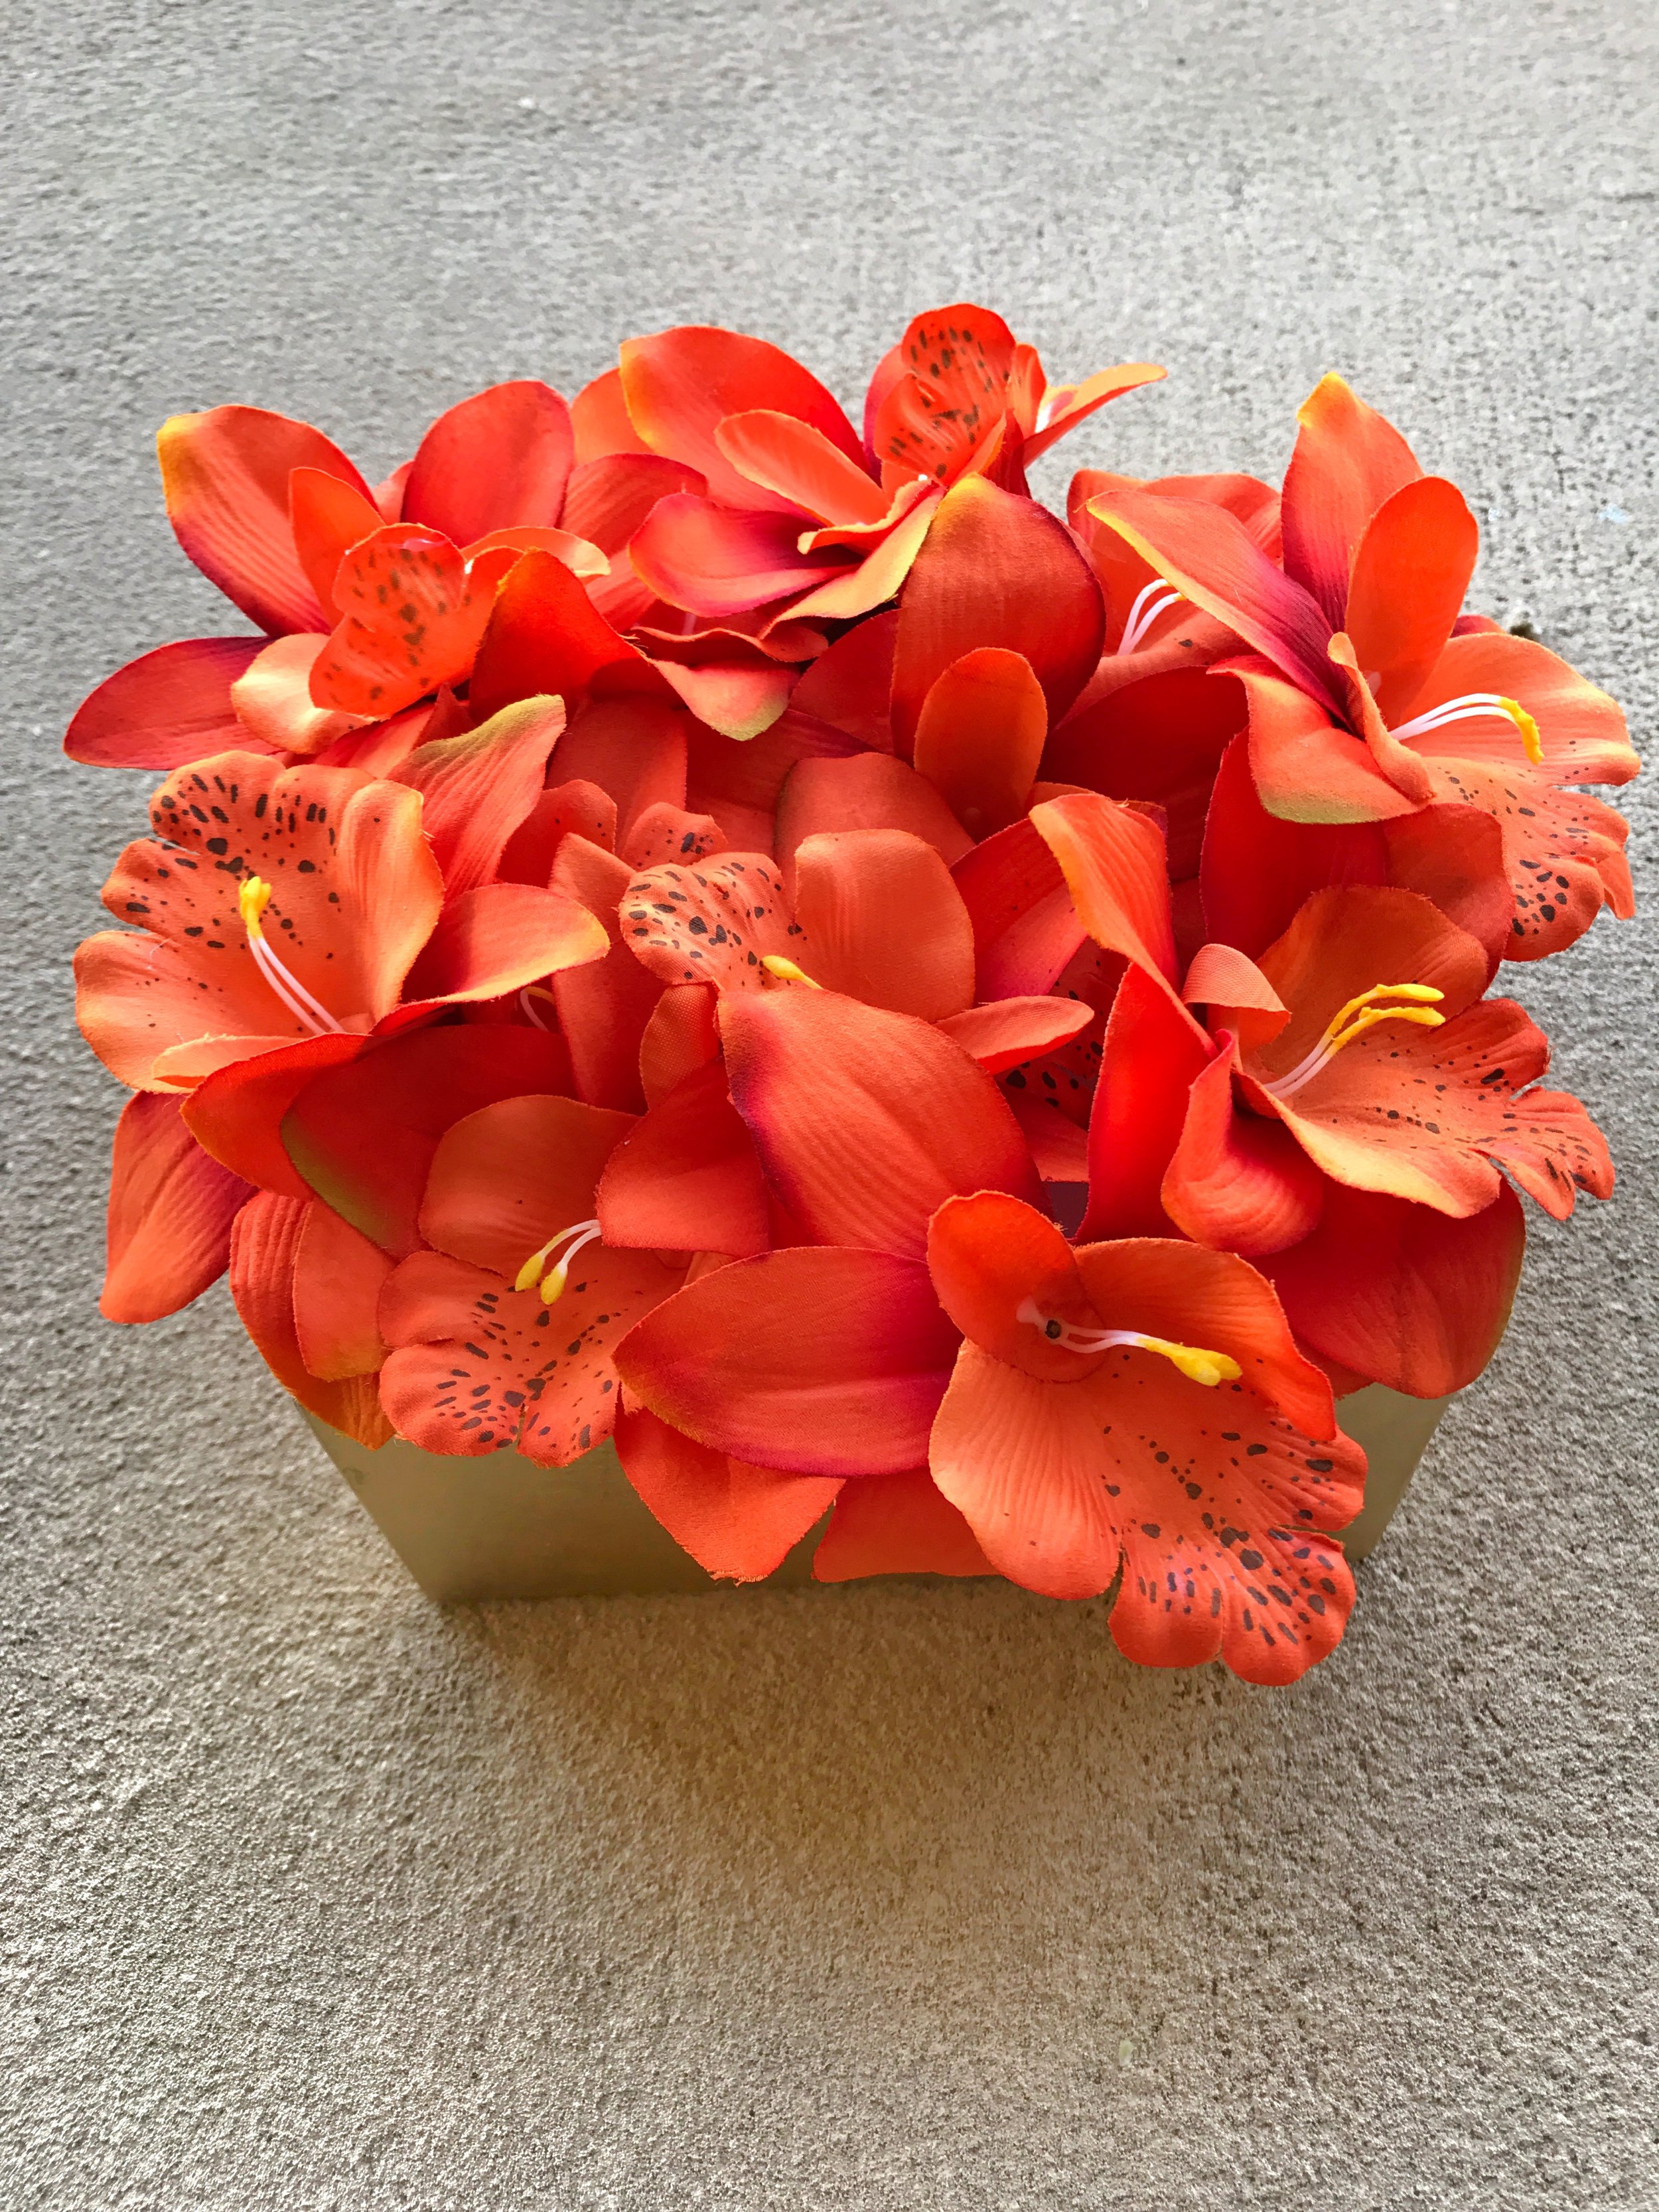
If you didn't get any flowers last month on Valentine's Day, not to worry! I've got a fun, quick DIY project that will brighten your day and any room in your home! The Yogi in me believes that a handmade craft + flowers always add positive energy to the room. For this project, I was very inspired by the orange Sacral Chakra, that's why I chose orange orchids.
For the last couple of years, I've been seeing high-end floral gift boxes all over IG so I wanted to make my own. You can make these year round and reuse them, or you can change the colors according to season. When I took Floral Design last year, I learned about how to build fresh, creative arrangements. So I wanted to show you that you can update your living space with a simple floral gift box. Just follow these simple steps.
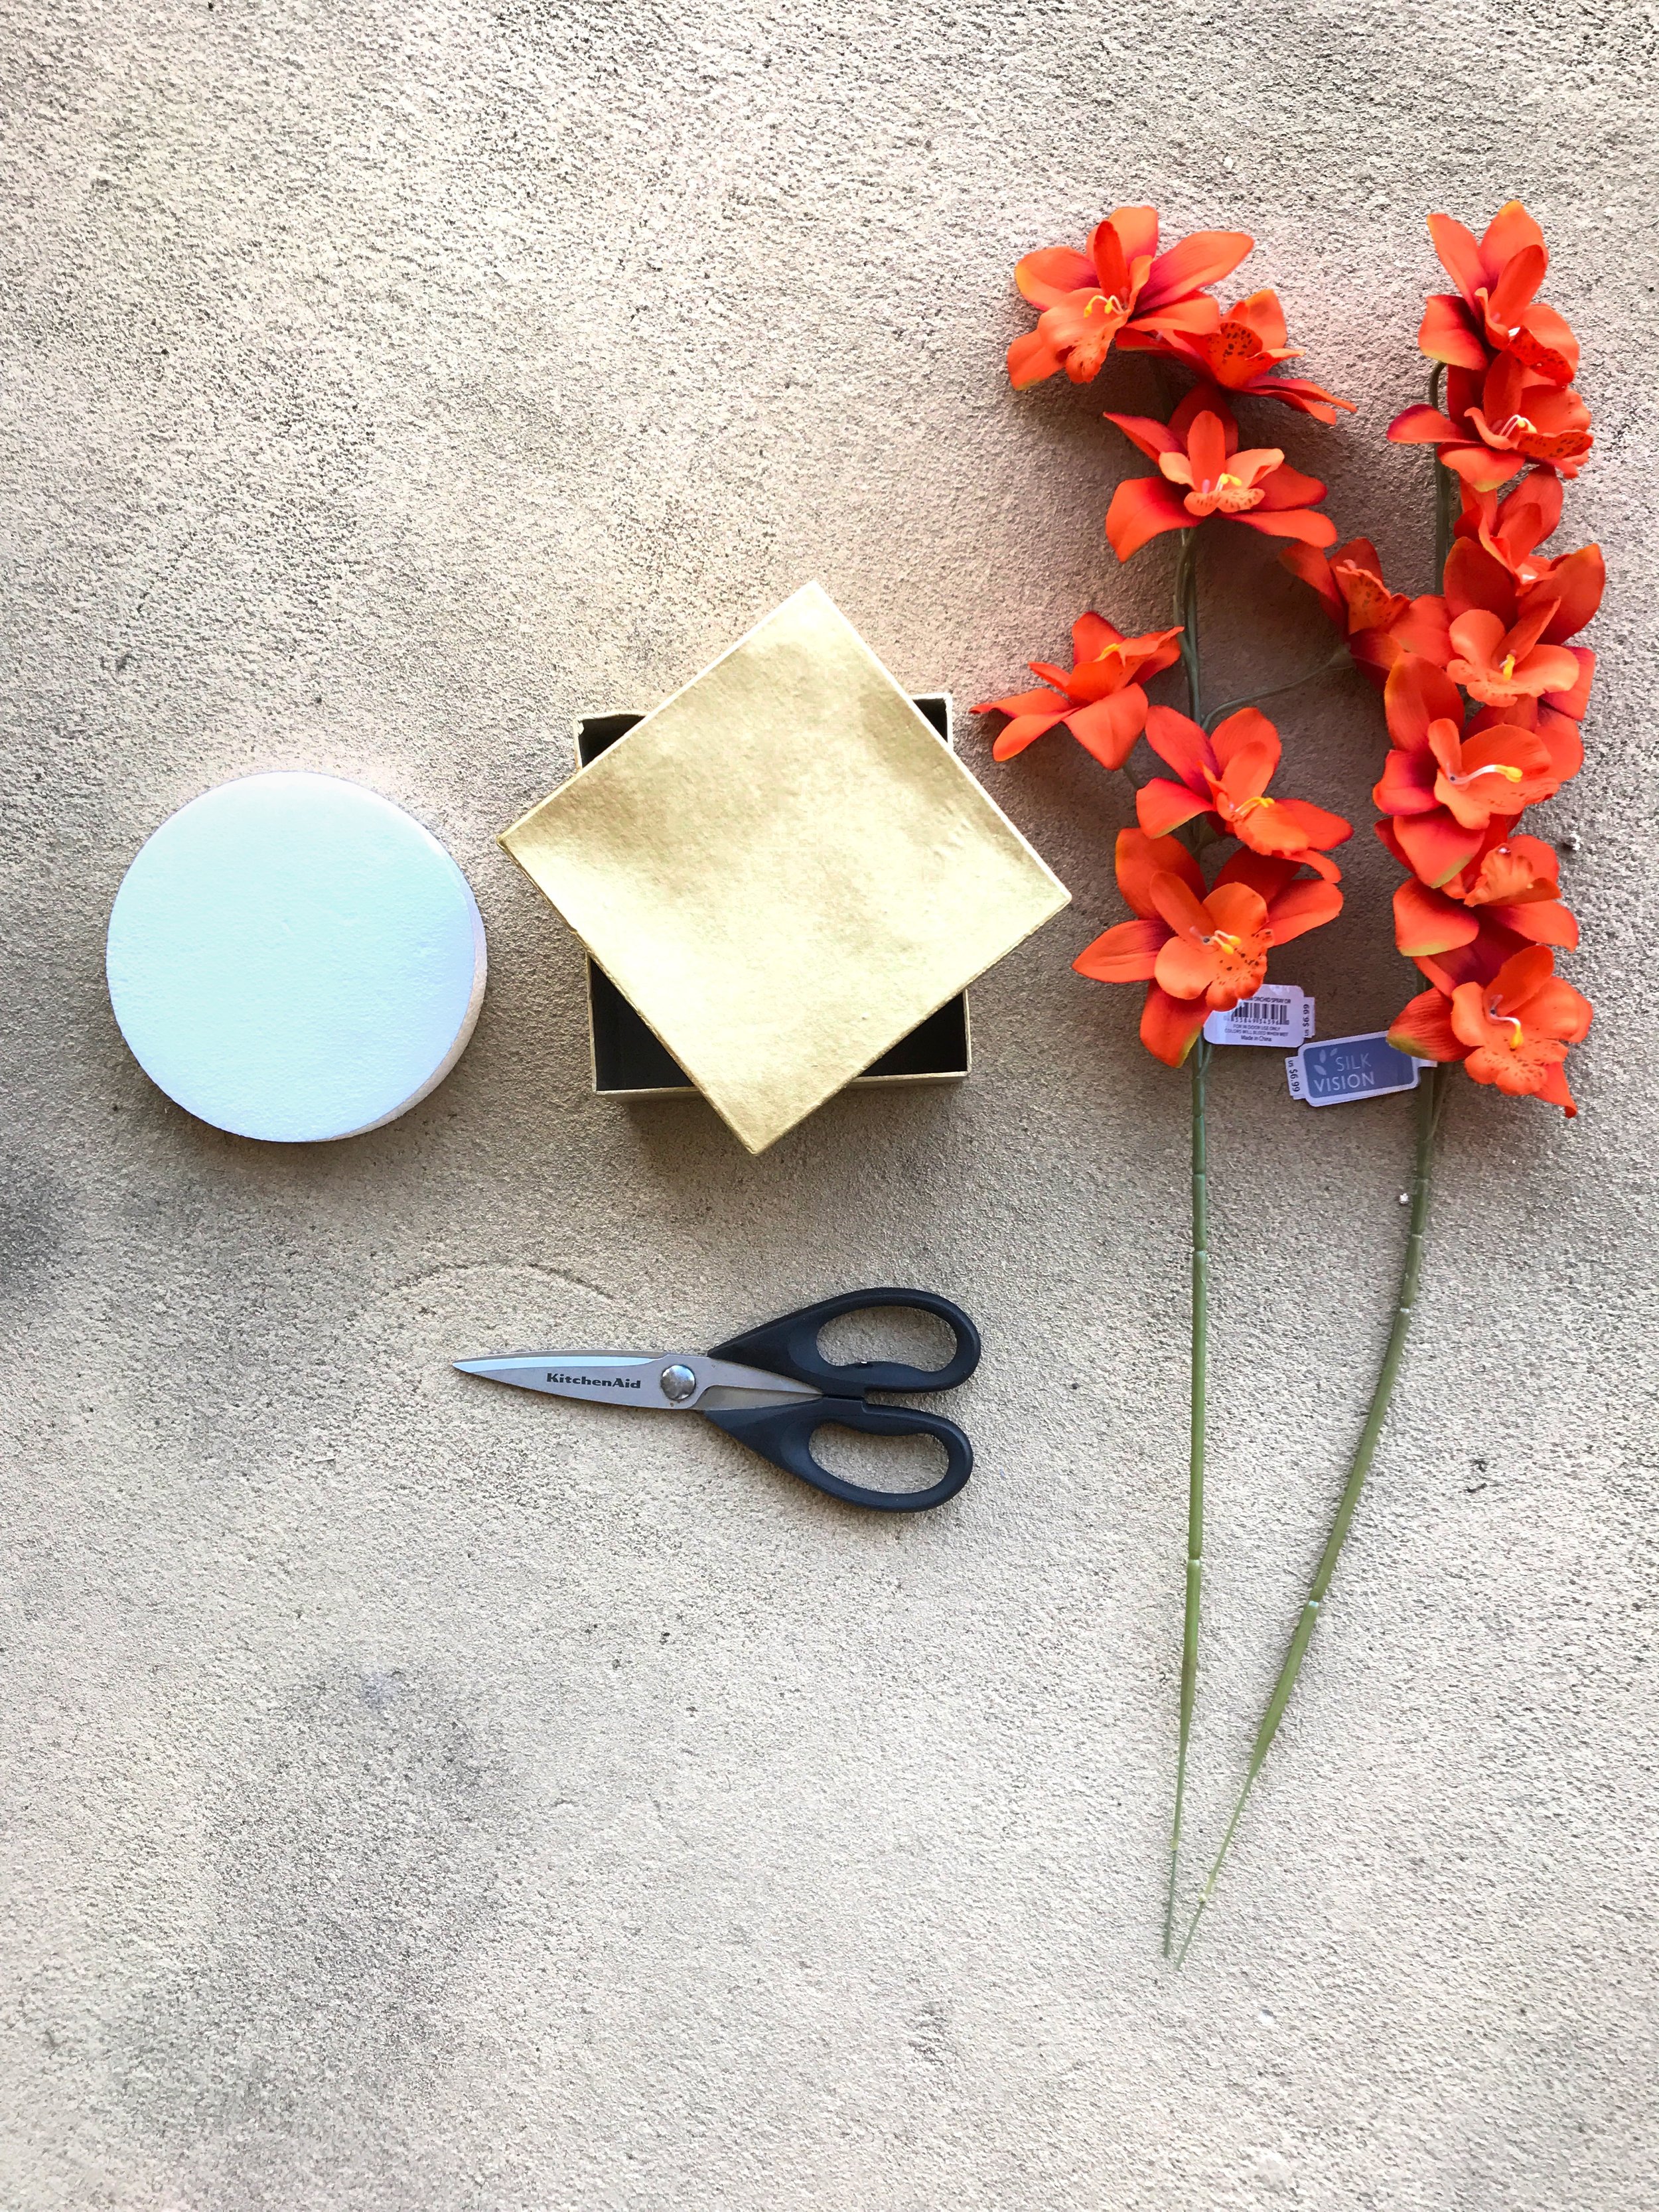
WHAT YOU'LL NEED
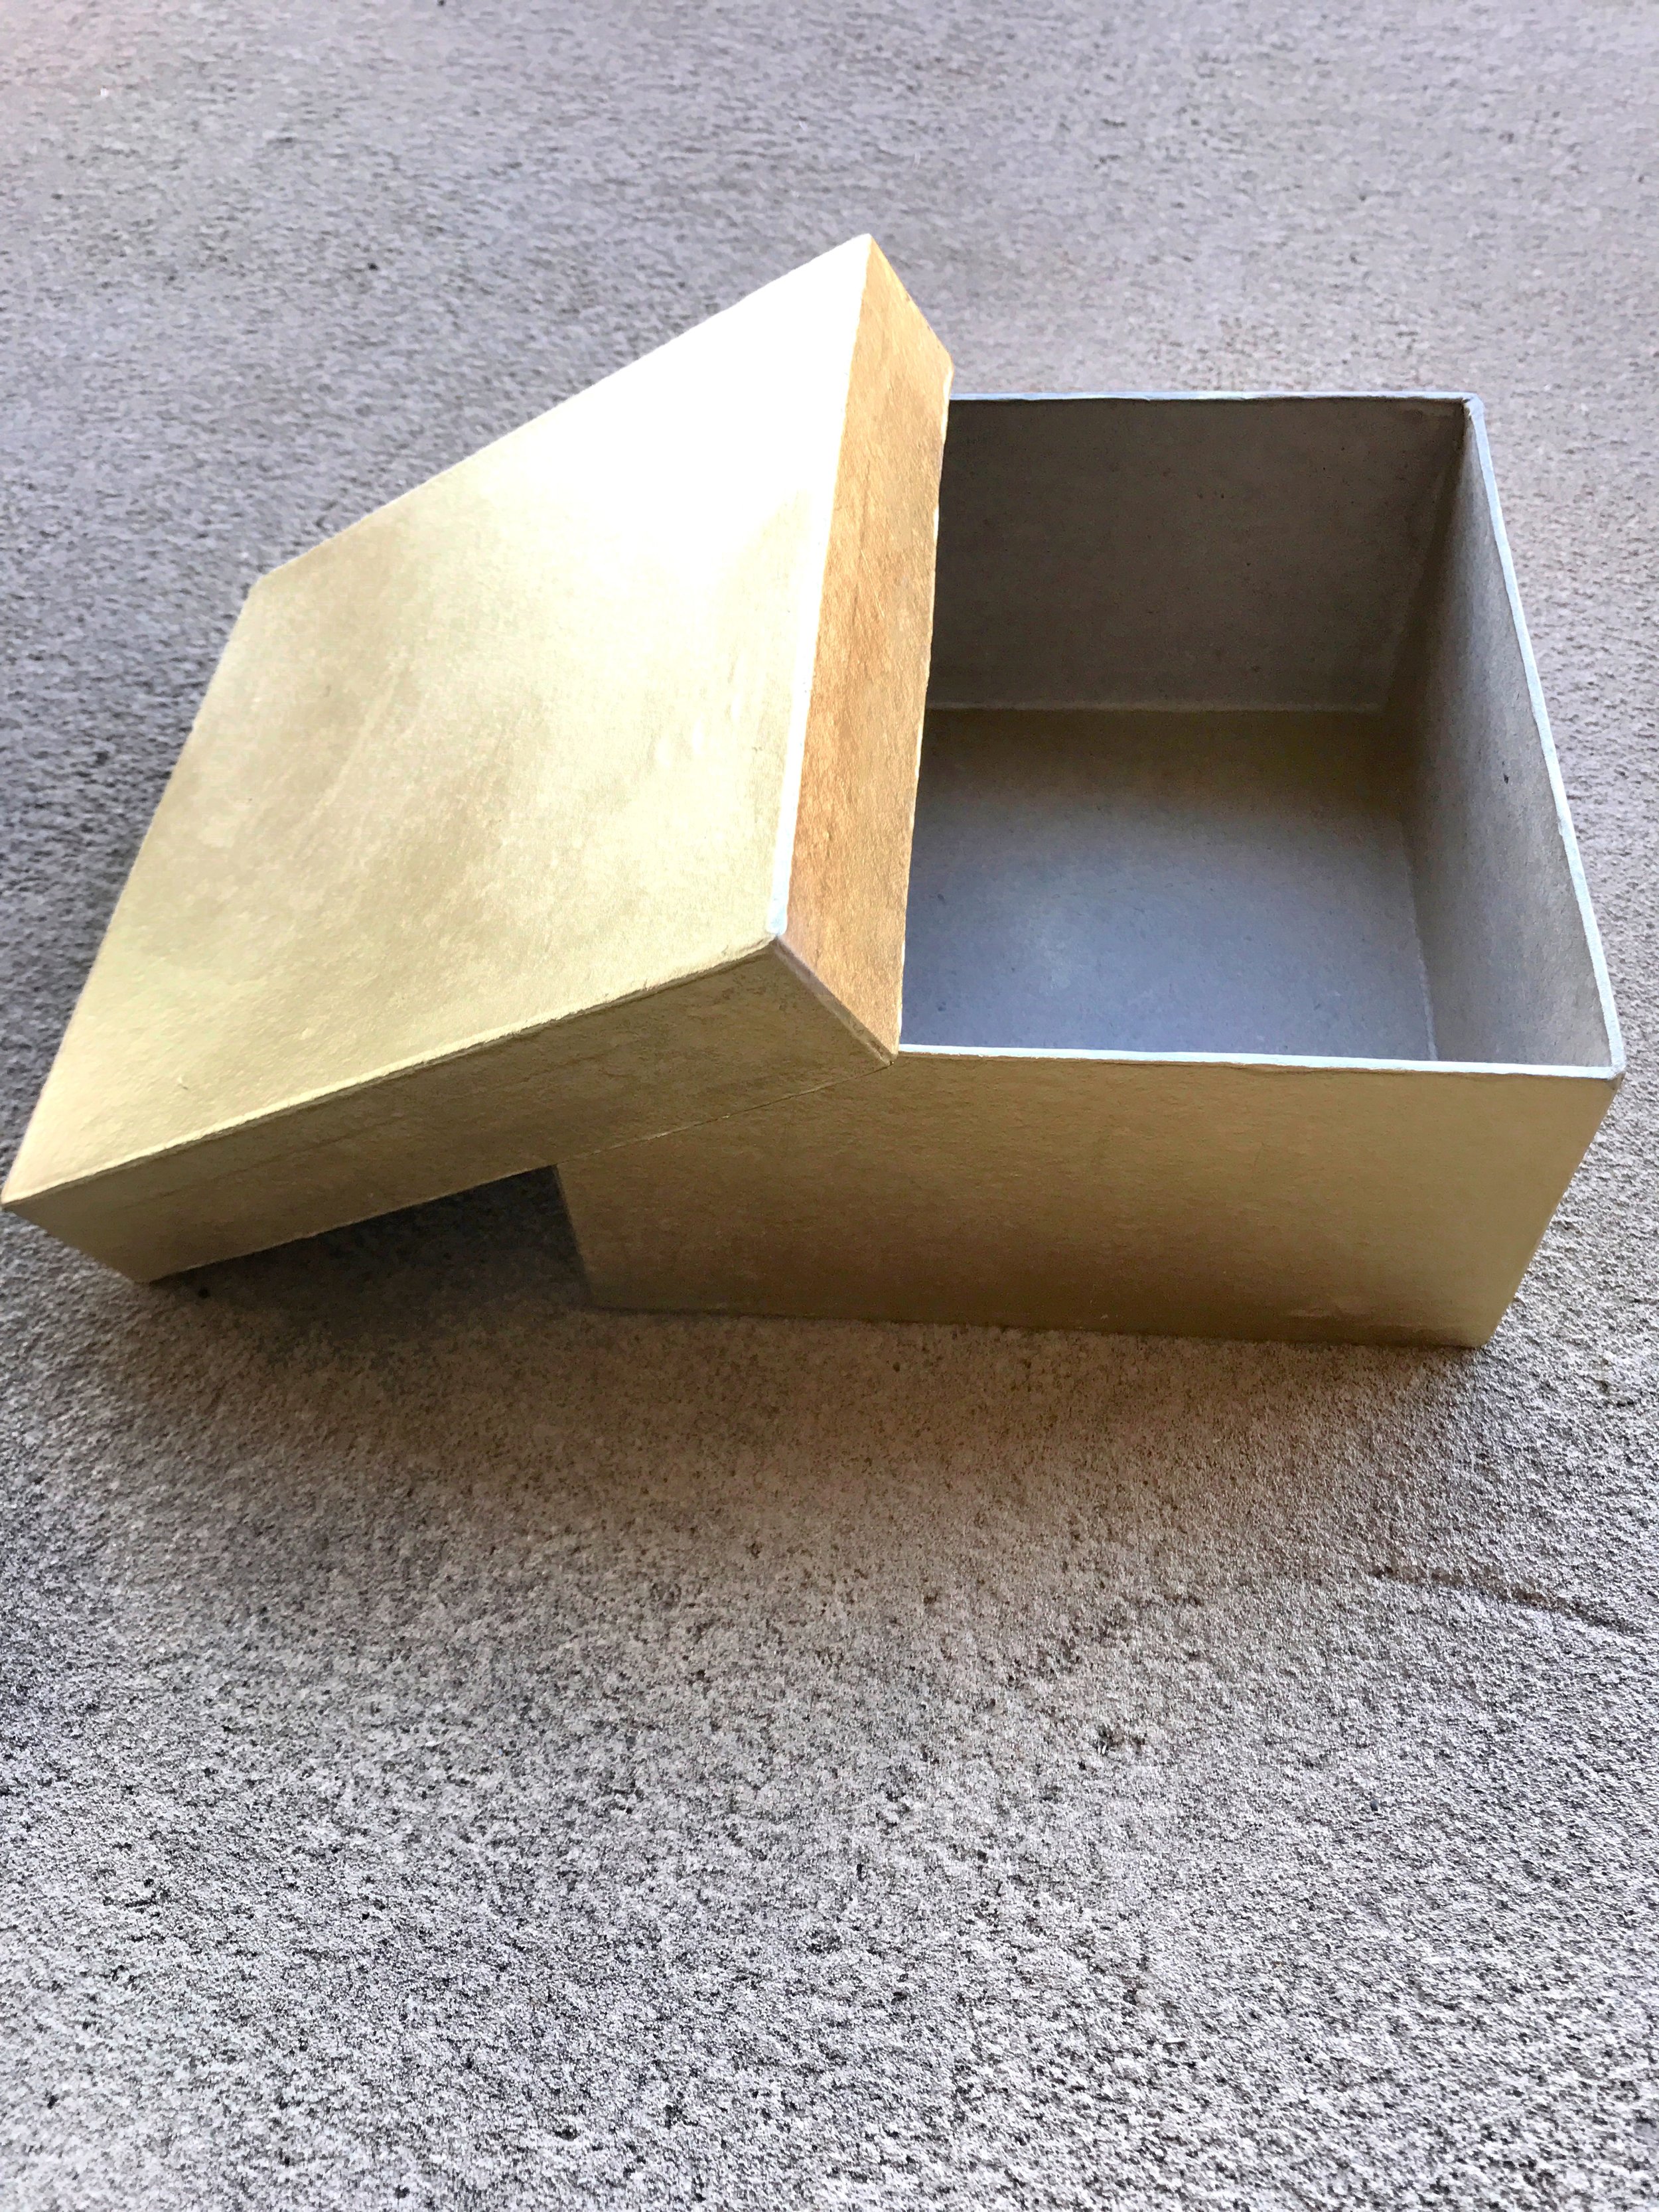
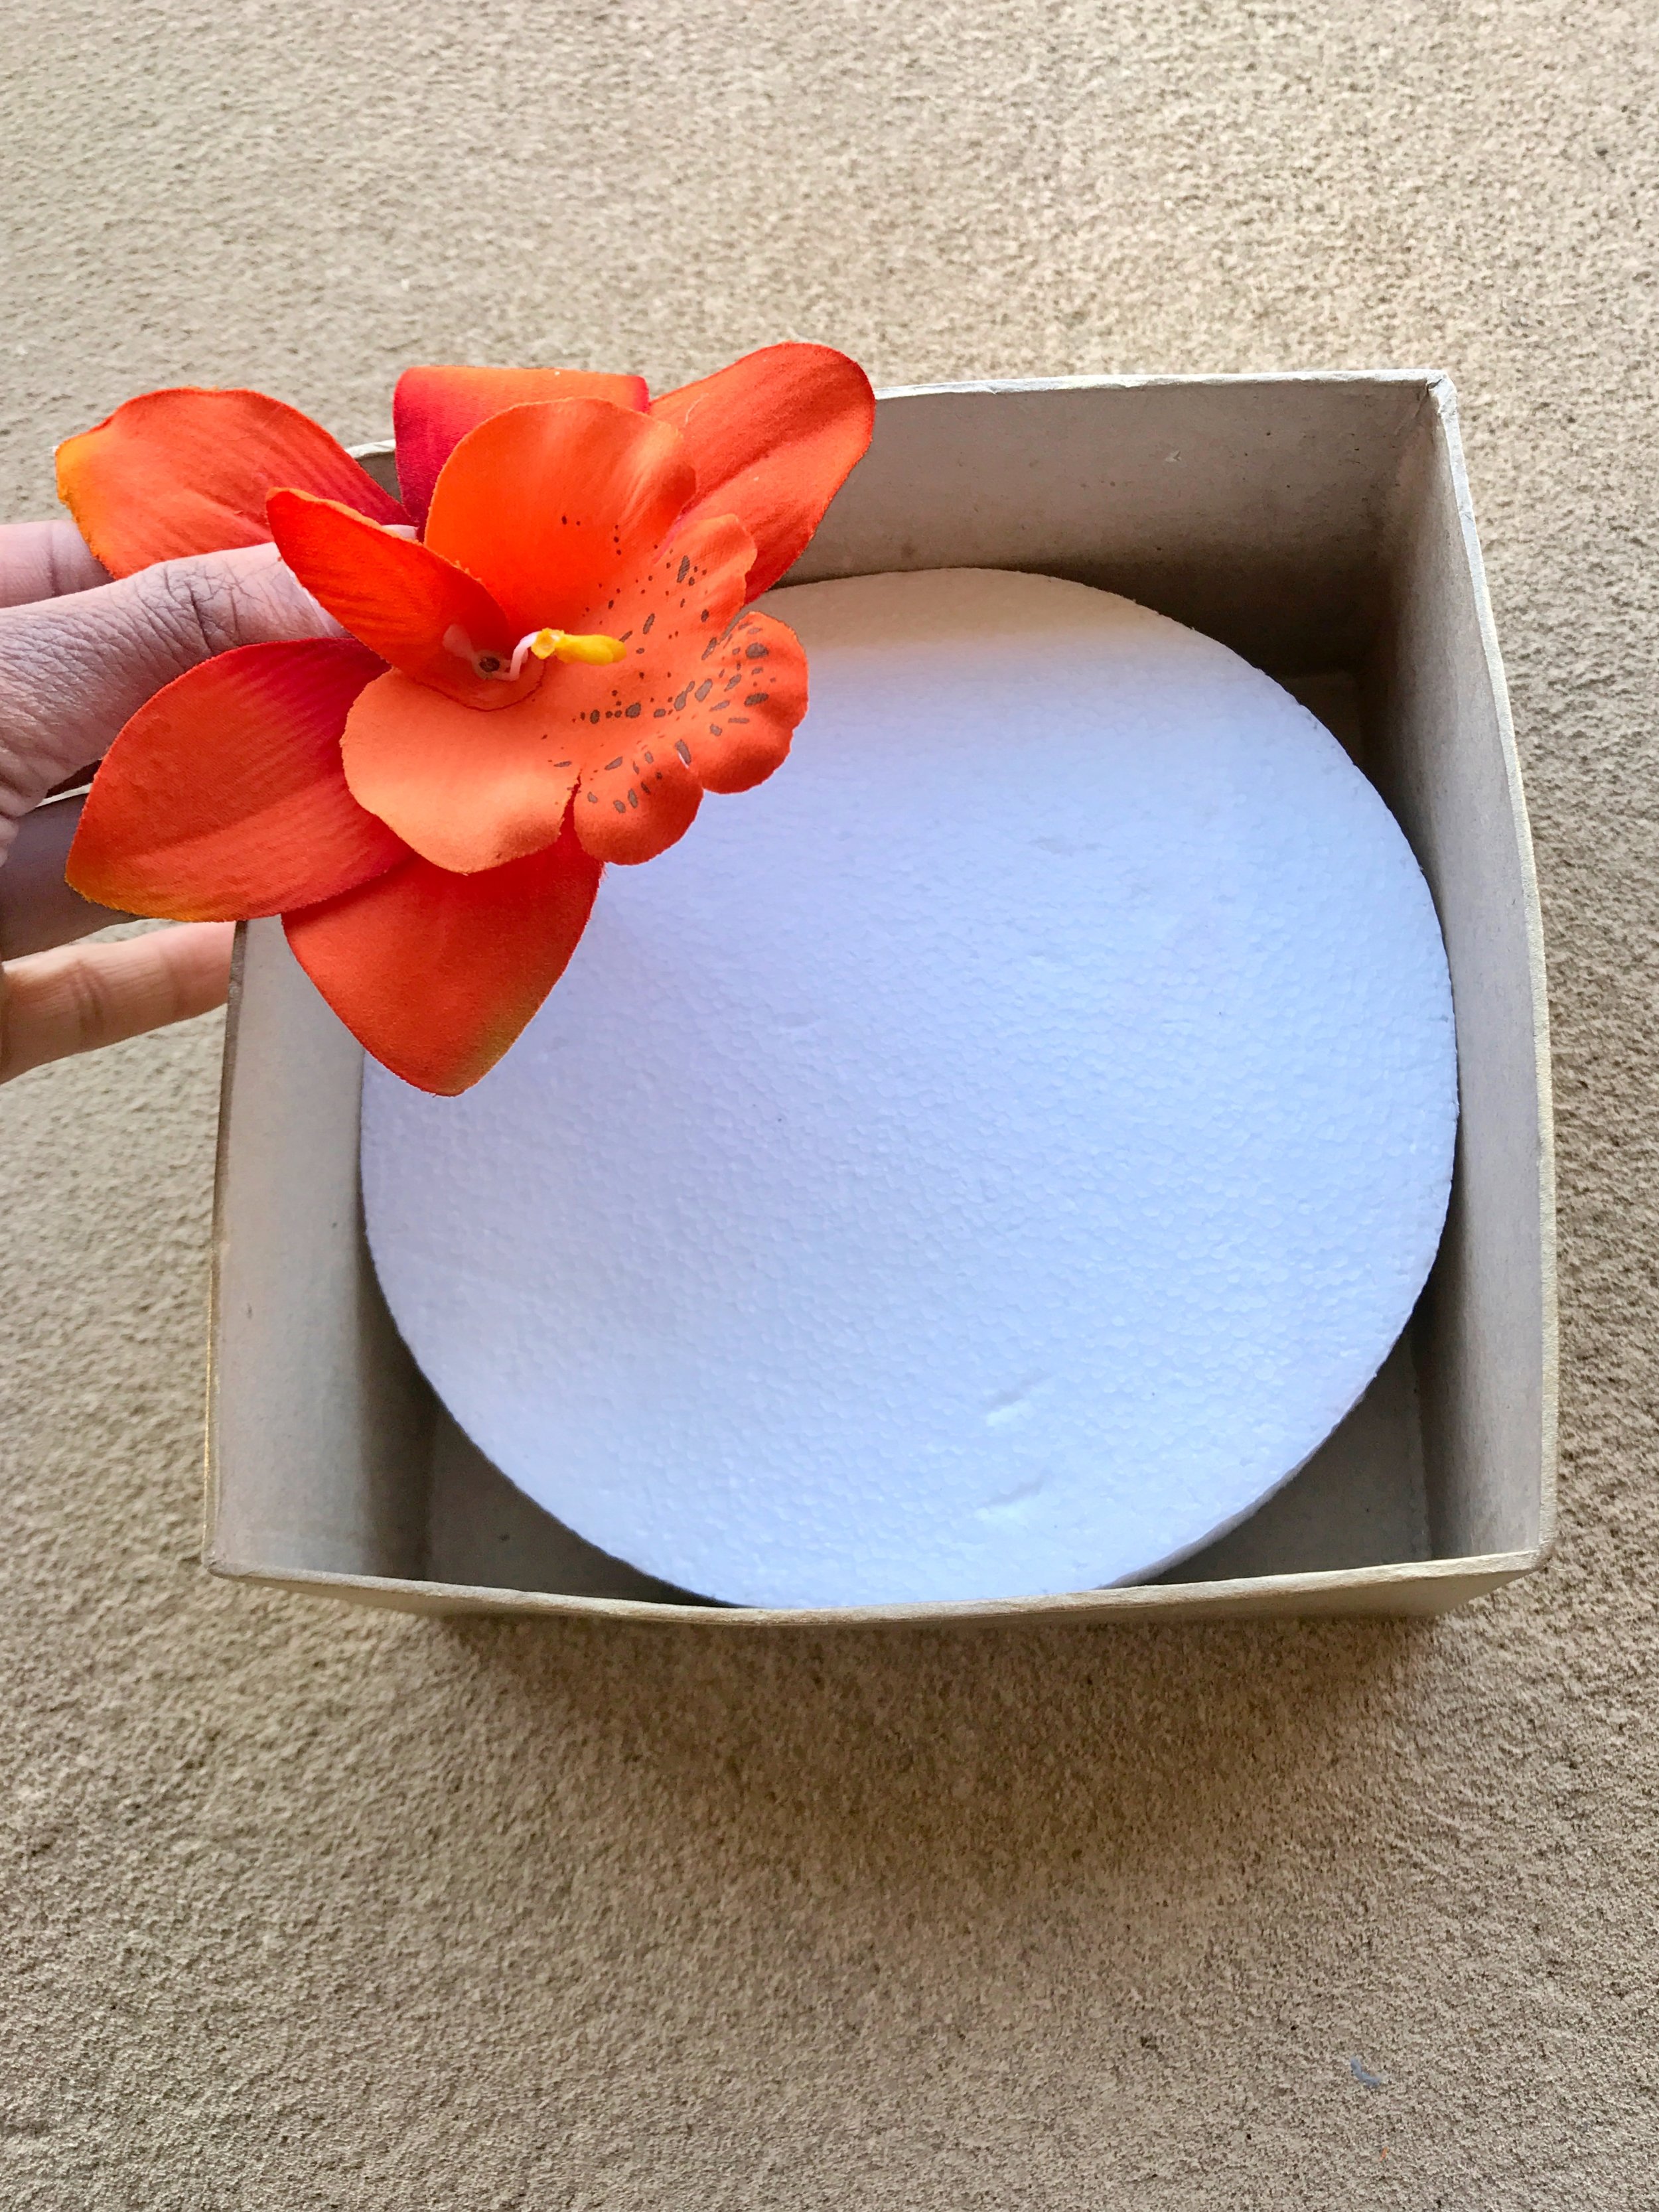
Box - It can be cardboard, wooden, square, sphere, etc. I spray painted mine gold!
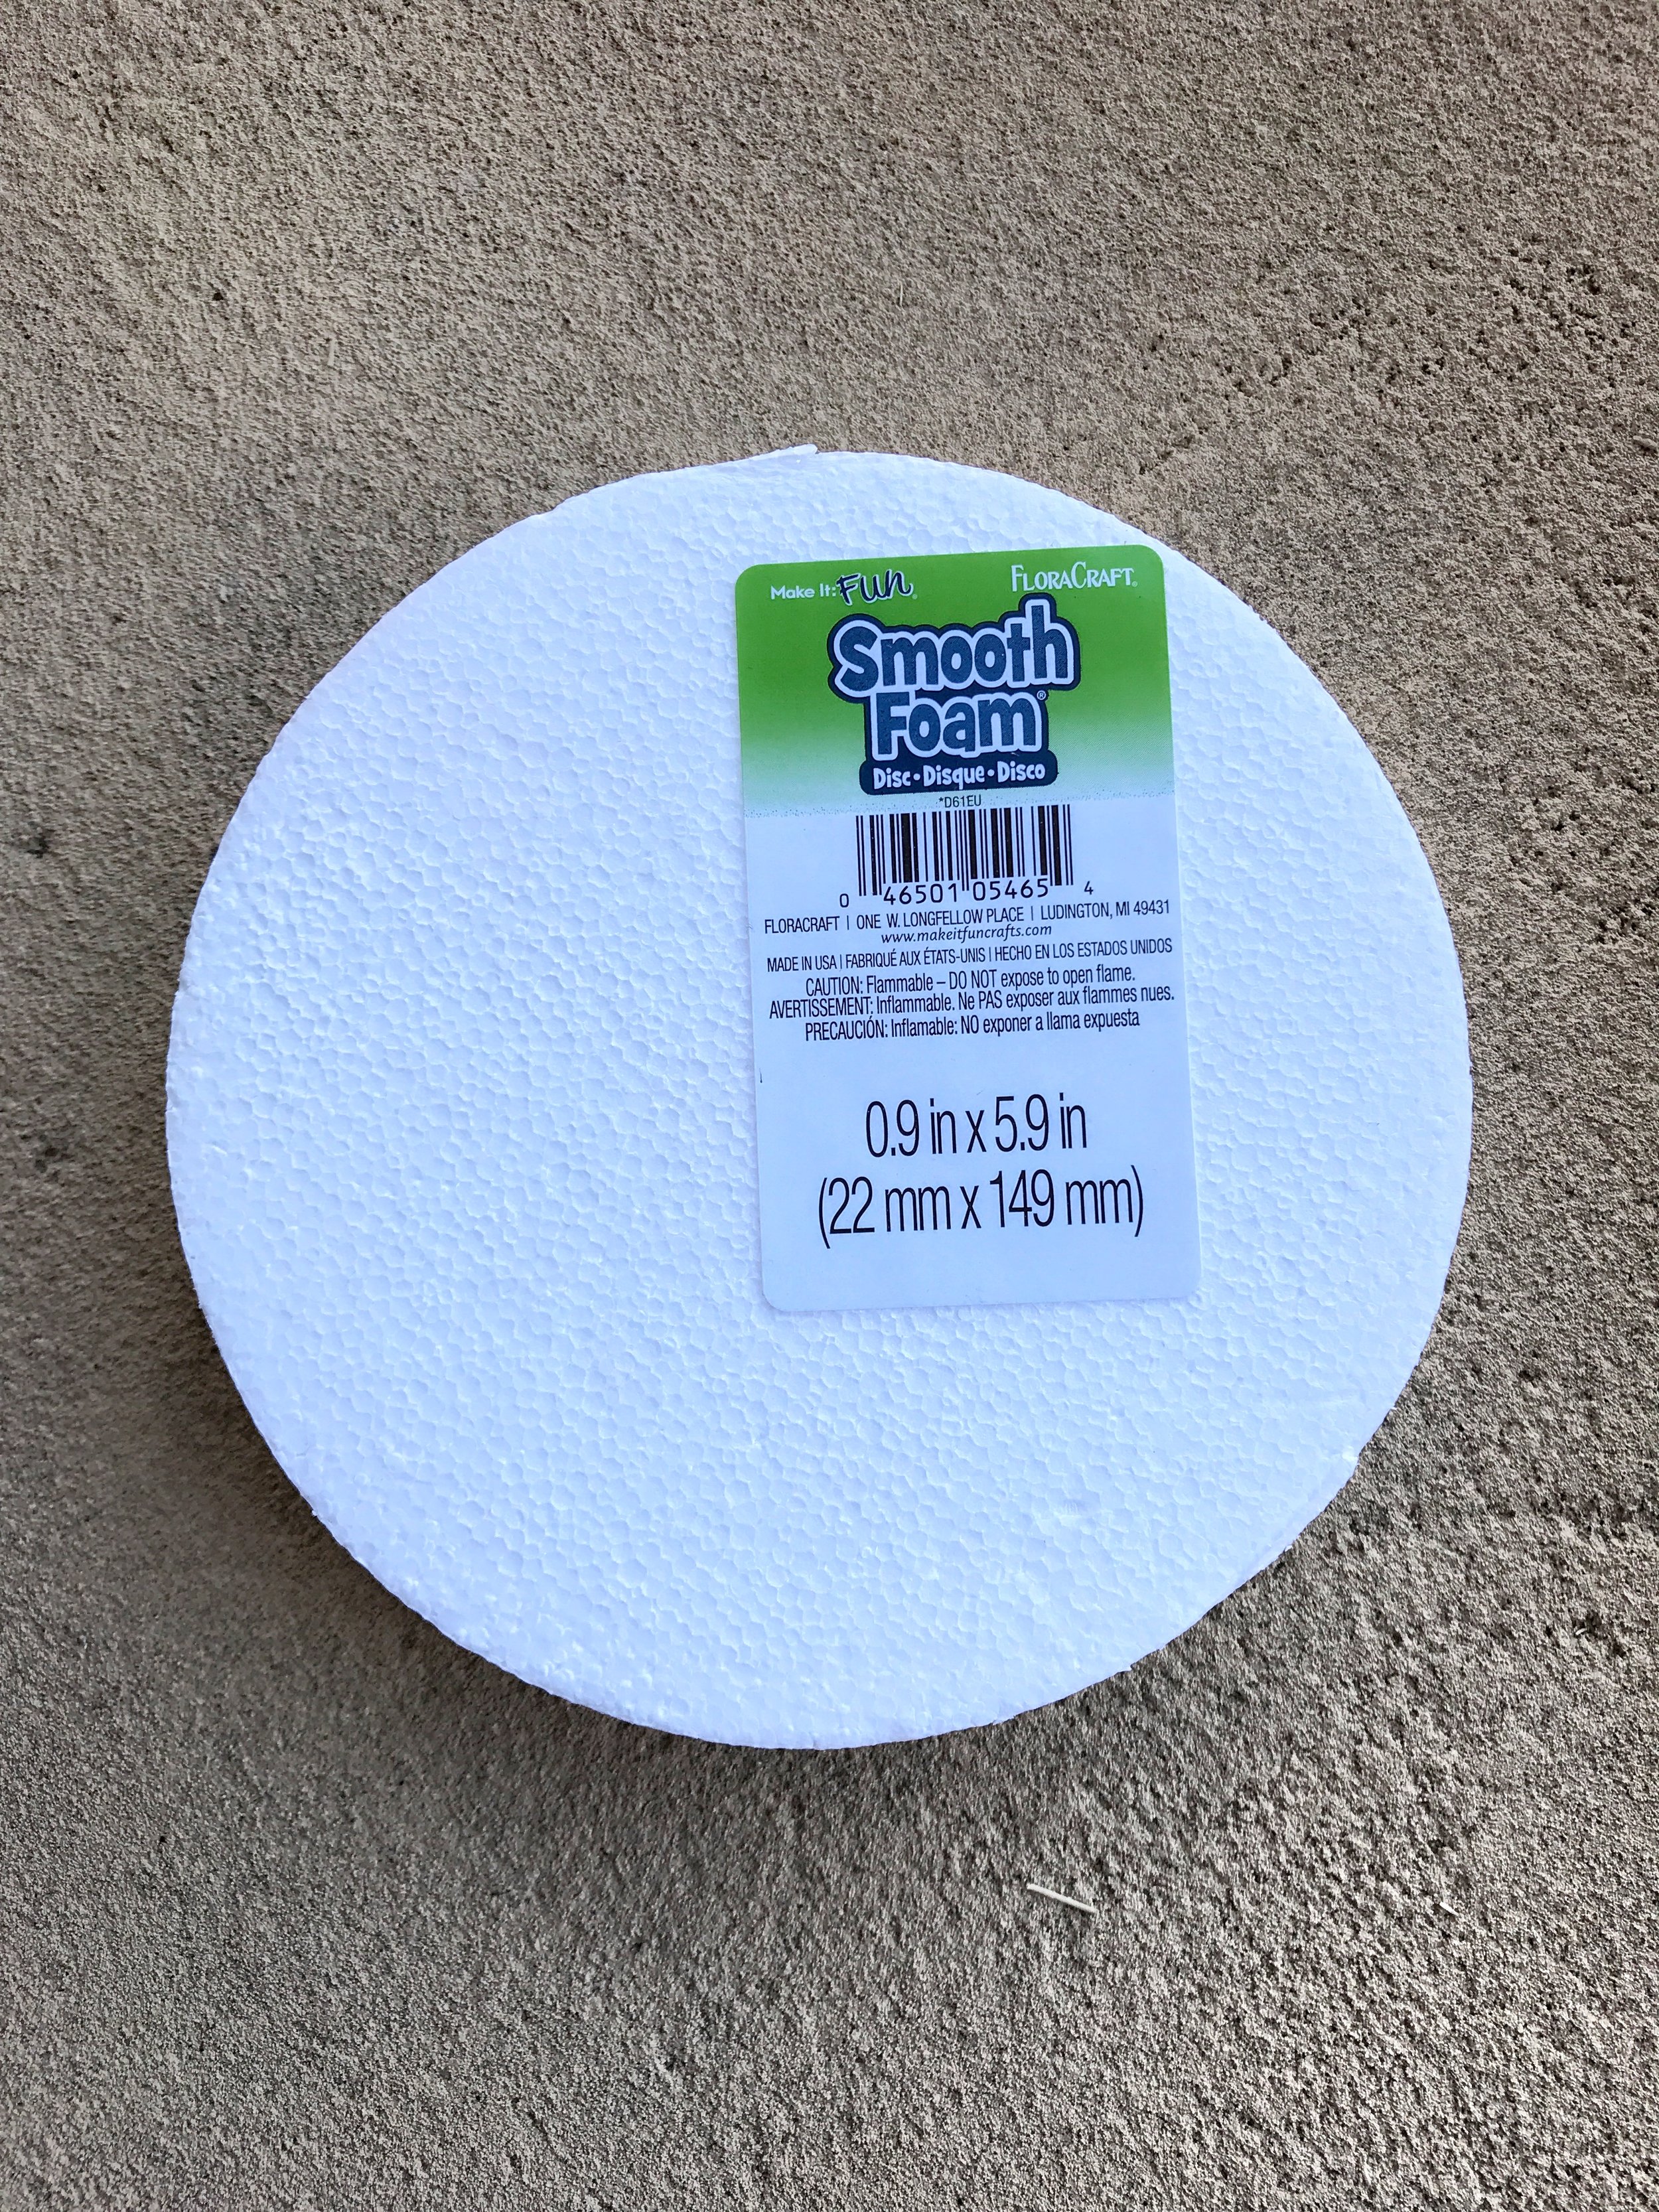
Smooth Foam
Florals of your choice
Scissors
All materials were purchased at Jo-Ann Fabric and Craft Store.
WHAT TO DO
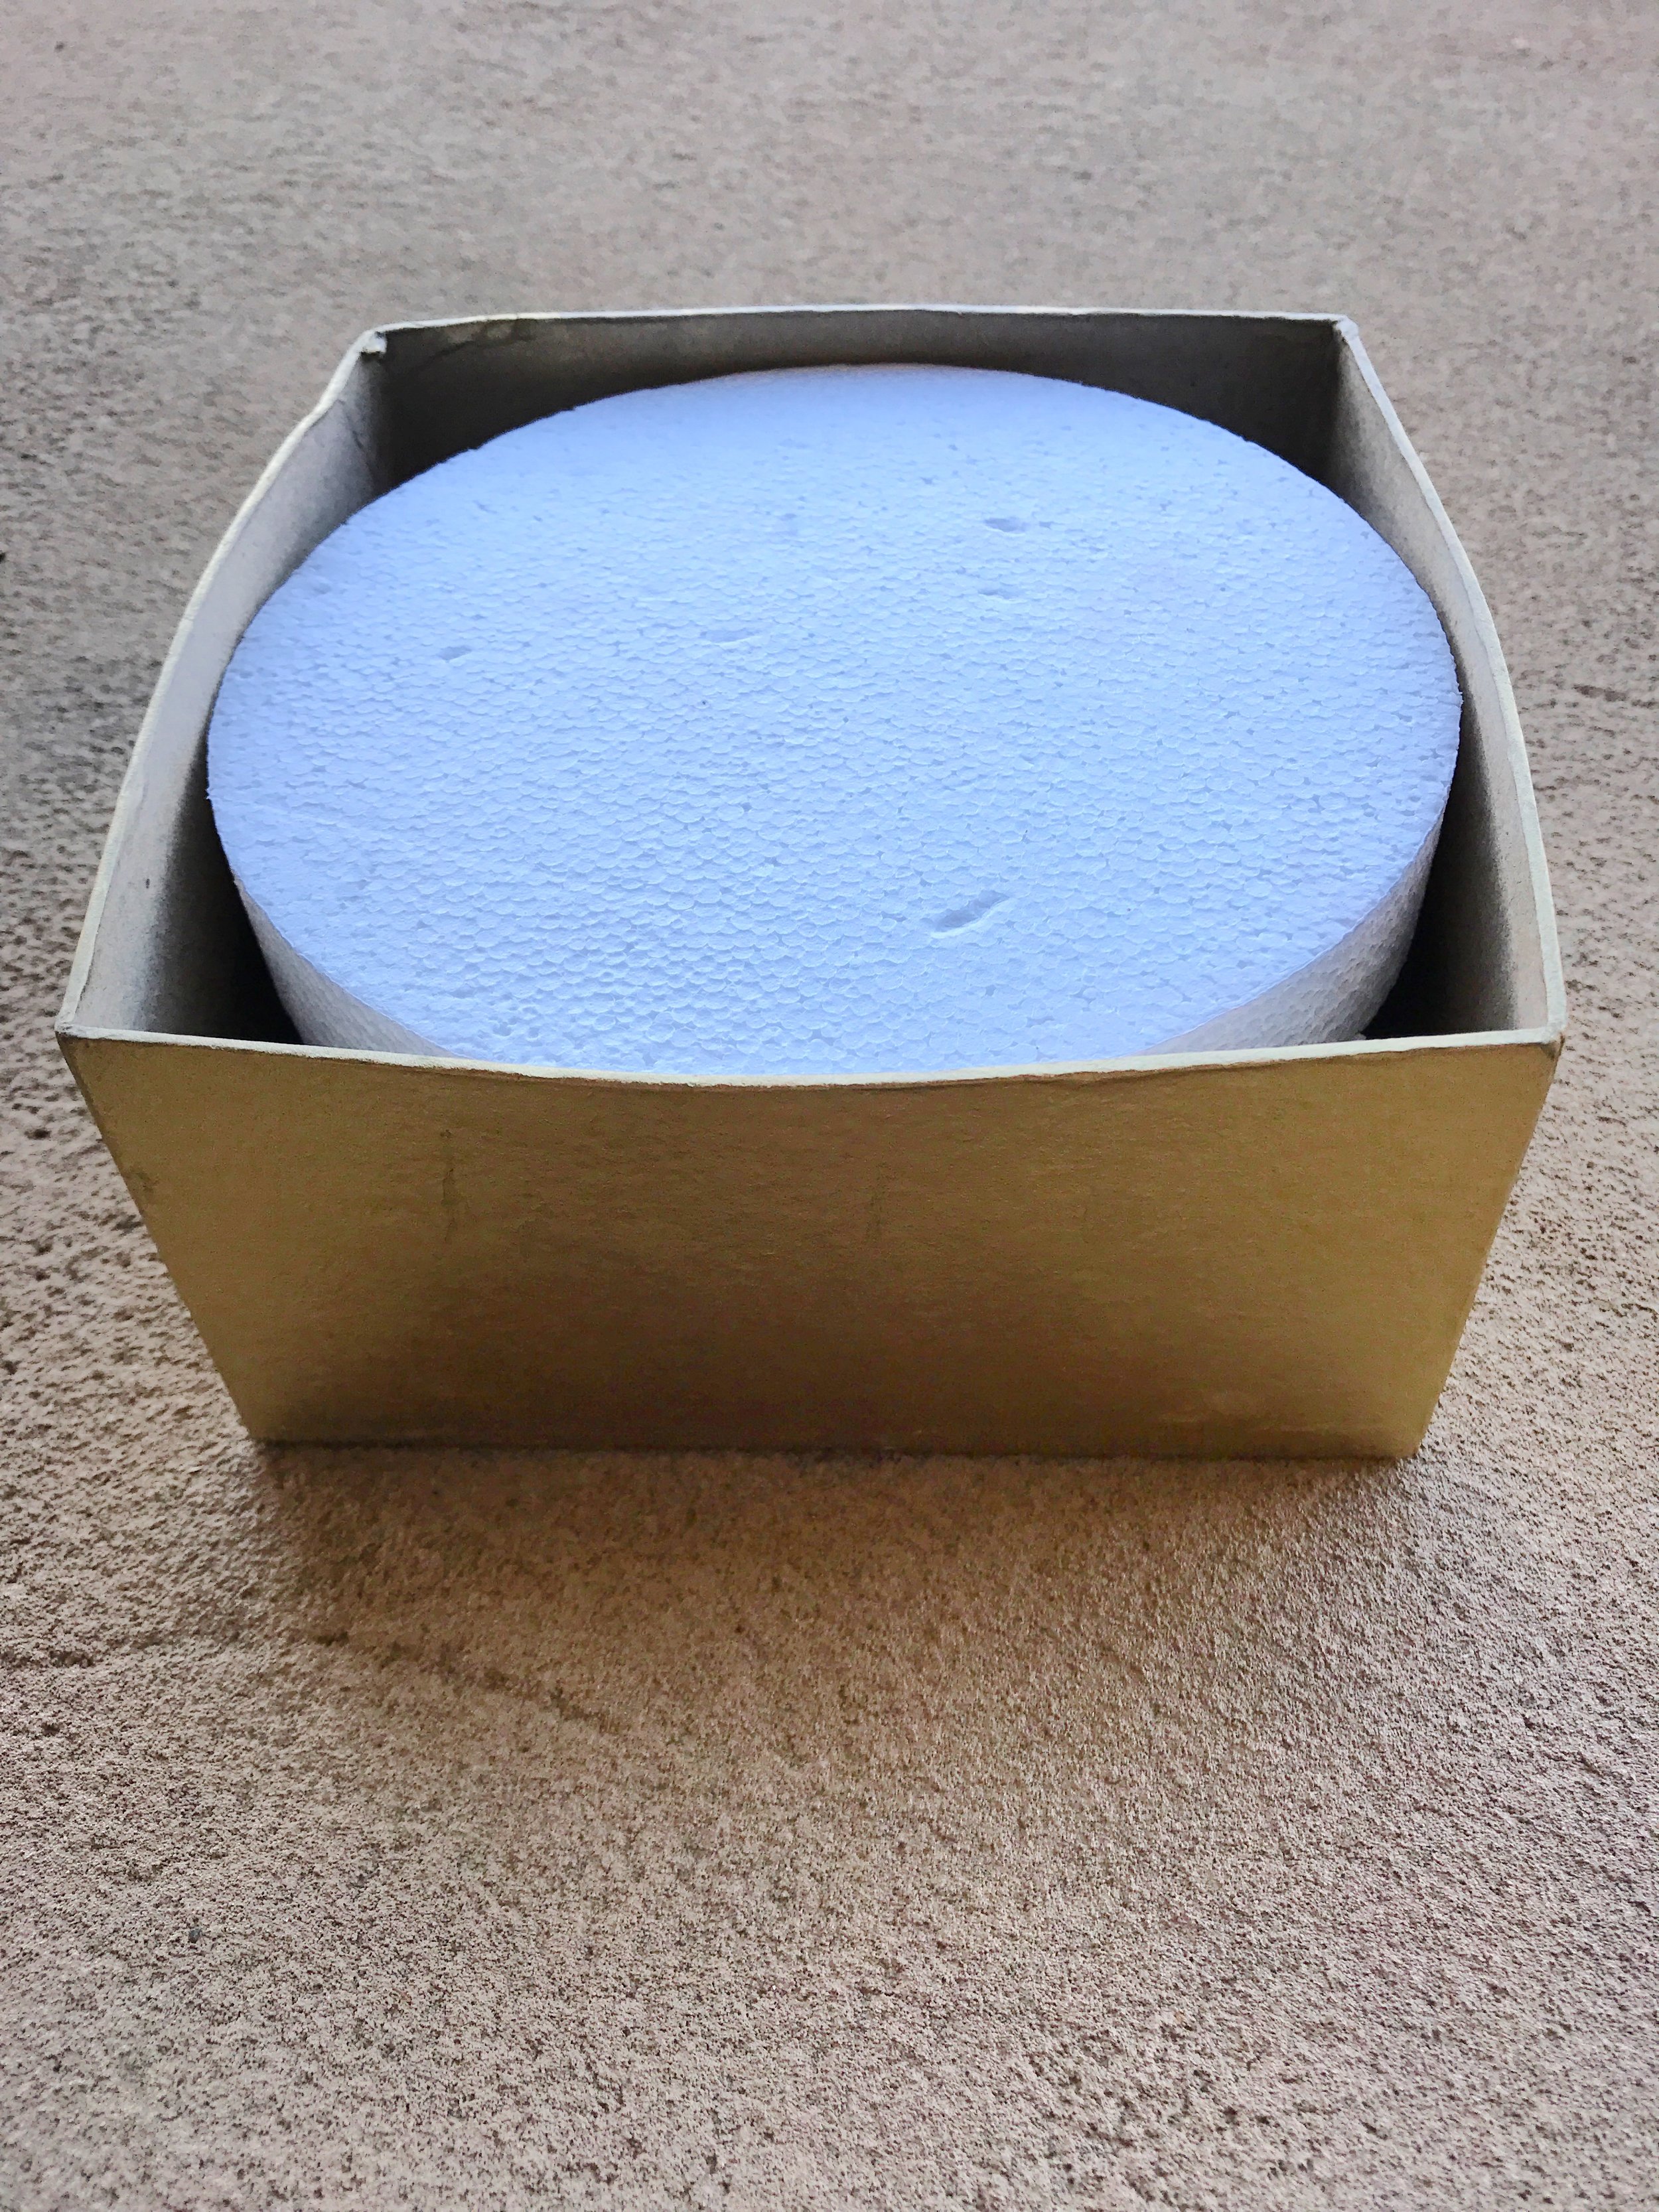
1. Place the smooth foam into the box. You may need to shave the sides to fit the foam into the box. LOL who says you can't fit a circle into a square?
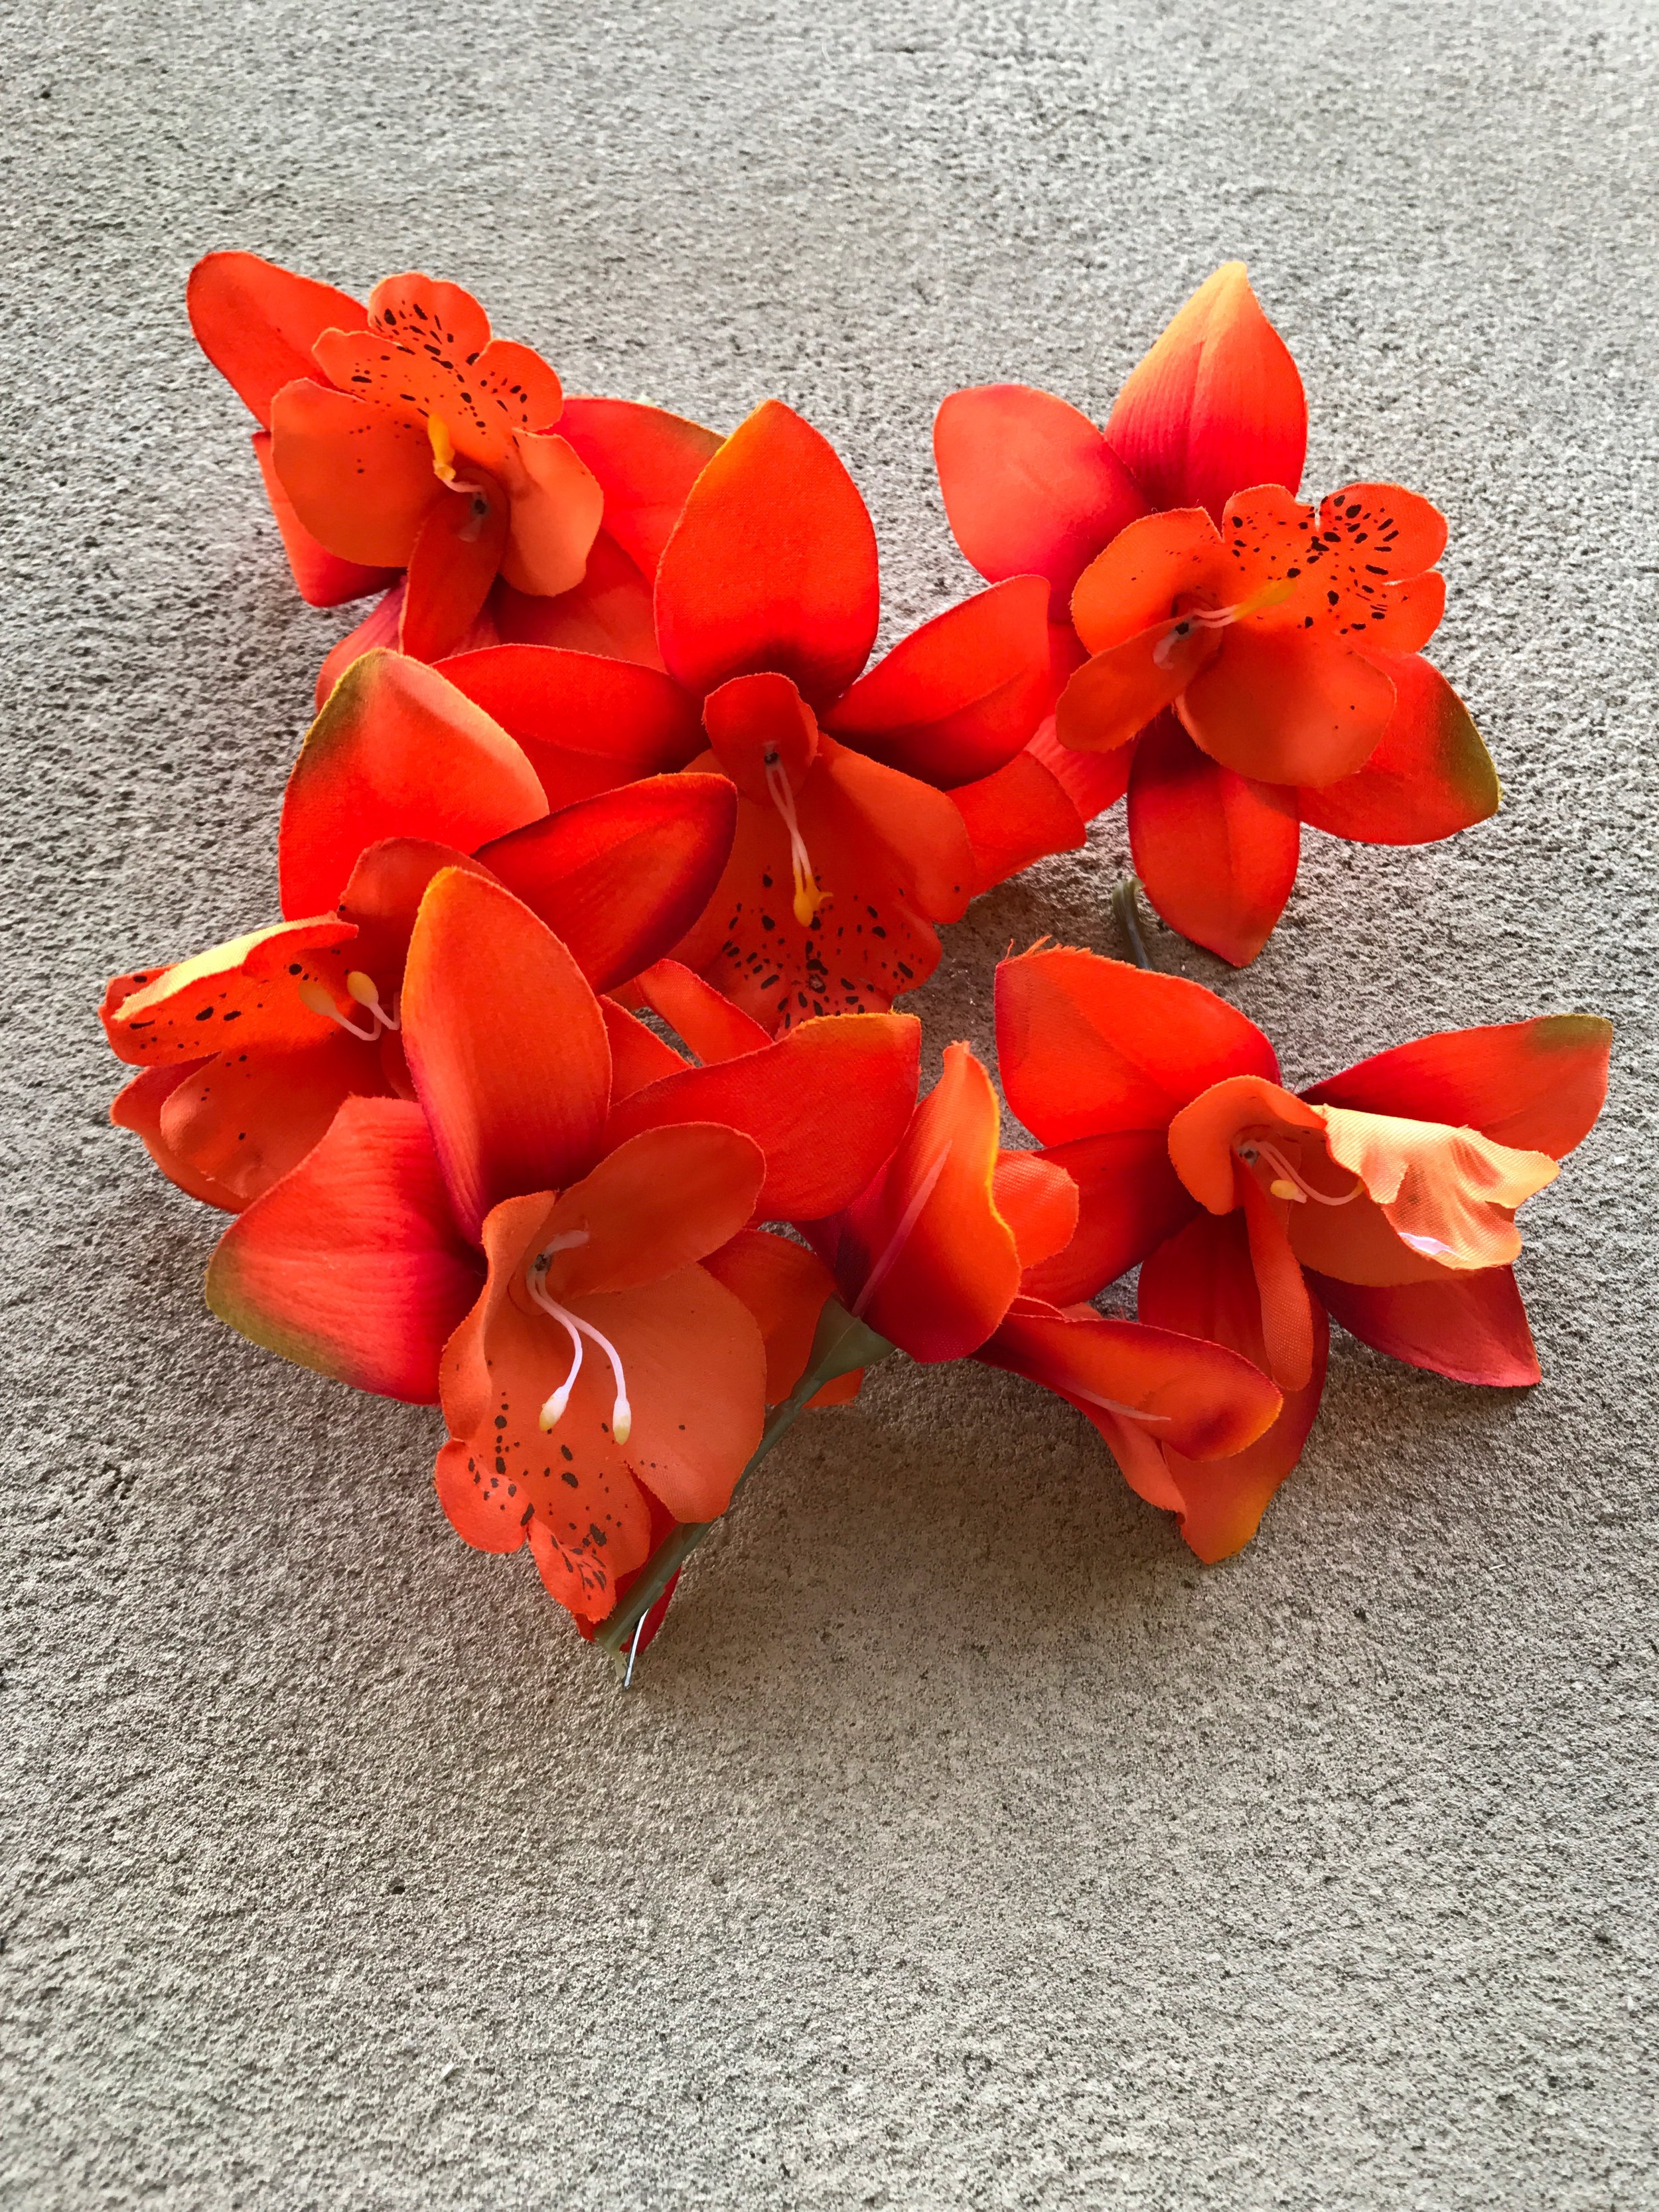
2. Taking your florals, you'll want to straighten out the stem of each flower so you can cut them off. Be sure to leave at least 3 inches of stem attached to the flower so you can plug them into your foam later.
3. Taking each individual flower, you'll want to push the stem into the foam. Start at the corner of the box and work your way to around the circle.
4. Some of the flowers can be a little higher that others, but be sure that the petals go beyond the box to create a "freshly-picked" look.
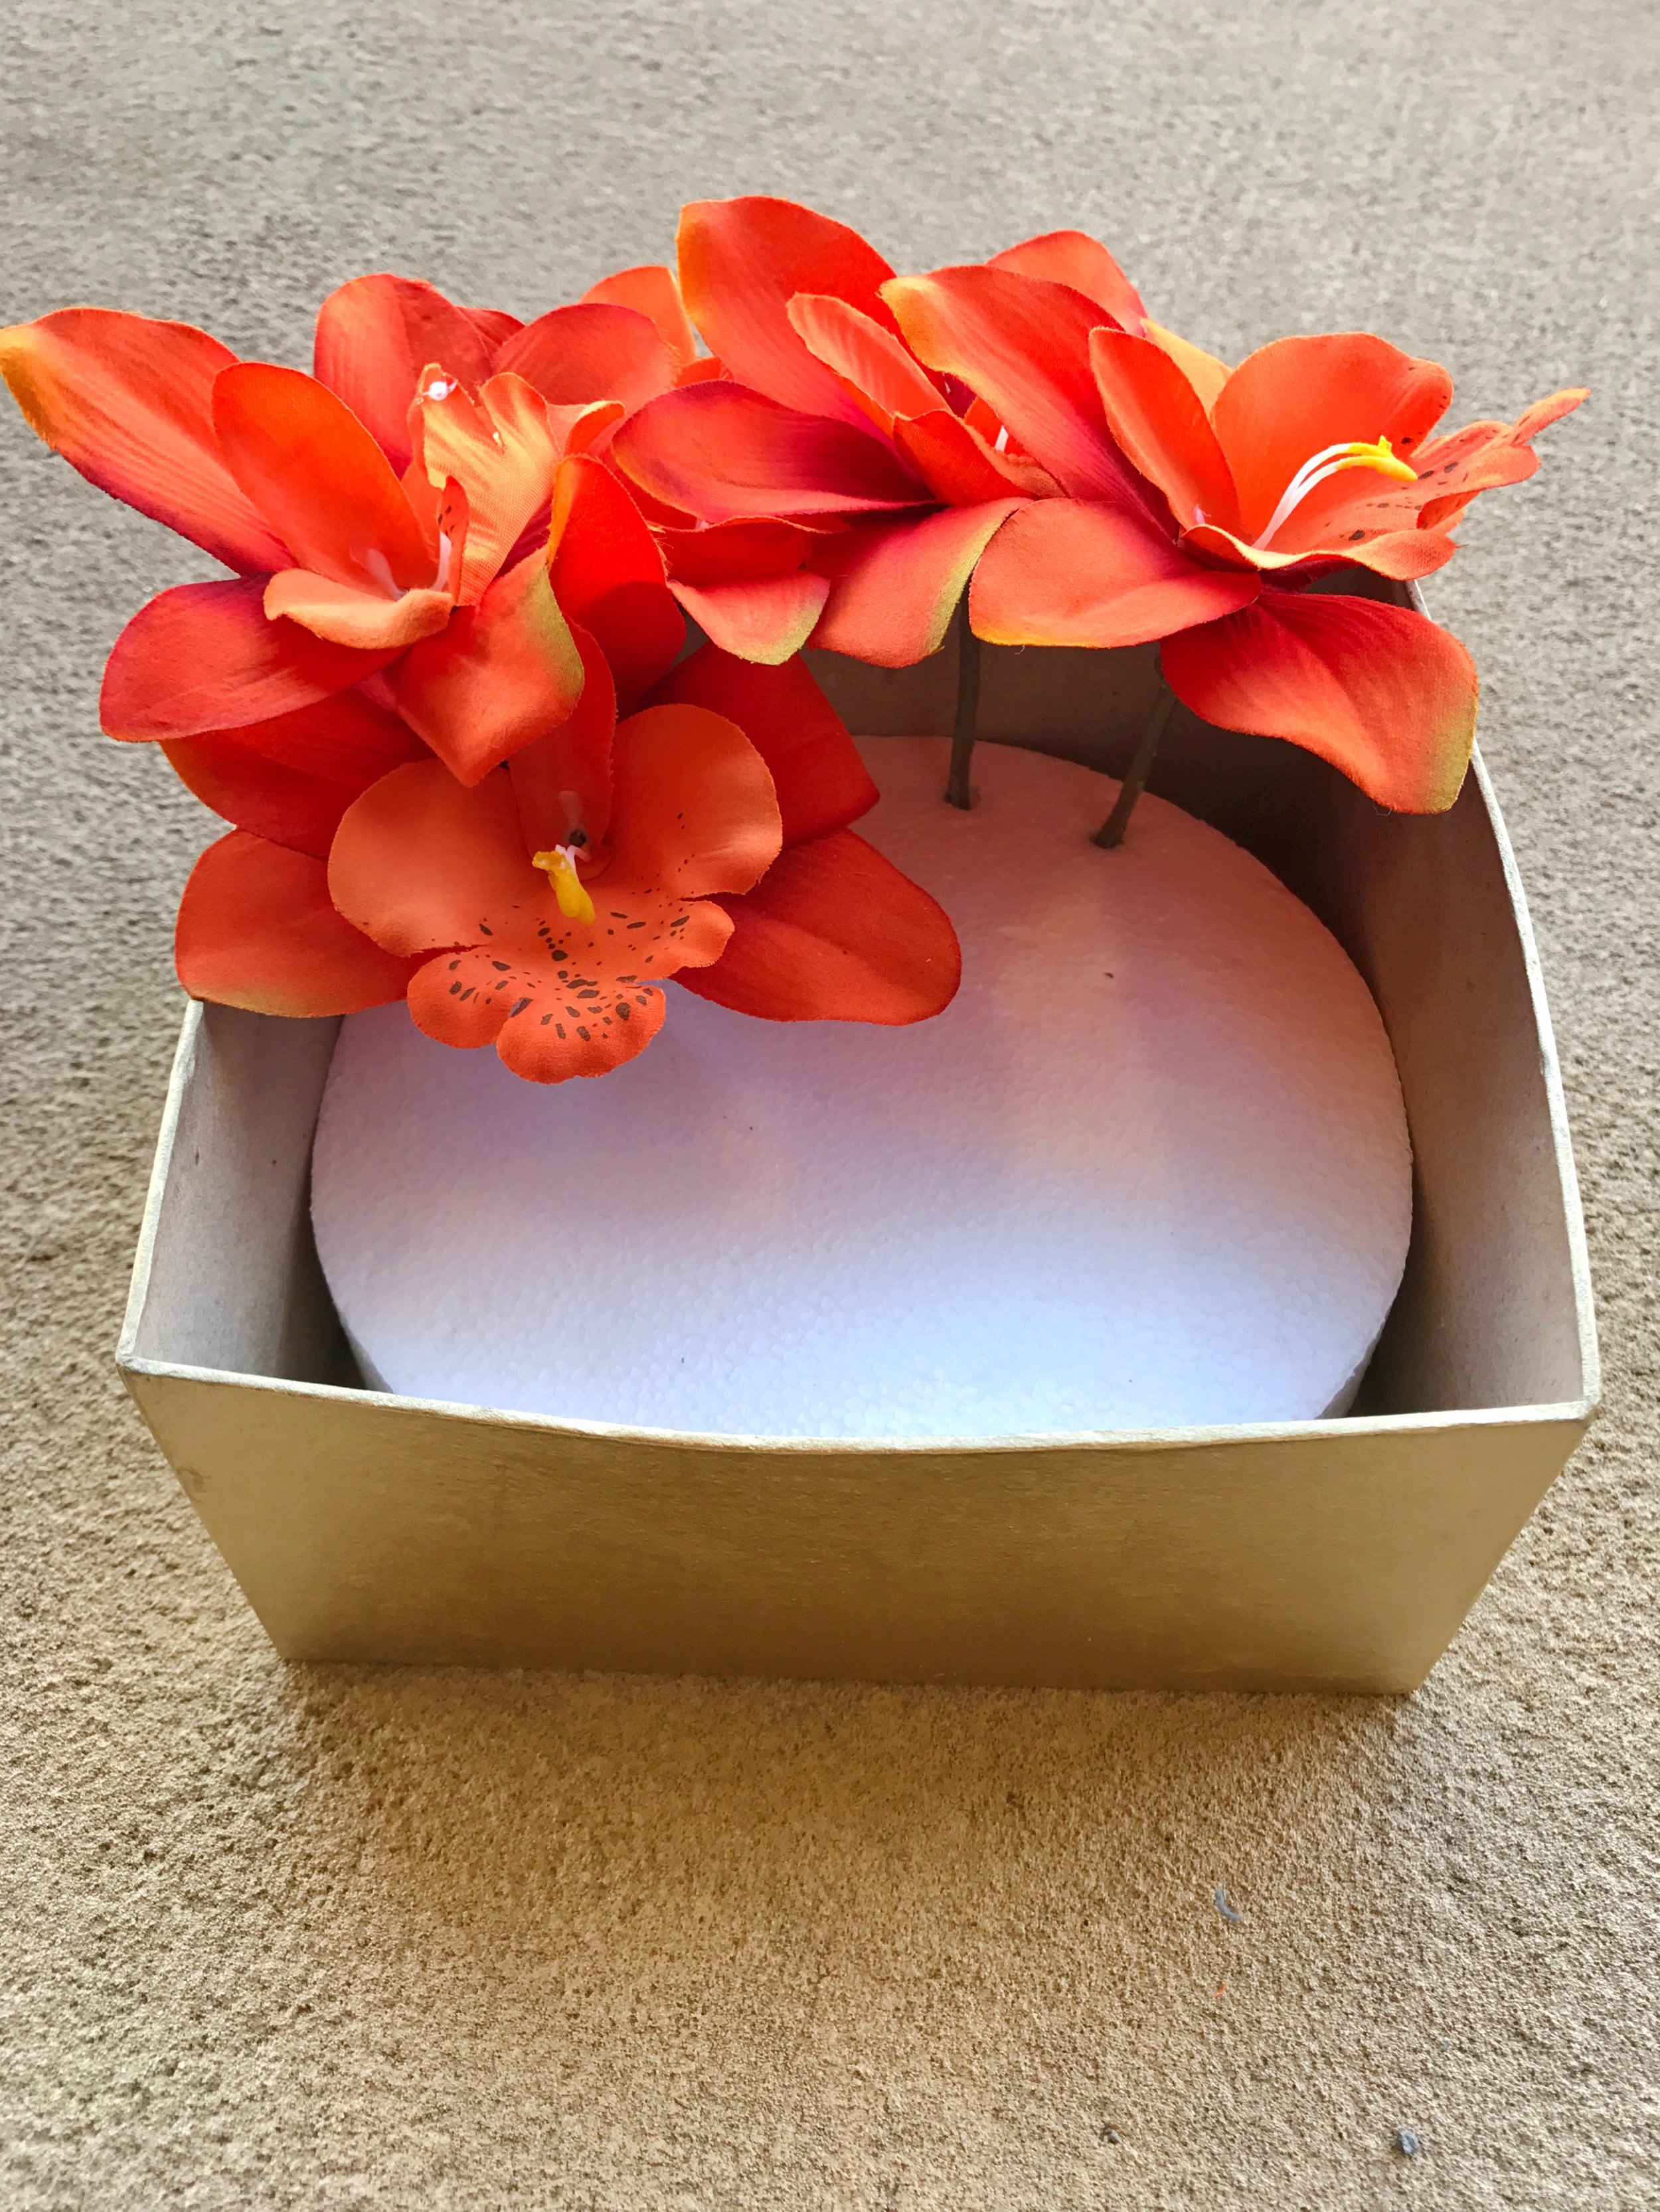
5. Once all of the flowers are added, you should not be able to see any foam. If so, adjust them accordingly.
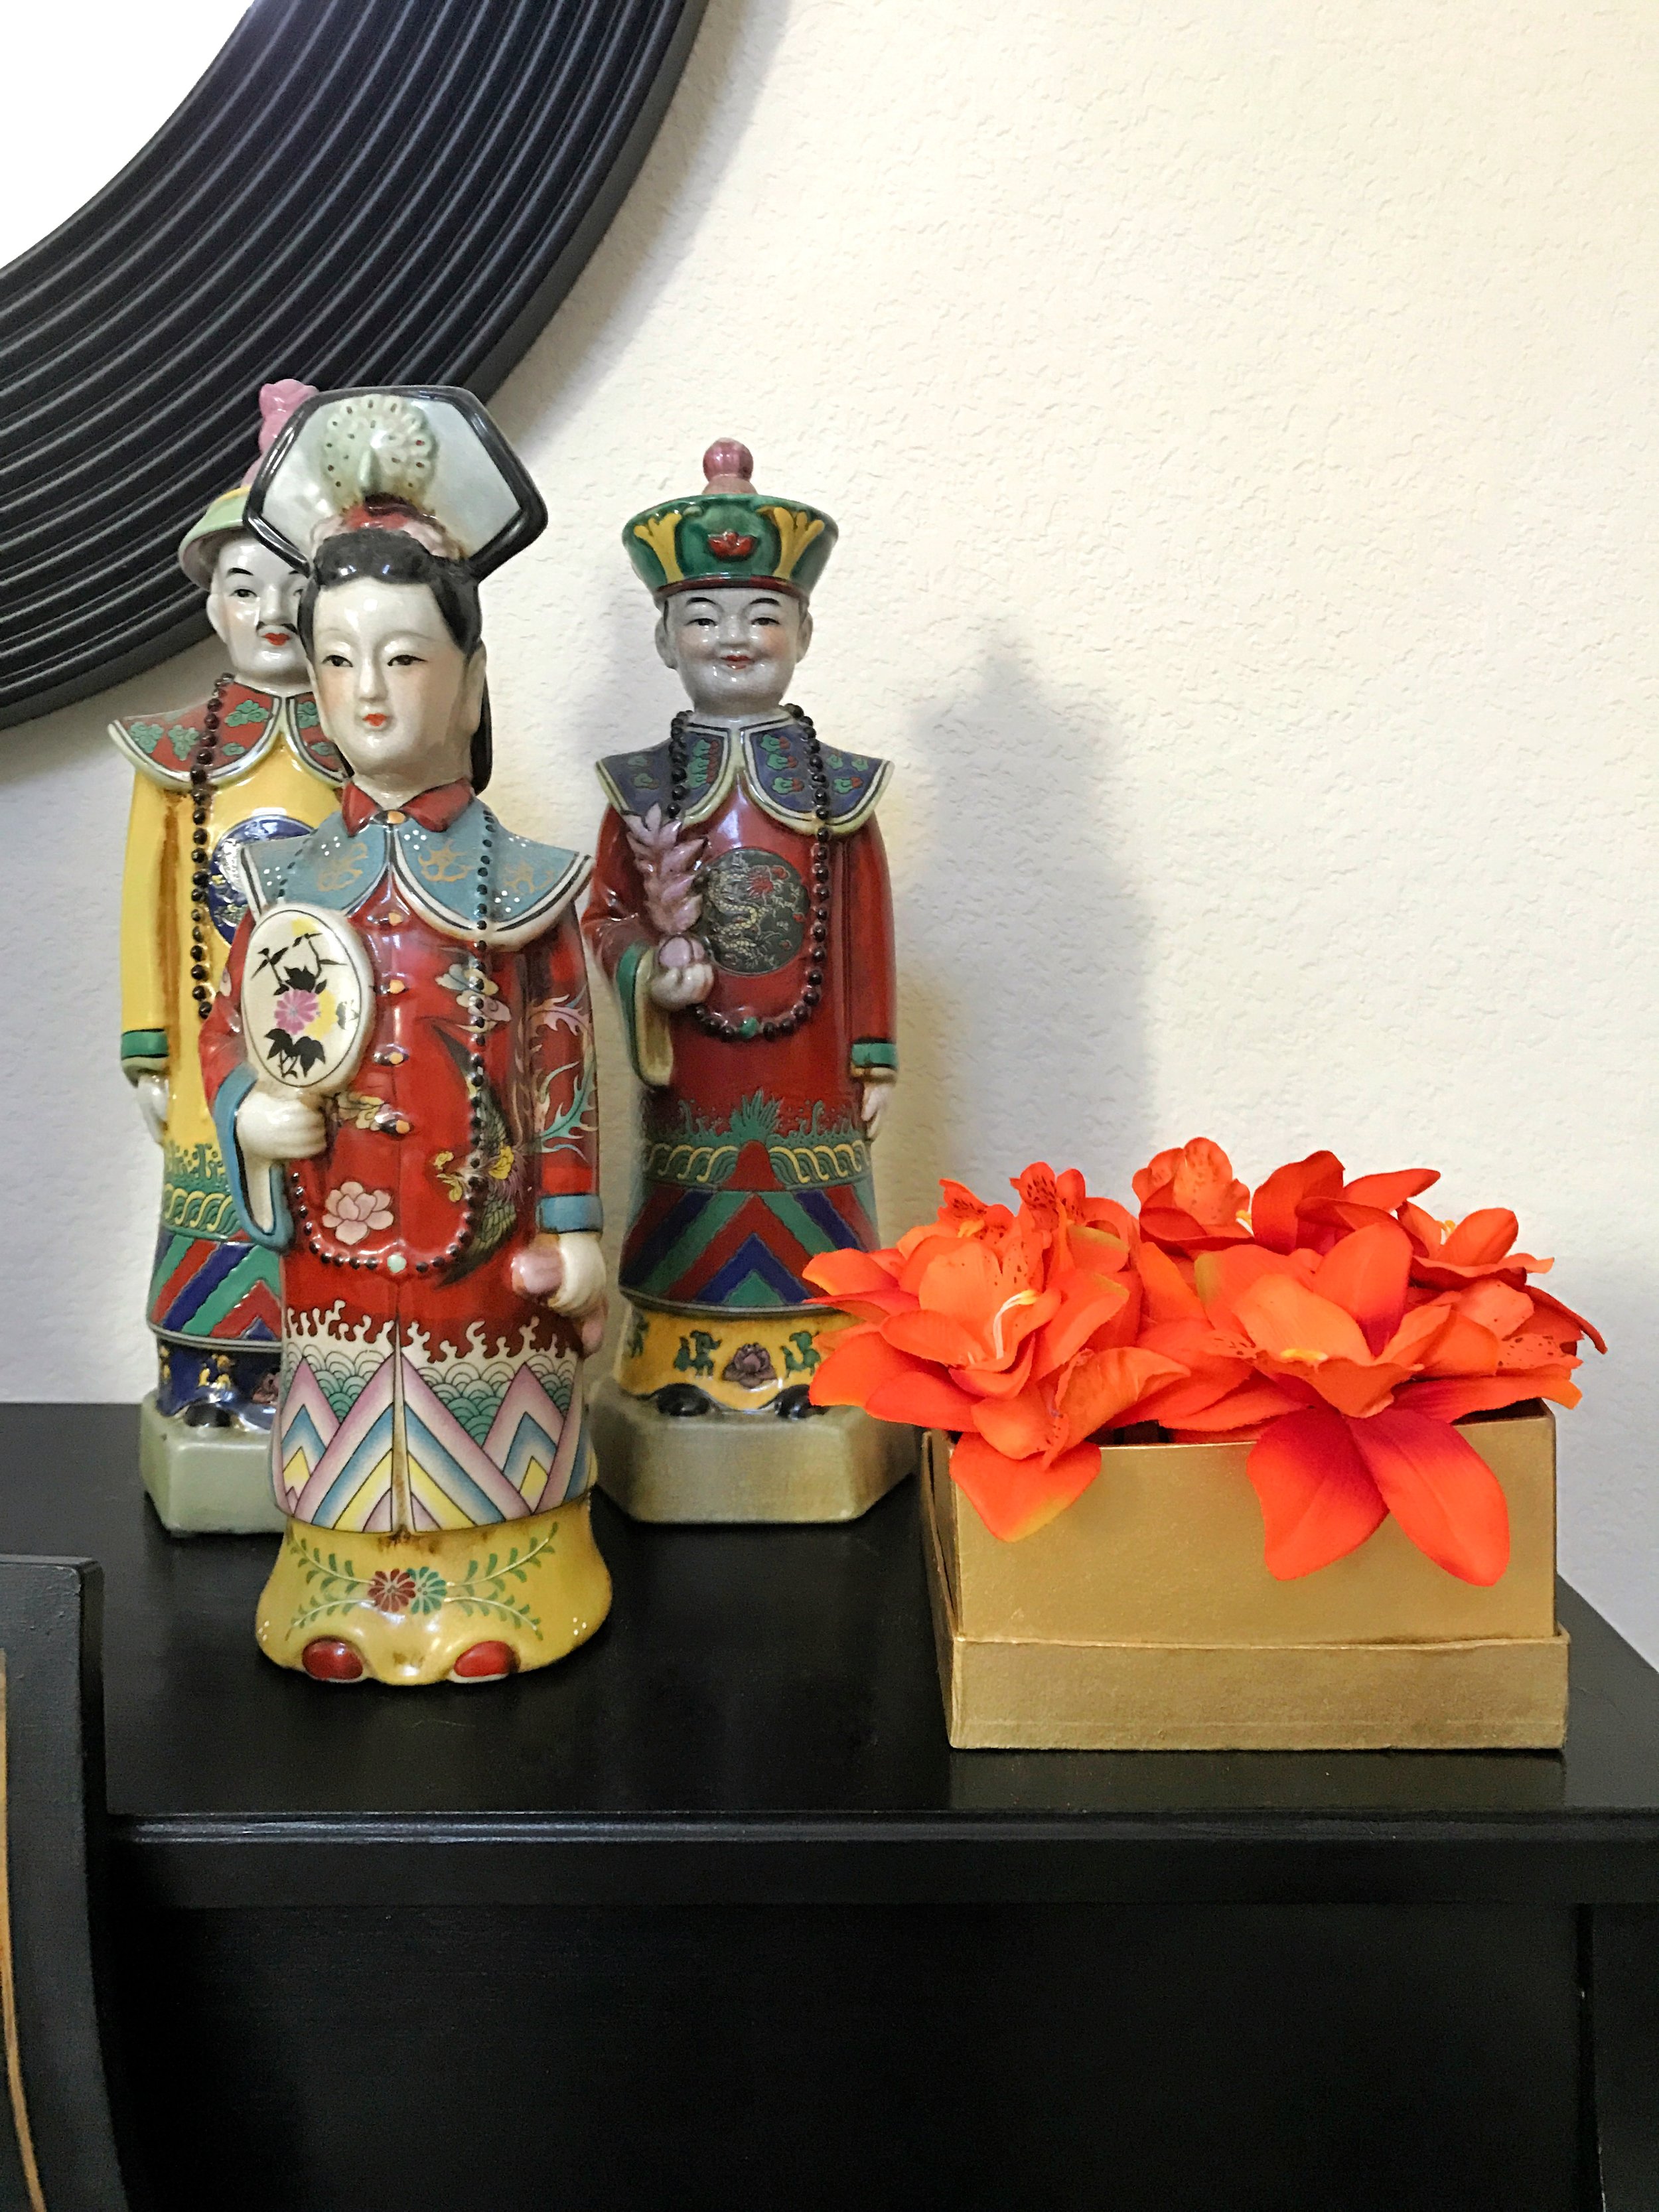
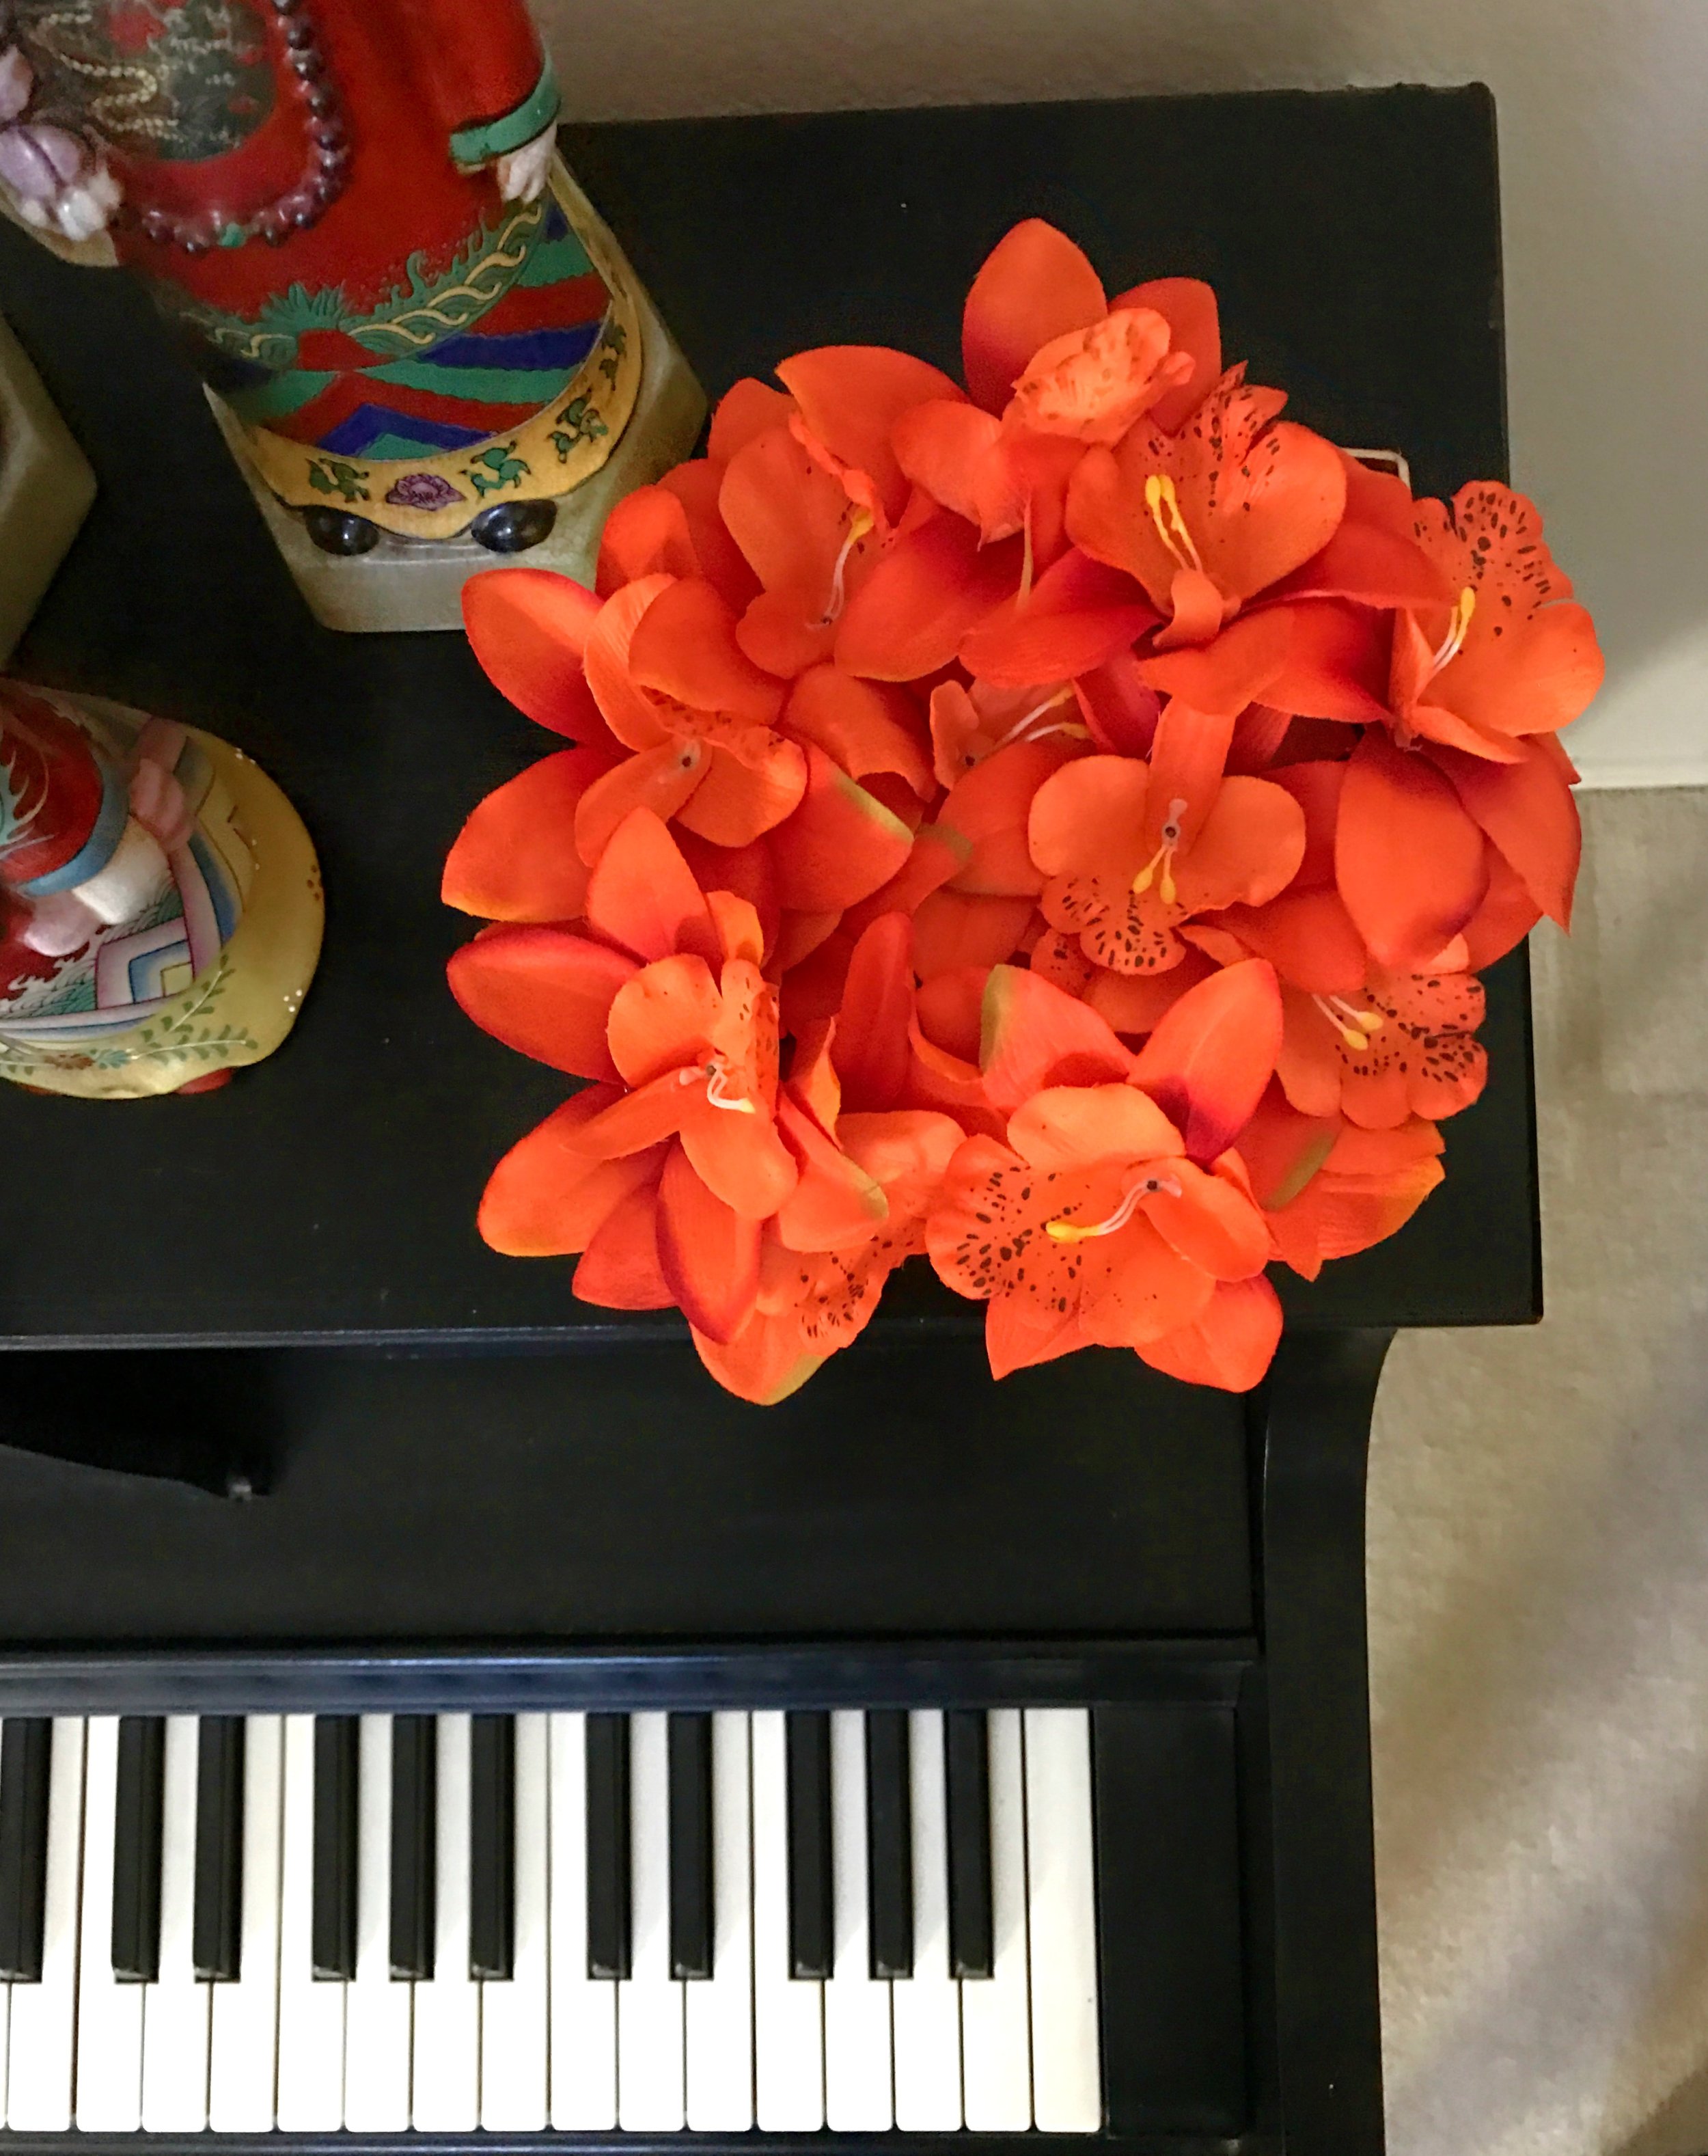
Set this box on a table, place them on a piano, or give them away as gifts. No matter where it end ups, it's sure to make any room just a little more bright and cozy.